All posts by Chelle

Review: Femme Fatale Mink Lashes

201411_femmefatale_minklashes1

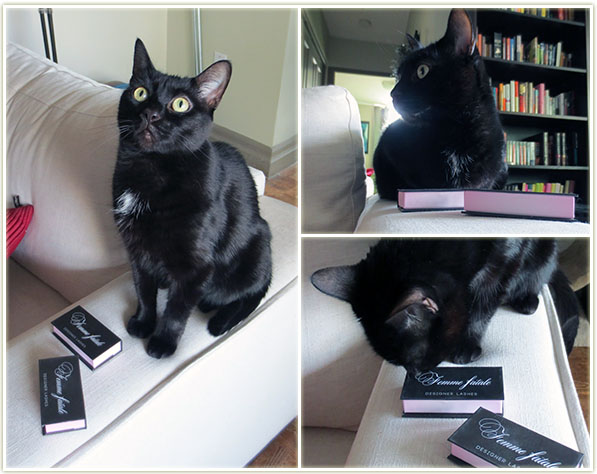
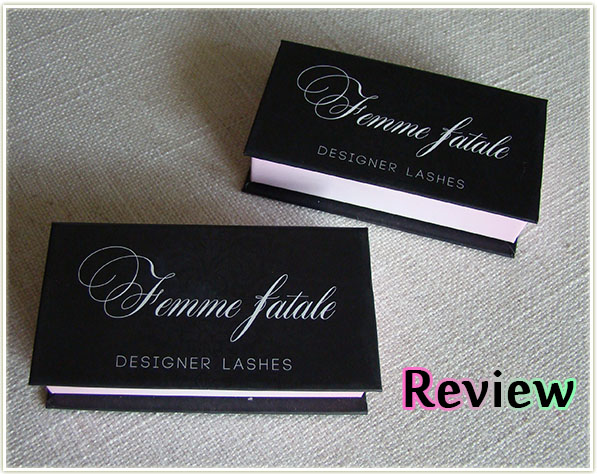
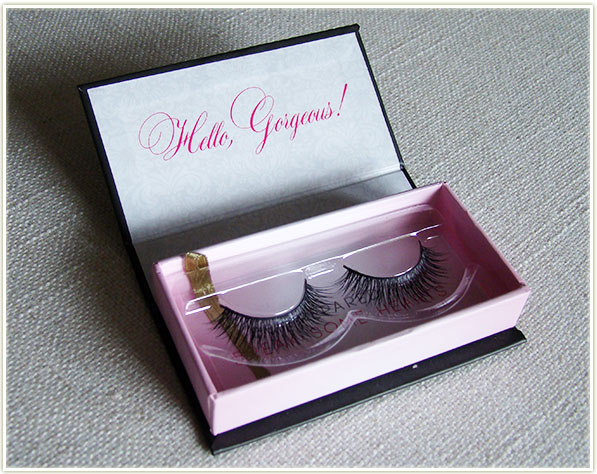
Mink lashes are something I have always wanted to try, so I jumped at the chance when Femme Fatale offered to send me a couple pairs to try out.

Just to clear the air surrounding what mink lashes actually are, as per their web site, Femme Fatale lashes are:

  • Made from the highest quality, 100% mink fur.
  • Completely cruelty free, handmade, sterilized/hypo-allergenic.
  • Can be used up to 25 times.
Femme Fatale Mink Lashes

First off, these are expensive lashes. Since the hairs are actually cultivated from an animal (the mink) and it’s done by combing them, this obviously puts theses lashes at a higher price point. A set of lashes will run you roughly $30 for a pair (which is about average for a set of mink lashes). There is the claim that you can wear them up toe 25 times, so that does offset the more expensive cost of the lashes. I did not have the opportunity to try these out 25 times, but I can say that they feel pretty durable. The lashes themselves are incredibly soft (they are real hair after all!) and the band feels strong enough to last through more wear than my usual drugstore false lashes do. (I get about five uses out of drug store lashes.)

Plus the other upside? Free shipping in Canada and the US.

Femme Fatale Lashes – She-Devil

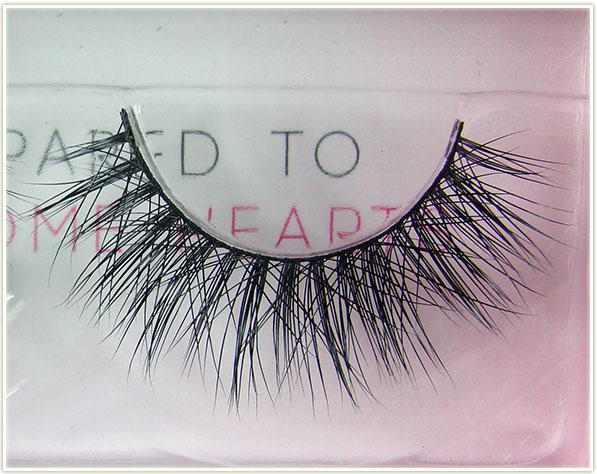
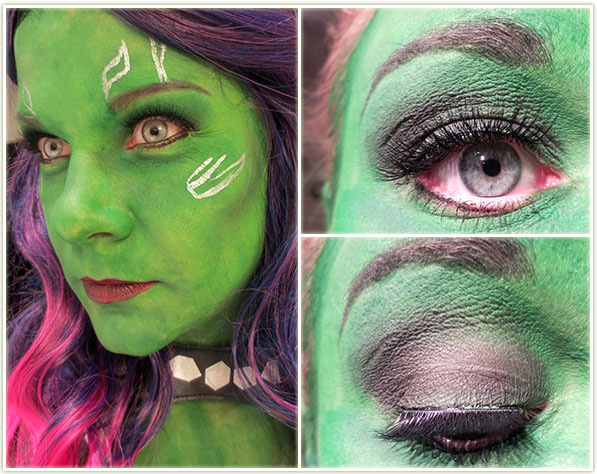
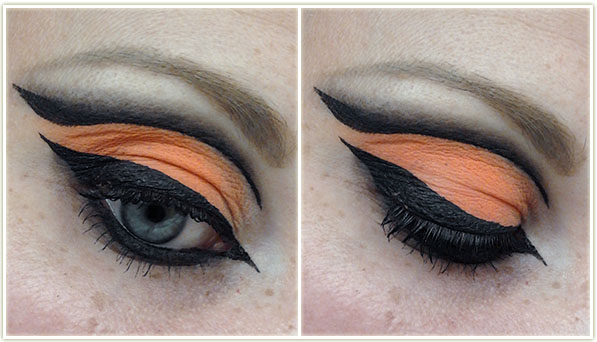
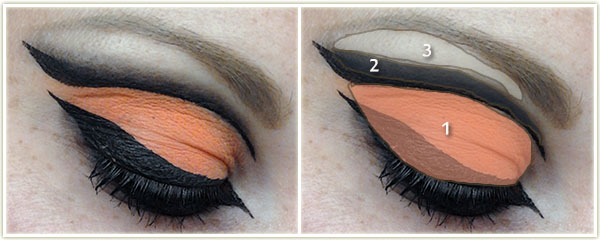
The first set I tried out were the She-Devil lashes. They’re a set of spike-grouped lashes with a layer of cross-crossed lashes on top. This pair are NO joke. They are full on, flirty lashes. If you are looking for lashes with impact, these are definitely it. They’re actually so large that when my eyes are fully open they tickle the bottom of my eyebrows!

Wearing She-Devil lashes

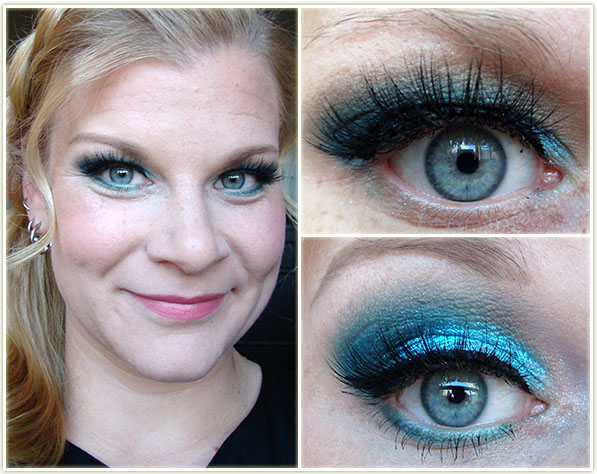
I wore these out to an end of season soccer banquet and I think they were the right choice as they gave me absolutely enormous lashes. So much so that they’ll cover your eyeshadow up quite a bit if your eyes are open (see above). However, the upside is that your eyelashes look gargantuan! These are not subtle at all, and people will definitely notice that you’re wearing falsies, but hey, that doesn’t bother me!

I thought these were beautiful, but they’re definitely something I’ll save for big events rather than just various nights out at bars and whatnot.

Femme Fatale Lashes – Catwalk

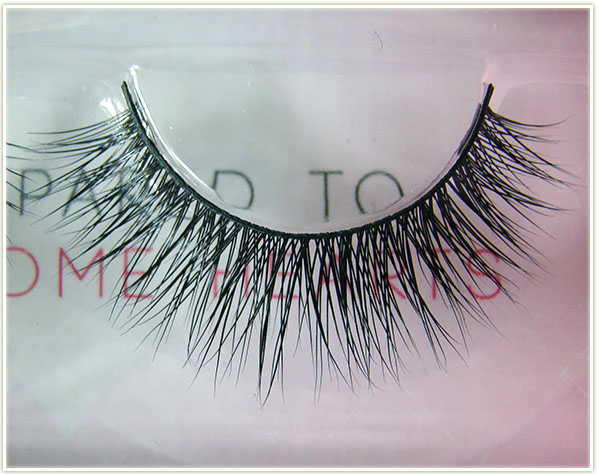
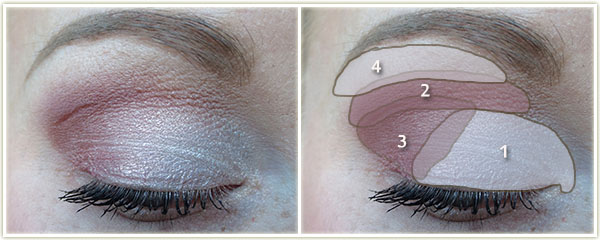
The second set I received were the Catwalk ones. These are GORGEOUS. When I originally compared them side by side to the She-Devil ones I was little disappointed in my choices because I thought they looked too similar. I was totally wrong. These are actually quite subtle in an easy to wear daily use kind of thing. They’re the kind of lashes that accentuate your eyes, but don’t alert people to the fact that you’re wearing falsies.

Wearing Catwalk lashes

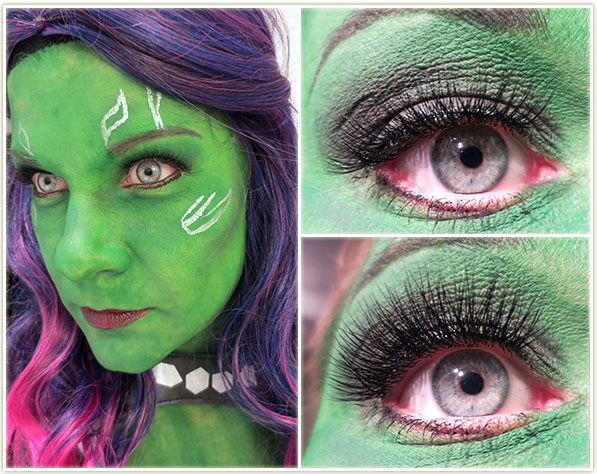
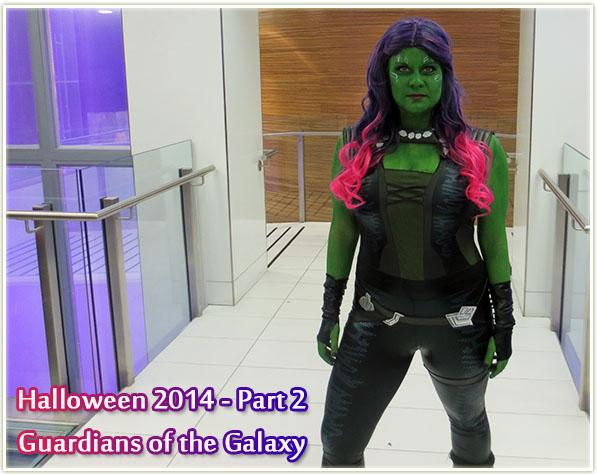
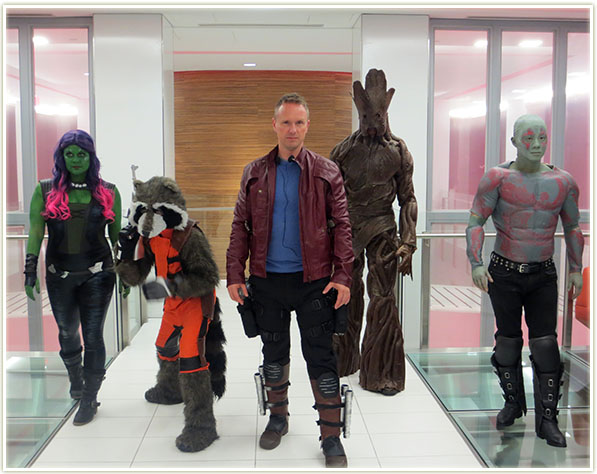
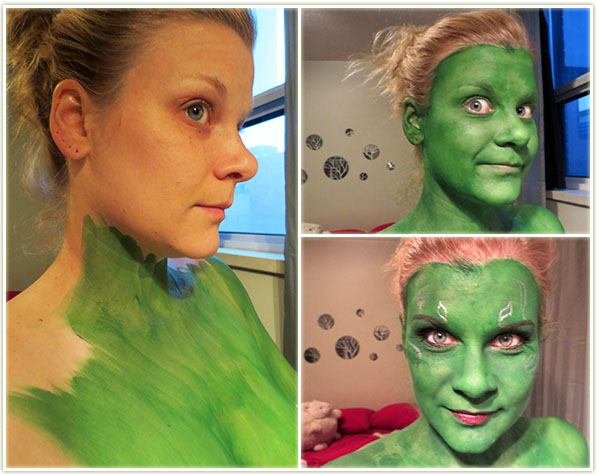
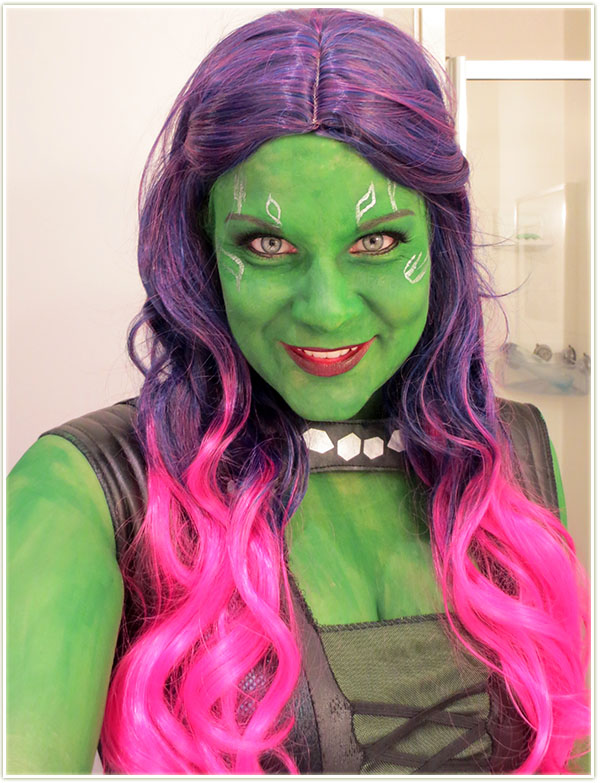
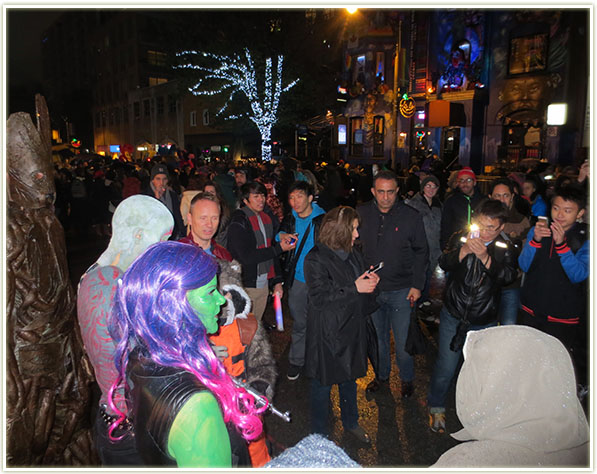
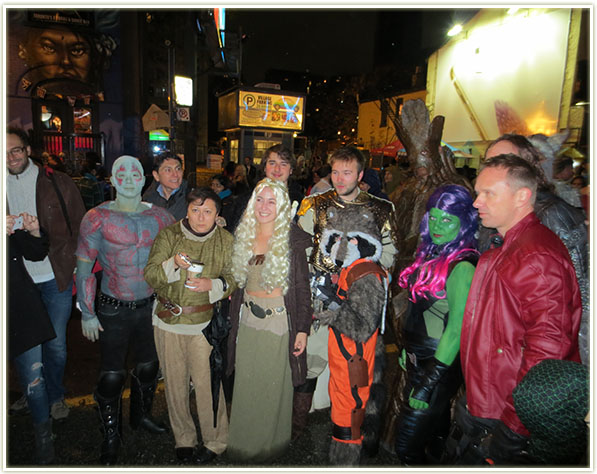
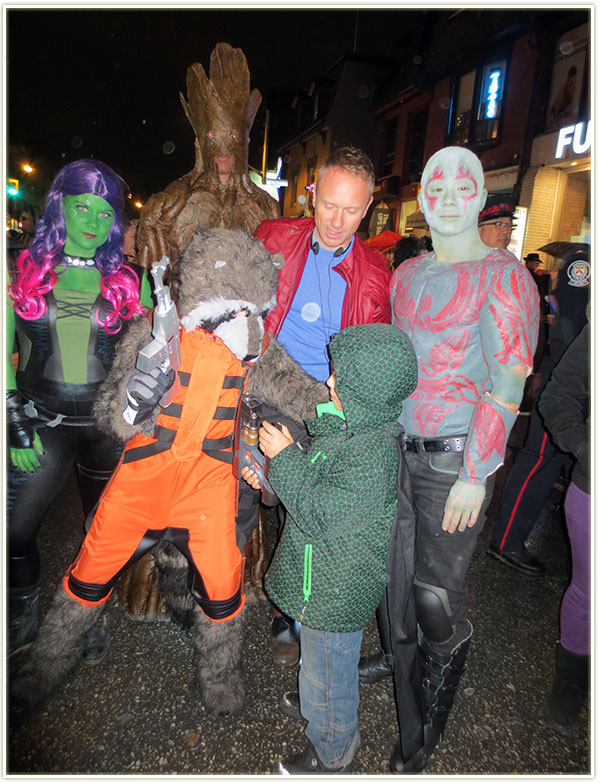
My first time trying out the Catwalk pair I put them right to the test! I wore this set with my Gamora costume on Halloween night when it was mildly raining and absolutely freaking freezing cold out. They held up well and gave my eyes the dimension I needed since I felt like my features were getting a bit lost in all of the green face paint.

Wearing Catwalk lashes

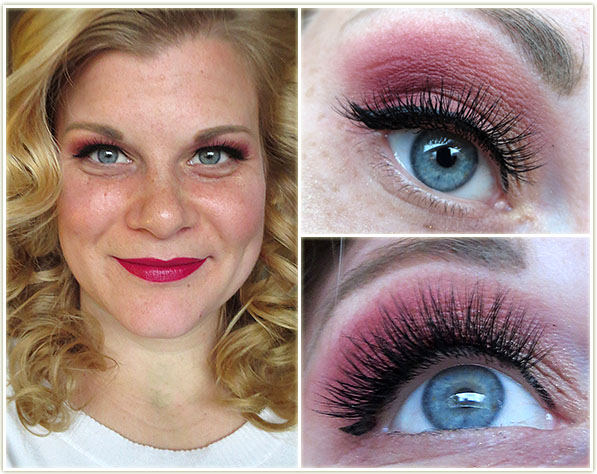
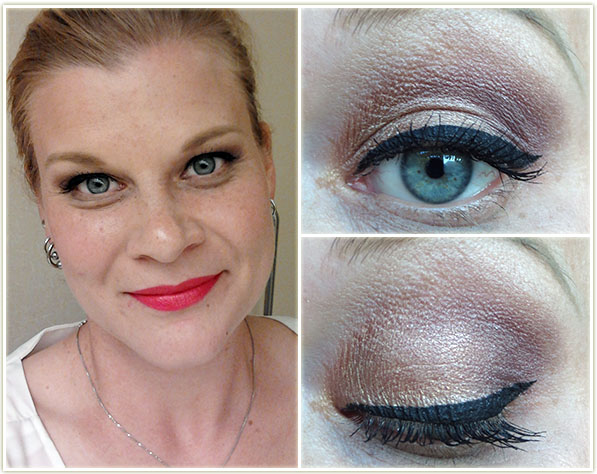
The day after Halloween I wore the Catwalk lashes out to a movie just to see how they’d fare with regular makeup. The verdict from my husband was that they looked natural and accentuated my lashes without making me look excessively fake.

Final Verdict

I love these. I seriously love these. They’re smooth and soft, and feel unlike any of the drugstore lashes I’ve tried in the past (not to knock on drug store lashes, I do love those quite a bit too!). There’s something about Femme Fatale‘s lashes that just feels luxurious.

I do find that I needed to trim mine a decent amount on the outer corner to fit my eye shape, which is good news for those who have larger eyes than my own. I did notice a bit of tickling on my inner eyelid when I blinked or closed my lashes while wearing them, but if that’s something that bothers you, you can simply trim them a bit more to make them not so full all across your lid.

Out of the two I received, Catwalk was by far my favourite but I’ll definitely be busting out She-Devil to wear to some holiday events coming up! Femme Fatale’s selection of lashes is quite large (22 pairs), so you’re bound to find one that suits your needs. From every day lashes that just add a little something extra, to enormous lashes with rhinestones on them.

Nemo’s always gotta be where the action is! Or maybe he was enticed by the “Catwalk” lashes…

Halloween 2014 – Part 2 Guardians of the Galaxy

20141112_halloween_guardiansofthegalaxy2

Halloween was QUITE the event this year! A group of friends and I saw the movie the Guardians of the Galaxy in August and walked out of the theatre with the realization that we had the exact perfect combination of people to go as the Guardians for Halloween. We knew it was going to be a lot of work, but holy cow did I ever not realize just how much! We got started at the beginning of October and it feels like it consumed the entire month!

Our group as the Guardians of the Galaxy!

The bulk of the work was spent working on the Groot costume since that was not only massive, but super involved. I think it came out especially well – and we have our costume designer mastermind behind it all – Steve did an amazing job pre-planning and executing the Groot outfit, his own Drax costume (amazing muscle suit!) and then did Rocket Raccoon’s entire costume by himself! It’s worth pointing out that all of those costumes were made from scratch! I got off pretty easy – all of my parts (wig, costume) were all purchased online.

I have a few details on some of our makeup below, if you’re only interested in photos, be sure to scroll down to see some amazing shots of our group in action!


Going green
Going green

My makeup took longer than I expected – about two hours to get me completely done. I used MAC‘s Chromacake in Landscape Green to change the colour of my skin. It took about two layers but I’m still not pleased with how it turned out as I feel it’s too patchy. The texture seemed to be more even on my face, but the body was especially bad. I think using an airbrush system would’ve been a better idea.

Close up of face detail

My face was pretty straightforward once I had the green base on. I kept it simpler than the trial I had done before and stuck with a single colour on my eye for shadow (MAC Print). I used the same shade through my eyebrows and to contour my face. The contour helped a lot to give me some depth and bring out my cheekbones since I looked especially flat before doing so. I popped on a pair of Femme Fatale lashes in their Catwalk style since I felt my eyes were getting lose amongst all the green. Any liner touchups were done with Urban Decay‘s Black Velvet pencil. On my lips is Revlon‘s Black Cherry because I couldn’t find a decent darker green and I was running out of time to mix shades. Gamora has a few silver lines on her face so I sketched out some rough shapes with a silver liquid liner from NYX.

Finished Gamora makeup with outfit and wig

I think the end result is decent. Not movie quality, certainly, but definitely good enough for Halloween! The wig was a $20  I got from Ebay and it worked out far better than I ever expected from a relatively cheap wig (plus I’d never even worn a wig before). I had to pin some of the pieces into the wig cap because they kept dangling in my face, but I think the overall look is relatively realistic. Let me know what you think!

Steve as Drax
Steve as Drax

My friend Steve did his own makeup for Drax and he was kind enough to share how his turned out. Here’s his summary of what he did on his face:

Creating the Drax make-up required a fair amount of thought, and I wasn’t altogether sure about what supplies to use, or if I would be able to create it properly. For the movie, the tattoos were created using foam latex pieces that were made by taking a cast of Dave Bautista’s face, sculpting the tattoos on the cast, then taking a mould of the sculpt, and then creating the foam latex out of that. I do not have the kind of skills to do that, nor the materials, so I needed a work around that would allow me to have a base coat of greyish green, with raised red tattoos over top. I was comfortable working with latex, but could not get latex that was the greyish green I needed, nor could I make the latex thick enough to hold the shape of the tattoos.

I chose to use acrylic paint mixed with latex. What I found was that acrylic alone would flake off of the latex once it dried, as the latex did not give enough to adhere to. When I mixed the paint with liquid latex, I found that the paint now stuck and kept its thickness. I started by putting on the bald cap (which was an ordeal unto itself) trimming to size first, and then applying to my head using spirit gum. I then sponged “ruddy flesh tone” liquid latex to blend it into my skin so there was no seam.

I would need a base on which to apply the acrylic, so I used the ruddy coloured latex above my eyes and below them (I applied olive oil to my eyebrows so that I would hopefully not lose them all when I pulled off the latex). I then applied a green acrylic/liquid latex blend (I used a 3:2 ratio of liquid latex to acrylic paint) and then some grey to lighten the green, blow-drying between applications to set the latex.

I then applied the red acrylic and liquid latex mix (for this I needed it thicker so chose to use a 1:1 ratio of acrylic to latex). I lacked dexterity when applying to my face, so just used the side of the brush to make lines that criss-crossed and carefully applied tails and sharp ends using a toothpick. I added a coat of grey-green over top to lighten the tattoos.

Unfortunately, as I attempted to blend everything together using Ben Nye‘s Creme Make-up in Army Green mixed with some grey made from white and black Ben NyeCreme make-up, the latex sopped-up all of the colour, and a few minor mishaps ruined the red of the tattoos. As a result, I completely blended using the make-up and then used some leftover red creme make-up to bring the tattoos out.

You’ll notice in the close-up that there is a lot of wrinkling happening with the latex. I realized after the fact that this was probably because of the acrylic. It wasn’t sticking to my face as well because the acrylic didn’t want to stretch as much as the latex. In the end the make-up worked fine, but I wish I had done things slightly differently. I wish that I had just used acrylic and latex for the tattoos to make them raised, but then just used make-up to create colour and blend everything in. In the end the latex took the make-up so well that I would have been fine to paint the raised tattoos using red make-up after the fact.

In the end, I was satisfied with the look, and of course the best news is that my eyebrows escaped intact.

And now for some amazing shots we got before heading out onto the street!

Groot
Groot
Rocket Raccoon
Rocket Raccoon
Drax
Drax
Starlord
Starlord
Gamora
Gamora

After our brief “photoshoot”, we hit up Church Street which is shut down to traffic on Halloween for the entire evening for a street party. It was seriously cold (about 2 degrees), but it stopped raining for the hour we were out there which was a HUGE blessing since most of the paint would’ve melted off us!

The first group to stop us for pictures
Posing with some characters from Game of Thrones!
This was cute… a lot of kids came up to us and Rocket was always trying to get them involved!
We were stopped so often and so frequently for pictures that we ended up with crowds and crowds of people around us!
More posing
More posing

As always, Halloween was an amazing experience on Church Street in Toronto. If you live in the city and don’t know what to do on Halloween, it’s worth it to come down to the area and check out all the costumes. Even if you’re not dressed up yourself, it’s still worth it to see what others put together. And if you DO dress up, you’ll end up feeling like a celebrity for the evening.

Happy Halloween everyone. 🙂

What’s On My Face – Volume 27

There’s an insanely cool look (to me) in this set amongst the usual ones. Read on!

20141114_look1-1

Standard neutral lid with bright lip combo.

20141114_look1-2

Eyes

  1. e.l.f. Coral Reef gold shade all over the lid.
  2. e.l.f. Coral Reef purple shade on the outer corner and lightly through the crease.
  3. MAC Shroom on the browbone.

Tarte‘s black gel liner to create the wing with Urban Decay Perversion mascara on my lashes.

Rest of the Face

  • Foundation: Boots No7 Stay Perfect in Deeply Ivory
  • Bronzer: e.l.f. Surf’s Up
  • Blush: essence Pinky Flow
  • Lips: Too Faced Melted Candy

20141114_look2-1

I had a bunch of freebie items from No7 (well, FREE if I spent enough money on the brand… which I had) that I wanted to try out and this was the look I got out of them.

20141114_look2-2

Eyes

I first lined my upper lash line and outer corner of my lower lash line with Boots No7 Metallic Eyes Pencil in Purple, then I applied:

  1. Boots No7 eye shadow in Violet Shine all over the lid and over the liner.
  2. MAC Sketch on the outer corner and through the crease.
  3. MAC Shroom on the brow bone.

Urban Decay Perversion mascara is on my lashes.

Rest of the Face

  • Foundation: Boots No7 Stay Perfect in Deeply Ivory
  • Bronzer: Hard Candy Hula Hula
  • Blush: Can’t remember!
  • Highlighter: MAC Soft & Gentle
  • Lips: Soap & Glory Raplumzel

20141114_look3-1

Playing around with e.l.f.’s Little Mermaid collection.

20141114_look3-2

Eyes

  1. e.l.f. High Tide gold shade on the inner third of the eye.
  2. e.l.f. High Tide blue shade on the middle of the lid.
  3. Inglot Matte 338 on the outer corner.
  4. Too Faced Chocolate Milk through the crease.
  5. MAC Shroom on the brow bone.

To line the outer corner of the lower lash line, I used MAC Phone Number pencil and then layered Inglot Matte 338 on top lightly. Urban Decay Perversion mascara is on my lashes.

20141114_look4-1

I love how this look came out from a visual perspective. It’s in no way flattering on its own (even though I’ve given you somewhat decent photos above) but it was a lot of fun to create. I was looking for orange cut creases online for Halloween and I found this as a source of inspiration/outright copying.

20141114_look4-2

Taken at the right angle, this look is BEAUTIFUL in photographs. I love the sharp edges and the vivid colour. I wore this to work the day before Halloween (hey, any excuse right?) and it sure did net me some reactions alright! lol

20141114_look4-3

Eyes

I first applied NYX‘s Jumbo Eye Shadow Pencil in Milk all over the lid and blended it out with my finger. I then applied:

  1. Sleek‘s neon orange from the Acid palette all over the entire lid, right up and over my crease.I then used Kat Von D‘s Tattoo Liner in Trooper and carved out the top of the crease (keep your eye open for this), and;
  2. used Urban Decay‘s Blackout to blend out the edge of the liner upwards.
  3. Urban Decay Foxy is on my brow bone.

I used Kat Von D‘s Tattoo Liner to create the enormous wing and dragged it into a tiny point on the inner corner of my eye. I lined my lower lash line and water line with Urban Decay‘sBlack Velvet pencil. Estee Lauder Sumptuous Infinite Daring Length + Volume Mascara is on my lashes.

Rest of the Face

  • Bronzer: NYC Fire Island Tan
  • Blush: Hard Candy Skinny Dipping
  • Lips: Benefit Ultra Plush Lip Gloss in Coralista

20141114_look5-1

Totally falling in love with this lip colour! Too Faced Melted Berry is absolutely beautiful and goes with a whole variety of looks (+obvious observation that it’s fall and it’s a dark lip shade, yadda yadda).

20141114_look5-2

Eyes

  1. MAC Vanilla pigment all over the lid.
  2. MAC Shag through the crease.
  3. MAC Expensive Pink on the outer corner.
  4. Wet n Wild Brulee on the brow bone.

Estee Lauder Sumptuous Infinite Daring Length + Volume Mascara is on my lashes.

Rest of the Face

  • Foundation: CoverGirl CC Cream in 110 Classic Ivory
  • Bronzer: NYC Fire Island Tan
  • Blush: Hourglass Luminous Flush
  • Highlighter: MAC Vanilla pigment

Fitness Friday: Scotiabank Toronto Waterfront (Half) Marathon

I really wasn’t planning on doing the Scotiabank Toronto Waterfront Marathon race. After the race in Prague, I hadn’t been interested in doing another half marathon any time soon. However… I had mentioned to some people on my Ultimate Frisbee team that I was looking for people to run races with (because standing at a start line by yourself really does suck) and one of them invited me out for the half marathon. I was like weeeelllll mayyyyybe I can do the half.

STWM
STWM
Morning of the race – crack of effing dawn

So race day came and I was really worried about my knees. REALLY worried. I met up with my teammates and we huddled together (it was dang freezing COLD) at the start zone in a slower corral than I was marked for (it didn’t matter, they weren’t really checking our line up skills it seems). One thing I noticed right off the bat was just how well this event was handled.Nothing like Ottawa Race Weekend’s utter fucking disaster zone at the start. And even though there were tons of people in this race since the half and the full started at the same time, it went off without a hitch. At no point were we forced to stop and walk because the crush of people was too large. I cannot say how much I appreciated that. Having to stop and walk because there’s too many people is just soul-destroying as you watch your few seconds/minutes of edge dwindle away into nothingness. OTTAWA – You need to fucking fix your shit for next year because every other city is managing to do this with MORE people than you have and they’re not nearly as clusterfucky!

I was wearing my new fancy pants!


So we took off and the first section was uphill ( 😐 ) to Bloor Street. It then cut along down Bathurst and out to Lakeshore. I saw some amazing signs (“Pain is temporary, but internet race results last forever” was definitely my favourite!) and some cute costumes (Captain Canada stuck out in my head as he would stop to high five little kids on the side of the street! I also saw some crazy guy JUGGLING the whole way! He ran the half at an incredible pace AND juggled the entire time!). I was having a GREAT first 10 kilometers. I was doing a fantastic pace (around 5:51 per k) and not feeling out of breath or in pain. I hit the first 10k mark at 58:55 which surprised and pleased me.

But then, rather rapidly, around the eleventh kilometer, my knees started to get tighter and tighter as I pushed on. I tried correcting my stride to straighten out my legs/knee. Then I tried knee ups and high kickbacks – those seemed to help a lot and they’d alleviate some of the pressure on my kneecaps, in particular the left one. It wasn’t great, but it wasn’t super painful yet. There were some nasty uphills on the loop back into the city (we had run out to High Park, then u-turned back down Lakeshore to head back to the downtown core) and I wasn’t too happy to see those suckers towards the end of the run. (It seems the race organizers have a different definition of a FLAT RACE than I do!)

Scotiabank Toronto Waterfront (Half) Marathon Route

When I finally hit the 20k marker, I started to get incredibly emotional. As I approached the finish line, I was on the lookout for my husband who would be very close to the finish line (assuming he could get a spot in the crowds of people) and he had never seen me run a race before. I was really looking forward to seeing him and I was in so much in pain from my knee and broken down physically that it was started to have an impact on my emotional state. (I can’t even imagine what running a full marathon feels like.) I was near tears towards the finish line (although I didn’t spot him due to a miscommunication: he thought I’d said I’d be finished by 11 a.m. whereas I had said I’d be done just slightly after 11) but sucked it up for the last 300 meters and actually managed to sprint towards the finish line (which is interesting, I thought I had been pushing it more than that… I don’t know why I suddenly had more gas in my tank.).

Finish line photos
Finish line photos

I crossed the finish line at a gallop and came to a grinding halt right after the track mat that logged my official finish time. My left knee completely seized up – I suddenly couldn’t bend it anymore, and if I tried, I was gritting my teeth with the pain. I exited the finishers’ chute slowly and painfully with a peg leg that was not bending. I’m sure I looked ridiculous. I grabbed my medal and silver foily blanket and made my way out to the family area where my husband was waiting.

In the end, I managed to finish in 2:07:25, which was over a minute faster than the half marathon in Prague last month. This surprised me because I hadn’t been training and I was significantly heavier than I was last month as I had gained about seven pounds. I was really happy to have done even that small bit better because it’s such a confidence booster!

Scotiabank Toronto Waterfront Half Marathon Medal

Race Results

  • Finish Time: 2:07:25 (new personal best!)
  • Pace: 6:02 per kilometer
  • Overall placement: 5959/10542
  • Age group placement (F30-34): 431/912
  • Gender placement (F): 2531/5627

Halloween 2014 – Part 1 Sugar Skull

201411_sugarskull2

I am hugely proud of this look I created for work on Halloween day! I was little bit nervous to wear complete face paint since I do work in a corporate environment, but my Sugar Skull look was well received so I was pretty pleased with myself. /brushes off shoulder

Getting up long before dawn to try to get this look done before work!

I had been inspired to do this look by Shaaanxo’s pink sugar skull tutorial on YouTube. I liked her concept and how it was “pretty” enough. Since I knew I was going to be wearing green face and body paint that evening (you’ll see that in next Wednesday’s post) for my Gamora costume, I wanted something that was on the “lovelier” side of things.  I opted for different colours than the tutorial, primarily because I didn’t have two matte pink shadows that would work well together.  I also incorporated other ideas from different sugar skull looks I had seen on the internet.

The look started off a bit weird. When I just had the colour blobs on and none of the shading, I looked really, REALLY bizarre. And I was starting to wonder if this was even going to come together. Luckily, adding on the black liner helped tie everything together.

Face details
Face details

I first layed down a base using the lightest foundation shade I had, which was Revlon Colorstay in Buff (very little of this) mixed with a *lot* of Inglot‘s Cream Concealer in 37 (white). I sponged this onto my face and managed to get a pretty smooth and even layer of product covering my whole face.

I then started to fill in the eye sockets with Inglot‘s Matte eyeshadow in 334 all over the lid. I filled in my brows with Matte 325. I then dotted on alternating colours around the purple usingInglot‘s AMC Shine 454 and Matte 317 shadows. When those were done, I used Kat Von D‘s Tattoo Liner in Trooper to create the black outline.

Full face
Full face

Using the same liner, I then drew lines coming straight out of my mouth, under my cheekbones. I used Urban Decay Blackout eyeshadow to create a fade down from the liner. And then drew on sewing lines to make it look (somewhat) like my face was sewn back together. I really could’ve done that better, but I was running out of time!

I filled in my nose with the same liner and then added some shading to the back of my cheeks and the top of my forehead with Inglot’s Matte 334 eyeshadow.

Yet another bathroom selfie

The last few steps were drawing on some random dots and swirls, as well as the lotus flower in the middle of my chin which was then shaded with the same purple Inglot eyeshadows.

My lips were easy to do with the liquid liner: I drew lines vertically to demonstrate teeth and then patted some black eyeshadow on the inner part of my lips to add some depth.

This shot was taken after I got home from work. You can see the makeup held up well for about eleven hours!

In the end, I was so pleased with how this turned out! I’ve never done any kind of makeup like this before and was really happy with the results. I didn’t need much touching up aside from my lips after I had eaten lunch and a little bit around my nose where the concealer got a bit cakey. All in all though… super successful!