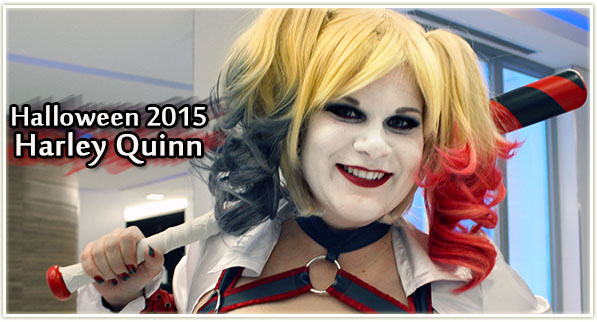
I’m a little overexcited about Halloween this past year: I got to be Harley Quinn! Being Harley Quinn had been an idea I’d had a years back after watching Julia Graf’s Harley Quinn makeup tutorial. Although I didn’t actually know anything much about the character, but I loved the look of her!
Let’s go back though – when our costume planning started in September, our group thought we were going to be characters from Star Wars, but after a few (shameful) people hadn’t seen the movies and didn’t immediately fall in love with it after we made them watch A New Hope, we went back to the drawing board. We decided on Batman villains, but it quickly evolved into Batman & Robin, plus assorted villains. Since last year’s Guardians of the Galaxy costumes had been so incredibly arduous and time consuming, we thought this would be a bit simpler to do and also a lot more individual. (Building Groot’s costume last year was almost a full time job for three people throughout the month of October.)
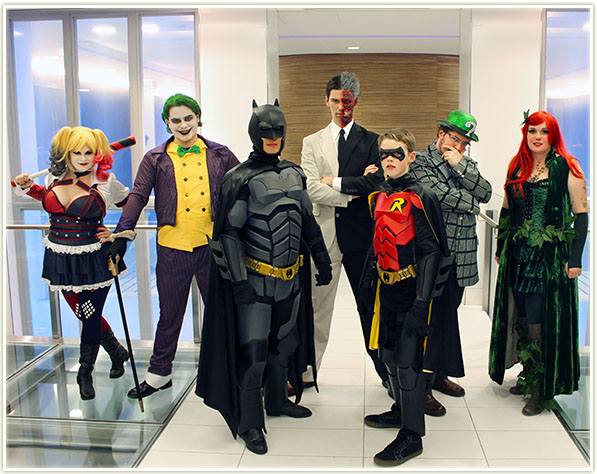
I was also really happy to incorporate my husband (The Joker) this year and longtime friend Alison whom I had known since I was in high school in Ottawa. (She has an awesome DIY/cooking/everything blog that you can check out here: Ali Does It.) Alison just happened to be in Toronto that entire weekend and was able to construct her costume on her own in Ottawa!
I’ll be recapping a few of the costumes that I had a part in making/creating over the next week or so. Today we’re starting out with mine:
Harley Quinn
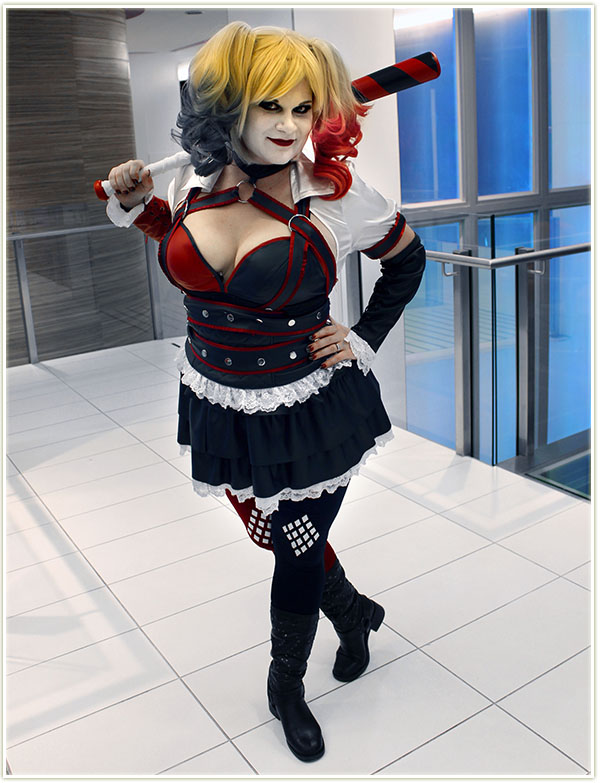
I based my version of Harley Quinn on the Arkham Knight video game because that was the one that appealed to me the most and it didn’t require me to expose my midriff to the world.
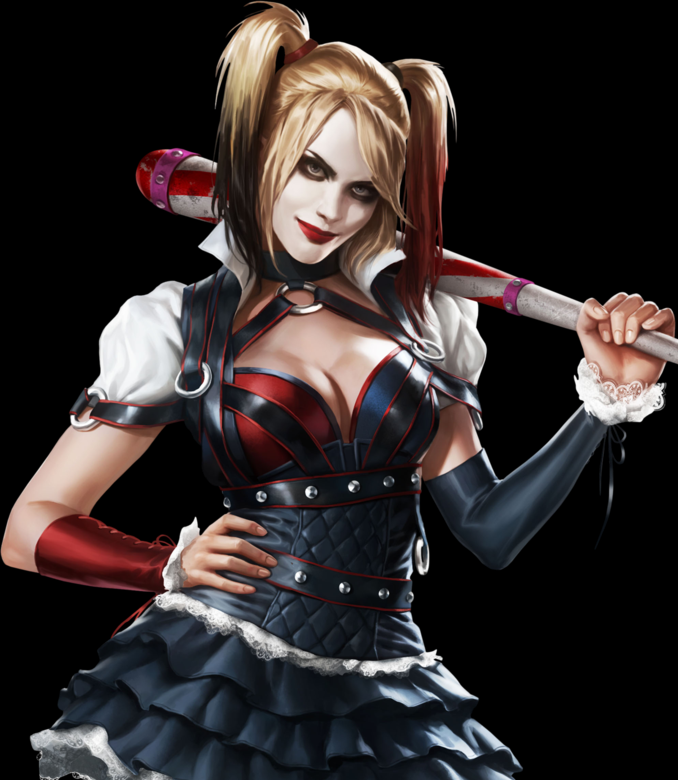
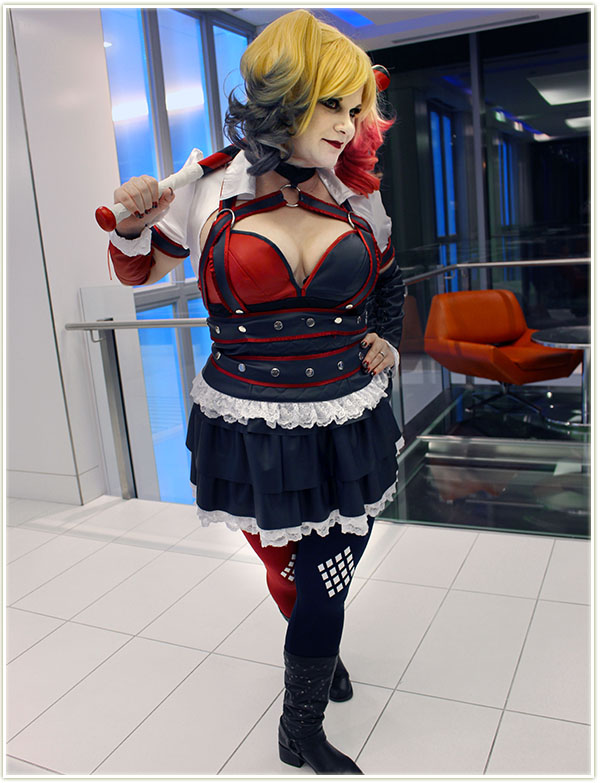
Although most of the outfits in the group were homemade, I was one of the “lucky” few that got to buy their outfit. Well, at first I thought I was lucky, then I realized I was going to end up shelling out an arm and a leg for everything altogether but there was no way I could’ve made that outfit on my own. I purchased my outfit from Cosplay Sky and it was $149 USD. (And then there was an additional $30 USD shipping charge…) I ordered it mid-September and it arrived well before October from China. I was surprised at how quickly I received it, but really, really pleased.
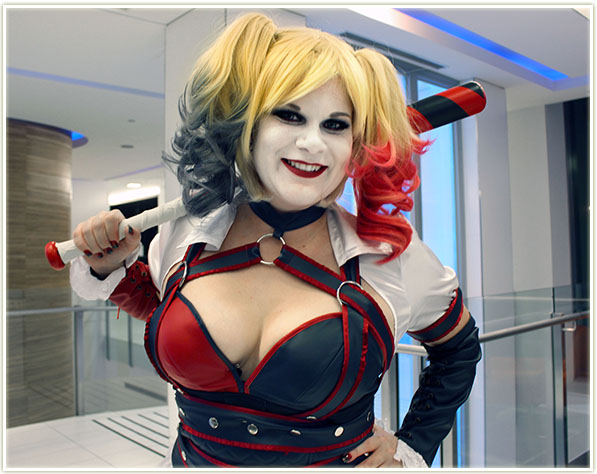
I was also concerned about fit, but it worked out in the end. I ordered a medium and most of the costume fit just fine. The only piece that didn’t was the back shoulder strap grid thing which comes over the shoulders and across the chest. I ended up not wearing it and it didn’t really change the appearance of my costume.
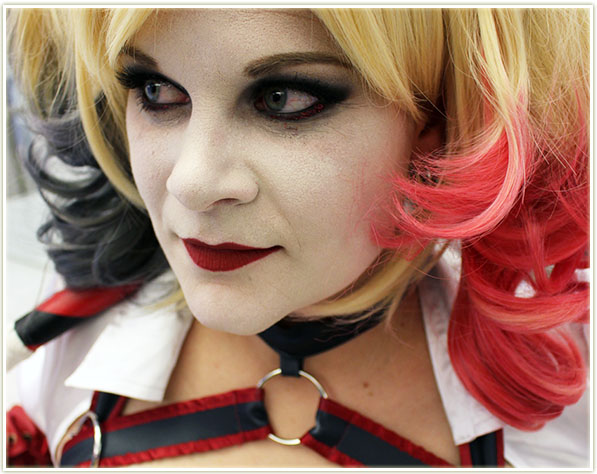
My makeup was really, REALLY simple for this one. I first primed my face with Make Up For Ever‘s Step 1 Smoothing Primer to even everything out. I used a little bit of Revlon‘s ColorStay foundation in 180 Buff with a lot of Inglot‘s white concealer mixed in. I sponged the concoction onto my face using a Real Techniques Miracle Complexion Sponge and set it with Hourglass‘ Ambient Lighting Powder in Ethereal Light.
After priming my eyes with Milani‘s eyeshadow primer, I covered them with MAC‘s Blacktrack fluidline. I let that dry a bit then covered the fluidline with Urban Decay‘s Blackout shadow. I basically covered my entire lid with it, blended it up through the crease and lined my lower lash line with it – smoking it out as much as possible (I think I used a bit of MAC Cork to help out). I tightlined both water lines with my Marc Jacobs Highliner Gel Crayon in Blacquer, applied essence‘s get big! lashes (waterproof) mascara and then popped on some House of Lashes Bombshell falsies. I used a little bit of Lit Cosmetics‘ Heartbreaker glitter on my lower lash line, but it didn’t really show up in pictures. I filled in my brows with Anastasia‘s Dipbrow Pomade in Taupe.
The only thing remaining was my lip colour – I ended up going with NARS matte lip pencil in Cruella.
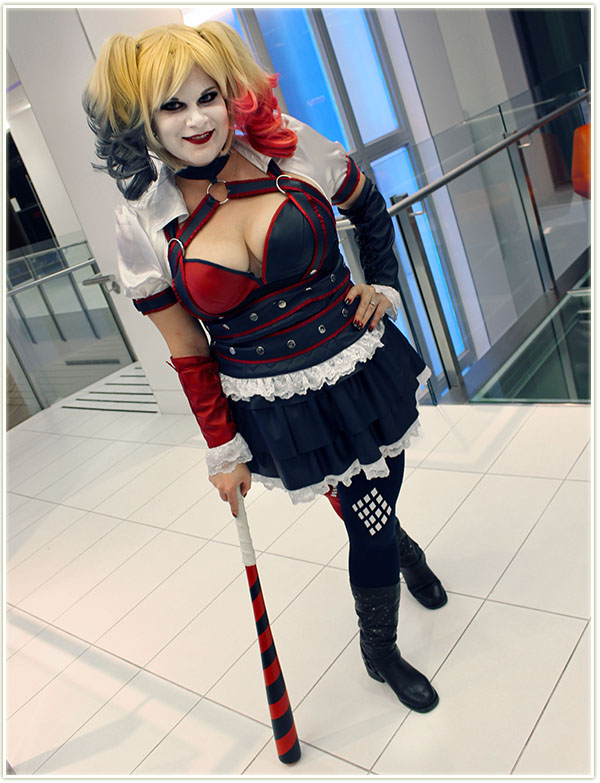
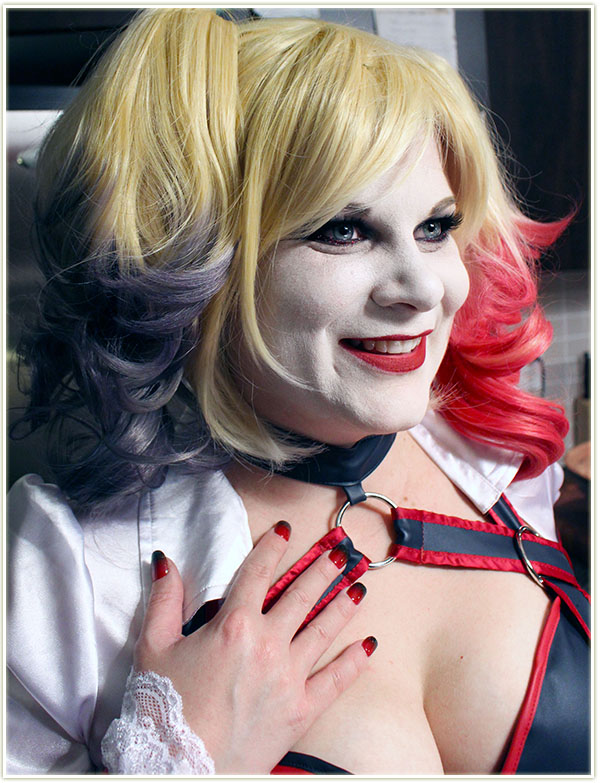
One of the things that pleased me the most were my matching nails. I had some KISS fake nails in RIP which were PERFECT for this costume. Not only were they a red and black gradient, but they even had a little bit of glitter on them! I cut and filed them down to a more decent length for my hands, making them a lot easier to wear. (I saw that tip on someone else’s blog by the way – super useful!)
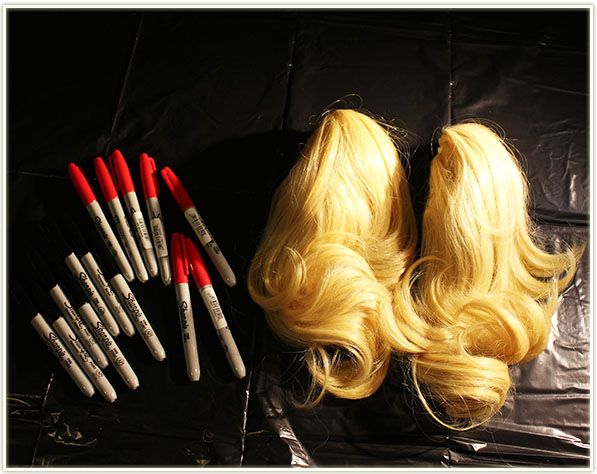
Dyeing the wig I got off Ebay was one of the more concerning things for me – especially since it was plastic and not something that would take colour well. Thankfully, Zubie of Living The Grey pointed me towards this YouTube tutorial that did the trick. The gist of it is that you drain the ink out of Sharpies into an alcohol base and then paint it onto the wig.
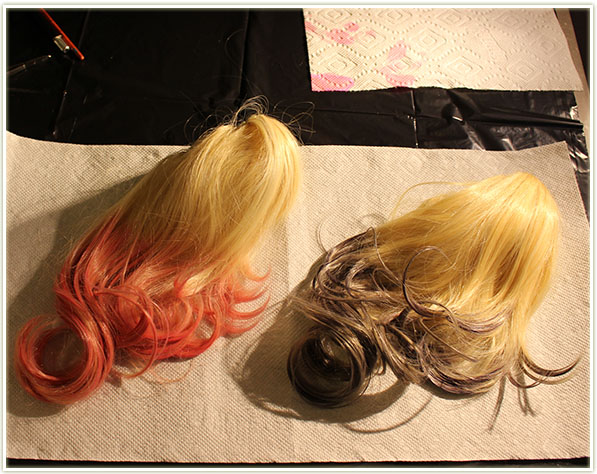
Since my wig was so bright, I had to do about three coats before I got it looking decent enough to wear. At first the red came out quite pink and the black was honestly quite purple. Multiple coats of ink worked though!
The only other thing remaining was the baseball bat. I picked up the cheapest wooden bat I could get from Canadian Tire and spray painted the whole thing solid red. Once it had dried, I taped off a swirl pattern and resprayed it black. After the tape was pulled off, I let the whole thing dry and then tapped up the base like a hockey stick and tada! DONE!
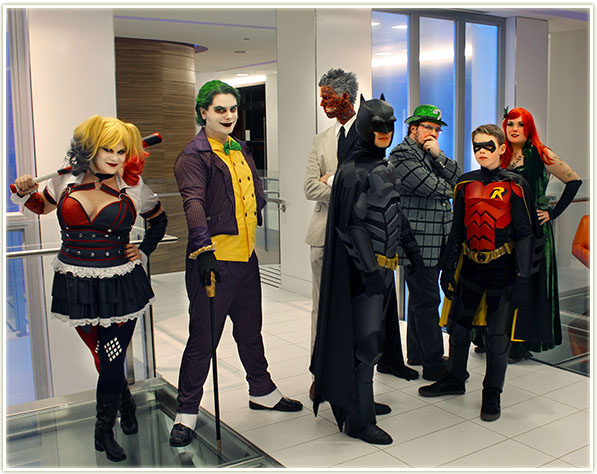
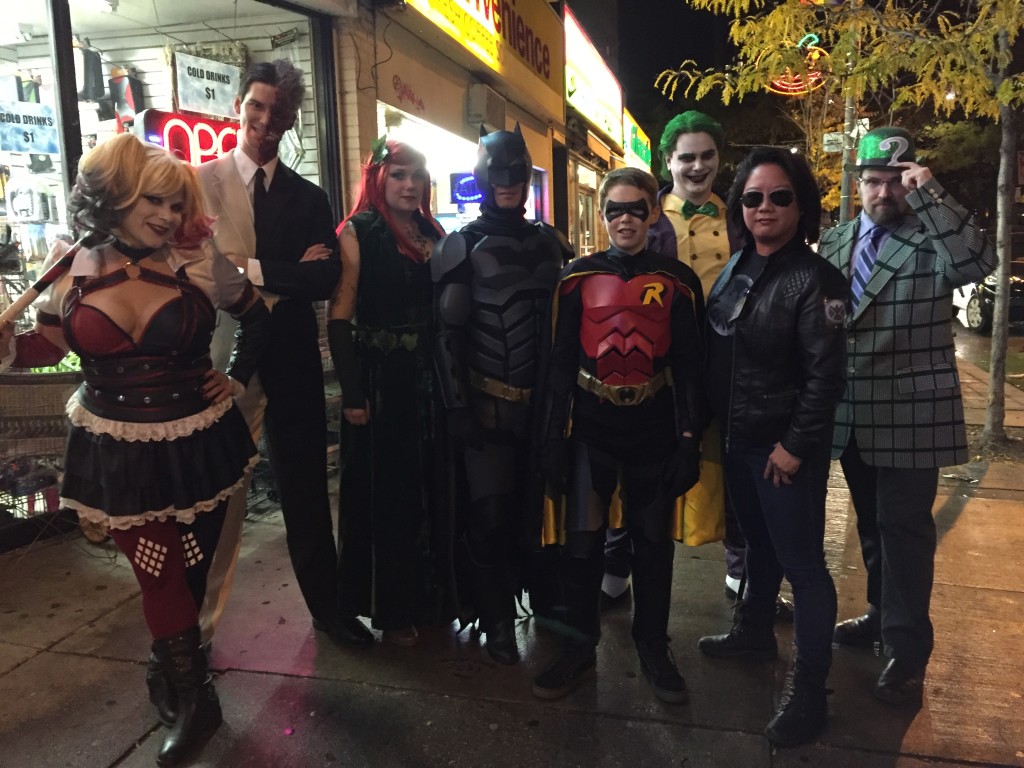
All in all, this was my absolute favourite costume to wear for Halloween and I was SO FREAKING SAD when I had to take it off! I not only thought I looked adorably spunky but I also felt like a badass. I’m totally up for wearing this to a con or something because I just want to get right back into that outfit!
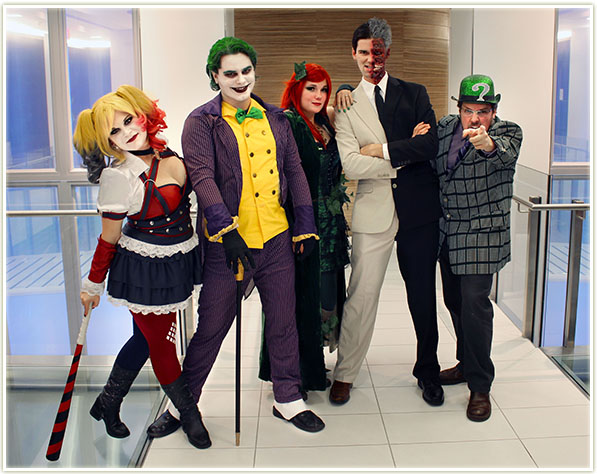
Click through to see some of the other costumes: | The Joker | Poison Ivy | Two Face |
