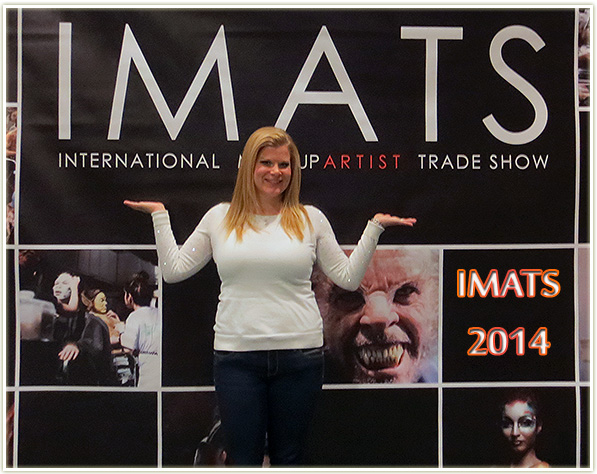
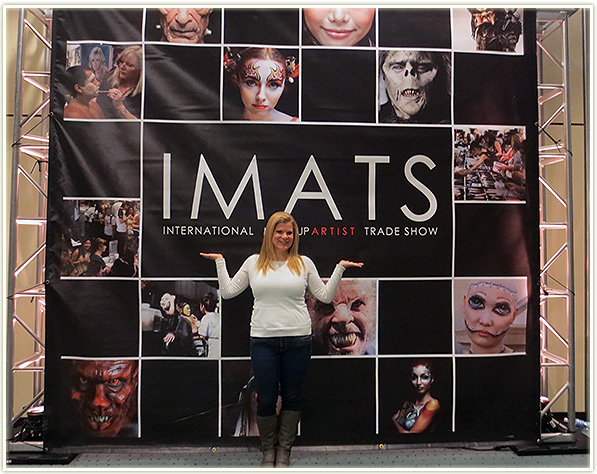
Having never been to IMATS before, despite my makeup obsession long withstanding, I have to say this was a pretty phenomenal first experience. I got to meet a ton of Toronto-area bloggers that I read on the daily, pick up a bunch of makeup brands I don’t normally have access to, meet some YouTubers I’ve been watching for years and… surround myself with people who are just as into makeup (if not moreso) as me!
I was a bit in a rush that morning since I was heading to meet Jenn from Scarlet Beauty prior to the doors opening at the Metro Toronto Convention Centre. We got there early enough, but the lines were still insane. A line to pick up your pass (aka a stamp on your wrist) and then another long line to actually get into the IMATS hall.
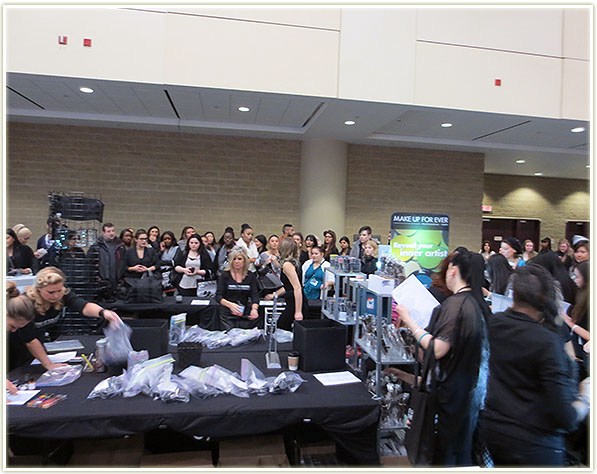
I’d been warned that everyone would go bat-shit insane for the MUFE and MAC counters. I wasn’t really interested in either of them, so I swatched a few items while Jenn compiled her list at MUFE. And then, while she waited in line for an HOUR to get her order fulfilled there, I ran off to check out the other booths.
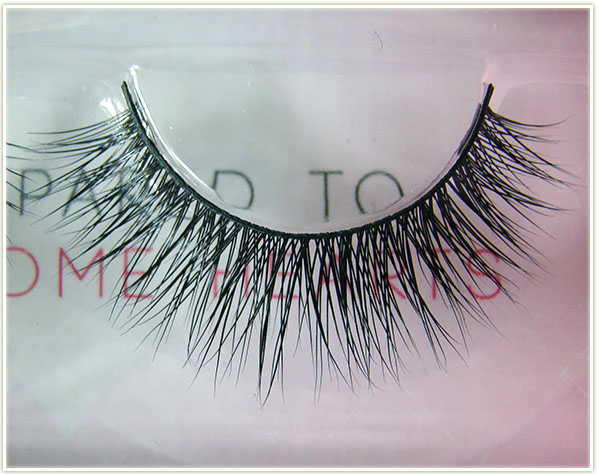
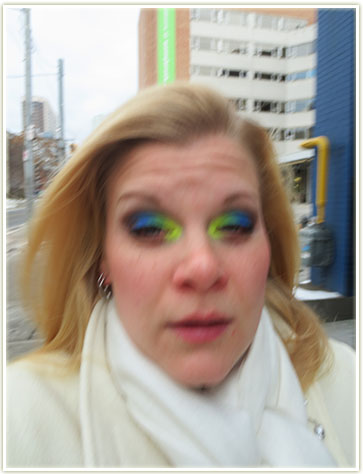
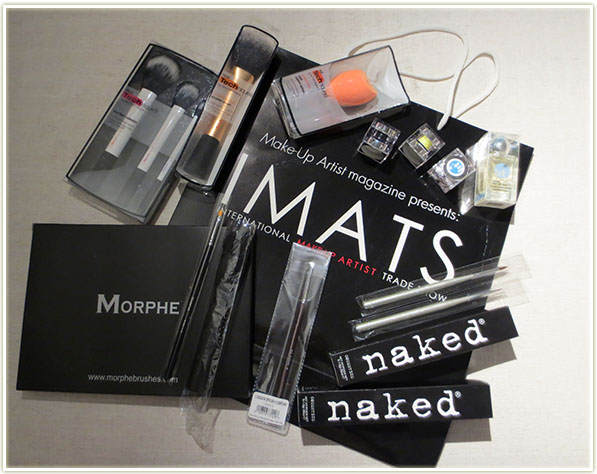
I managed to pick up all the things on my “To Buy” list during that hour. They mostly included glitters from Lit Cosmetics, pigments from Naked Cosmetics, and a bunch of brushes from theReal Techniques/Farleyco booth. Lit and Naked both seem to be online only to Canada and I’ve always wanted to check them out in person first.
Then, while Jenn was still waiting at MUFE for her order, I got into the Real Techniques line where the Pixiwoo sisters would be meeting and greeting for the next two hours. I have to admit, I felt silly. I mean, I’m a 31 year old woman and I was predominantly surrounded by late teens/early 20-something-or-others, waiting in line to meet some YouTubers. I always feel incredibly awkward meeting “famous” people because I’m overly conscious of the fact that I am “just another blogger in a long list of people they will see and promptly forget”. HOWEVER, I’ve been watching their videos for five or six years now and I have gotten more information and techniques from them than I ever thought possible and I really wanted to get a picture with them.
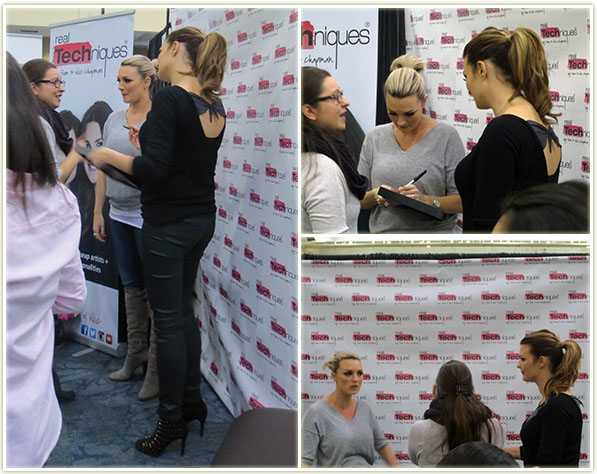
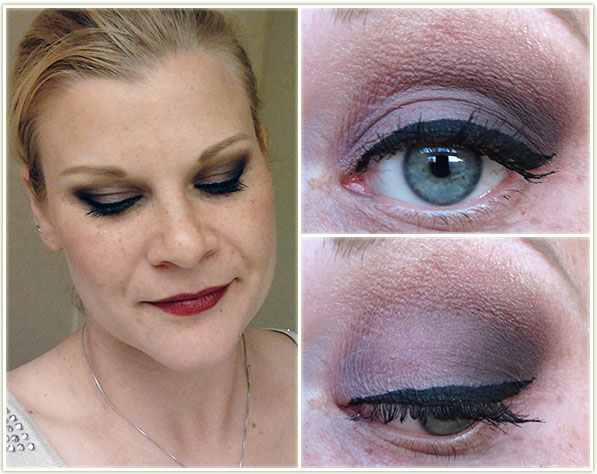
So I lined up, snagged a few pictures while they were with other people, and then my turn came up. They were warm and friendly – asking my name and what makeup I was wearing (which I promptly blanked on because I was dealing with mild-starstruck-itis). In the end, they were lovely and they took a beautiful picture. On my way out of the photo area (I really didn’t say much to them, I didn’t want to take up too much of their time), Sam turned to me and said she didn’t catch my name. I repeated it, and I thought that was such a sweet gesture.
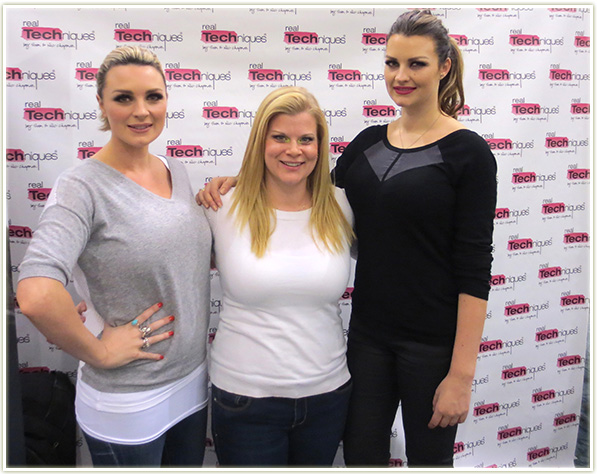
Thankfully the picture came out pretty good!
Afterwards, it was a matter of meeting up with some more bloggers, having some lunch with a few of them, and then checking out some of the panels and some more of the booths. I picked up way more brushes than I intended (Morphe, London Brush Company) and grabbed a palette of brights from Morphe.
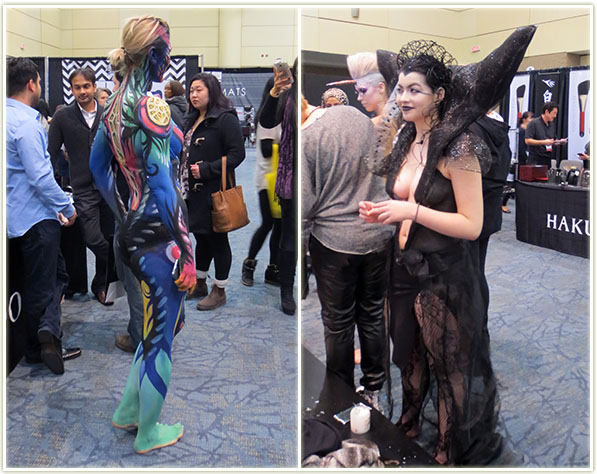
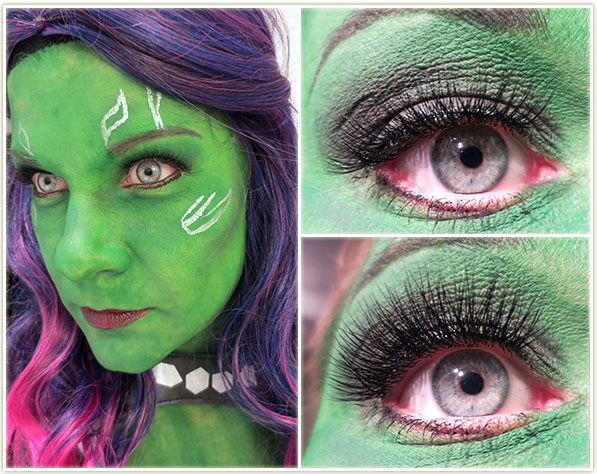
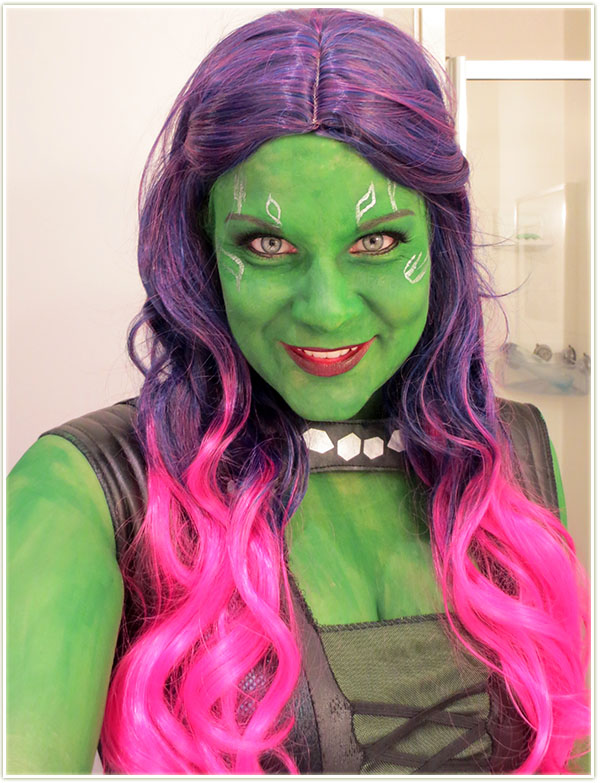
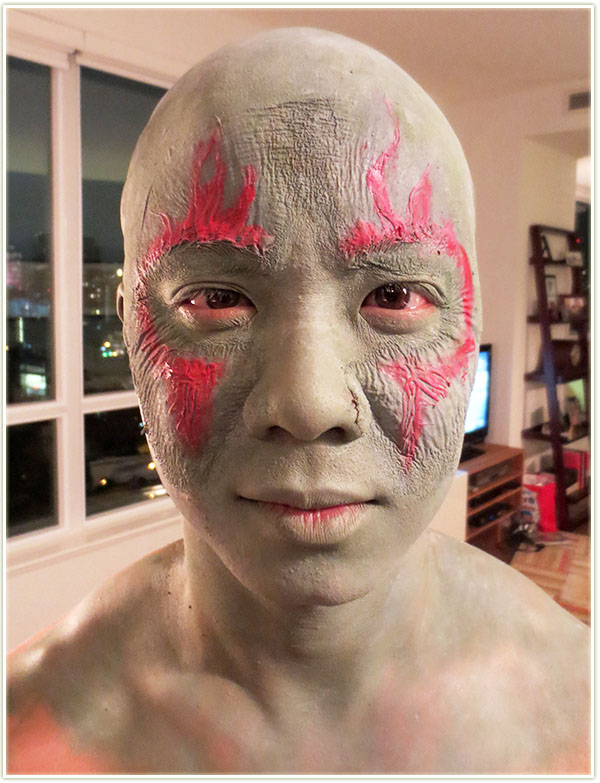
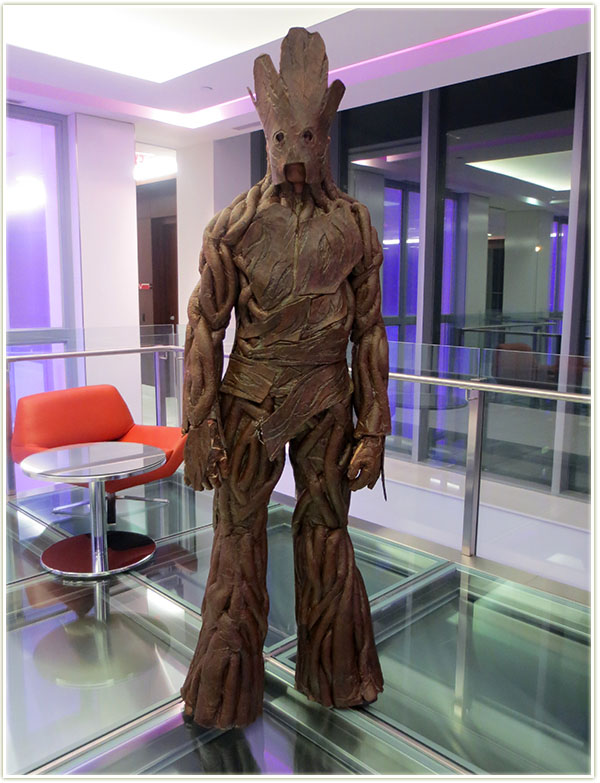
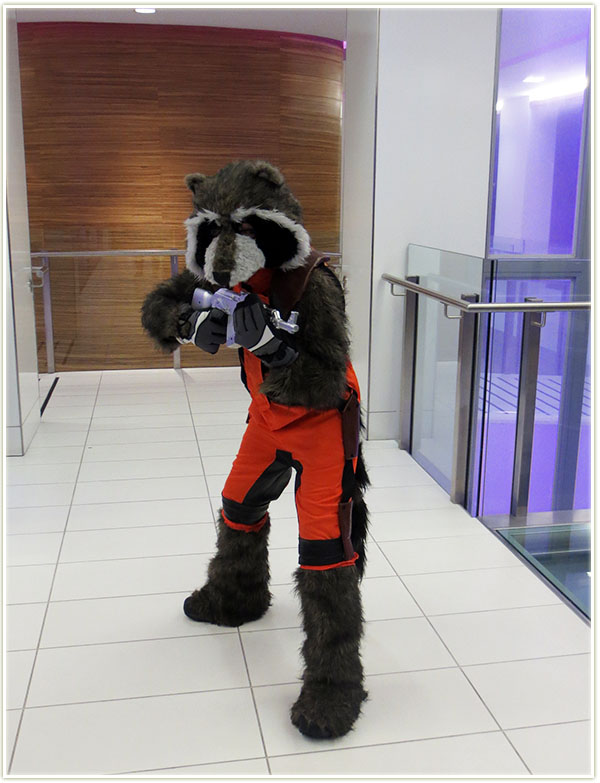
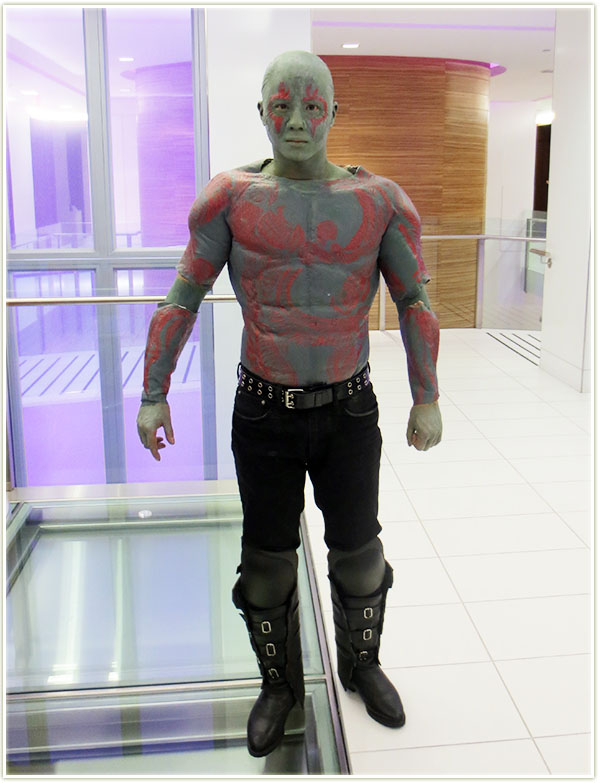
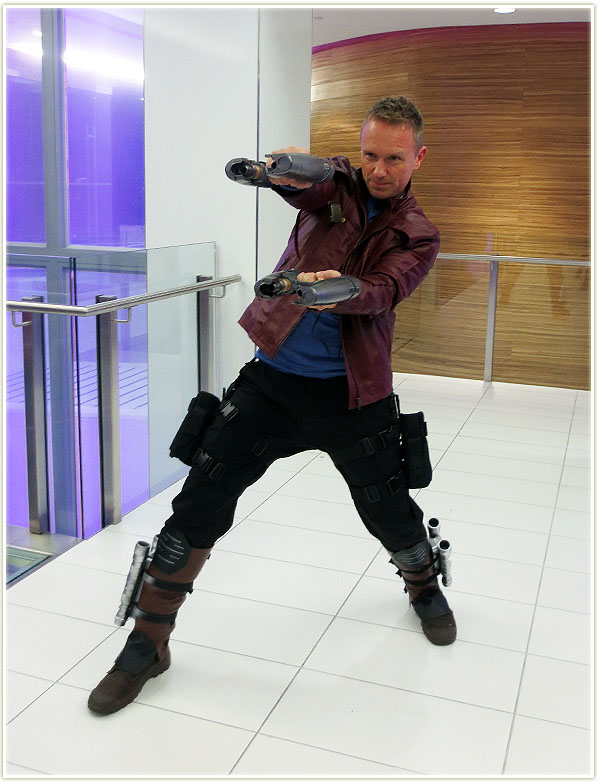
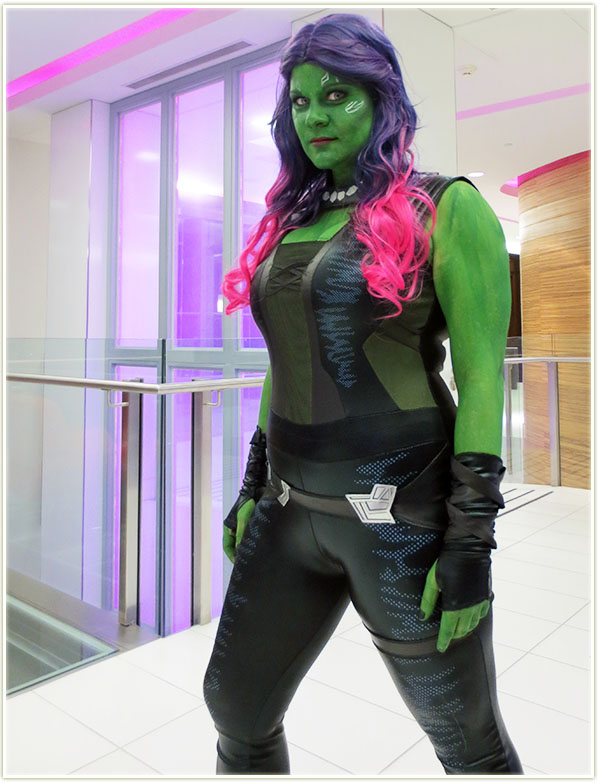
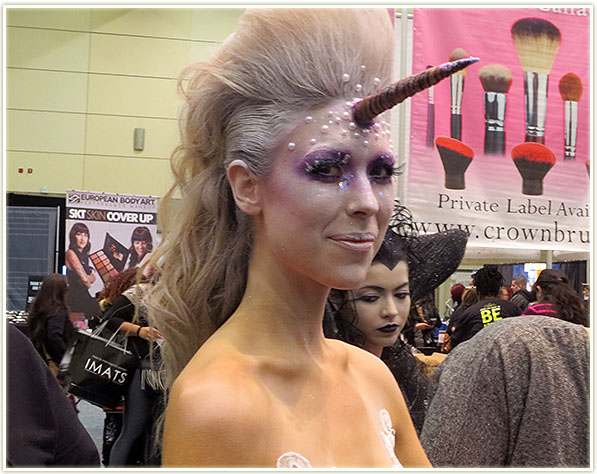
There were also a lot of pieces of art walking around as well. While I love the bright colours by MUFE (on the left), I was *super* excited to see the Mia Sara get-up on the model on the right from the movie Legend. At least that’s what I think they were going for! (Man, I LOVE that movie! Good reminder to go re-watch it…)
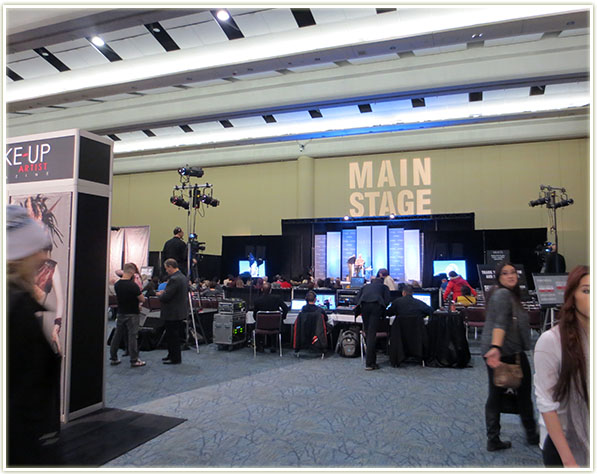
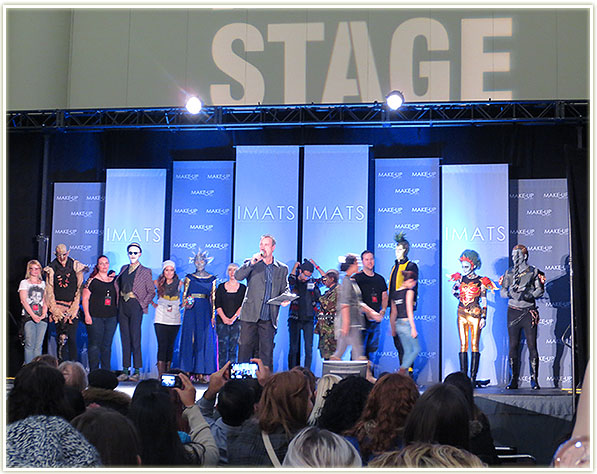
The last panel of the day was something to do with MAC Cosmetics and fantasy. It started off interestingly, with the inspiration being teacups and 80s punk….

….and then everything went disastrously downhill once the Sweet n Lo packets were brought in to be applied to the lips.
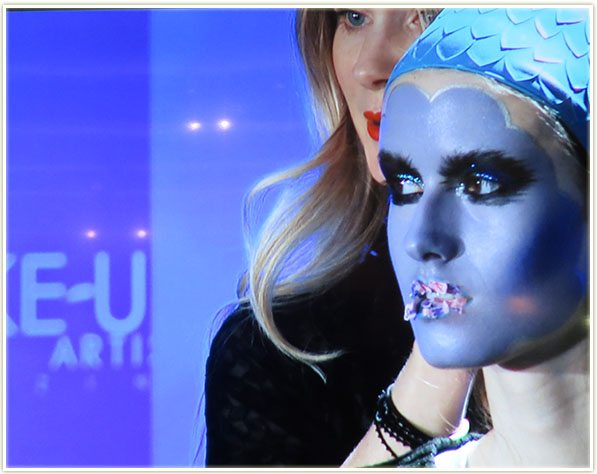
Like… what?
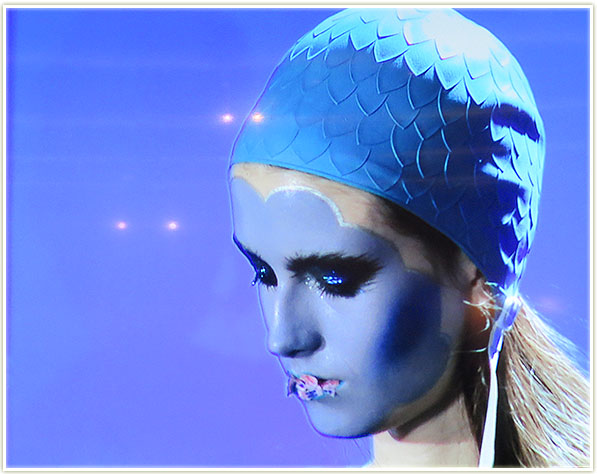
The poor model…
So all in all IMATS was a ton of fun. It was crowded as hell during the morning, but a lot of people left by mid-afternoon so there was a lot more space to move around and check out booths. That being said, there was also a lot less product left at the booths by the end of the day, so if you wanted something in particular that was a highly coveted item, I hoped you picked it up in the morning!
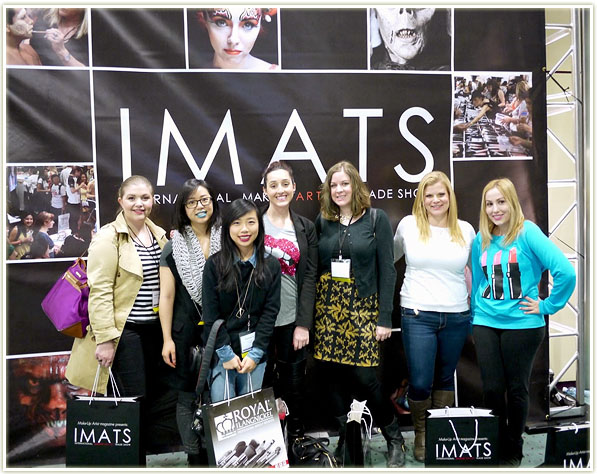
Aside from the products, getting to meet some of the CBB crowd was fantastic! Be sure to check them out:
- Jen from Vibrant, Vivacious, Veracious Beauty Blog
- Jenn from A Beautiful Zen
- Steph from Fun Size Beauty
- Laura from Lipstick and Laura
- Julie from Swatch and Review
- Shawna from Spill The Beauty
And despite my concerns, I actually managed to stick to my budget ($200). I wasn’t expecting it to actually happen (we all know we start to cave when we’re around shiny new products!) but I was super pleased that I actually held to it.
Monthly haul coming up on Friday which will include all my IMATs stuff as well!