Category Archives: Reviews

BECCA Liquid Crystal Lip Topper Glow Glosses (Review & Swatches)

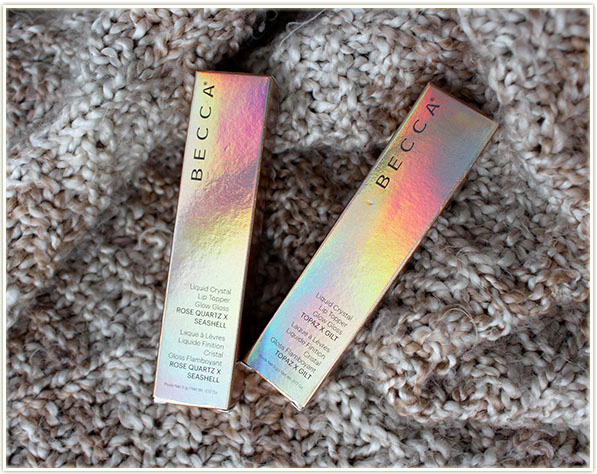
BECCA Liquid Crystal Lip Topper Glow Gloss

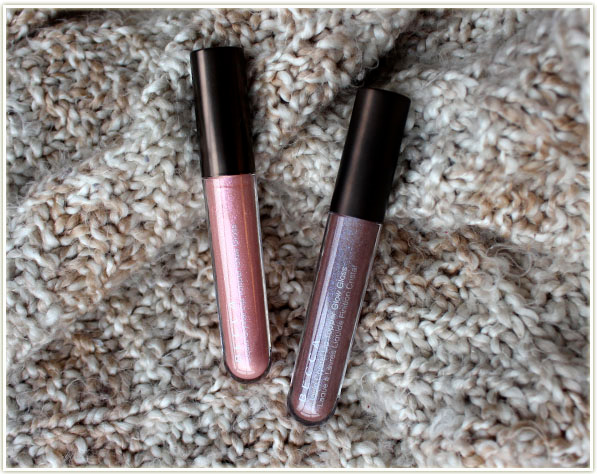
Inspired by raw gemstones melted into liquid form, BECCA Cosmetics created the Liquid Crystal Lip Topper Glow Glosses and unleashed them on the makeup world!
BECCA Liquid Crystal Lip Topper Glow Gloss

While the term lip topper basically surfaced out of YouTube (and I really hate that term to be honest), these are really just a lip gloss. Suspended within the lip gloss formula are a kaleidoscope of pearls that really do reflect the idea of melted gemstones. Each shade has a tinted base with a more dominant colour reflect amongst the pearls.
BECCA Liquid Crystal Lip Topper Glow Gloss

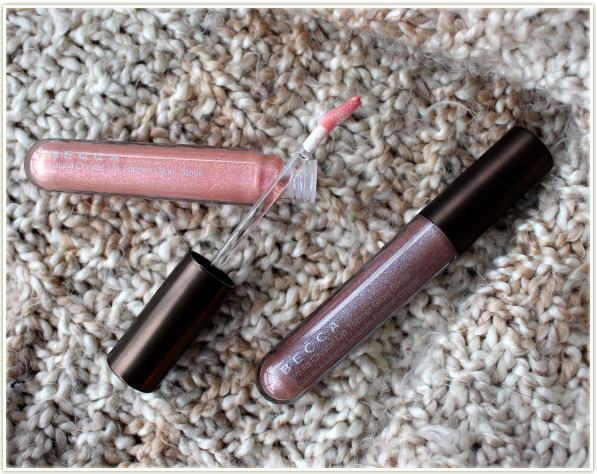
The glosses come with your standard doe-foot applicator, but I do find it doesn’t actually pull enough product from the tube as I had to dip multiple times to get full opaque coverage on my lips. If, however, you are using these as a spot highlighter in the center of your lips, you’ll definitely pull enough product out in a single pull. The tubes kind of look like test tubes from science class to me (love it!) and contain a healthy 5g/0.17oz of product.
BECCA Liquid Crystal Lip Topper Glow Gloss swatched - Rose Quartz x Seashell and Topaz x Gilt
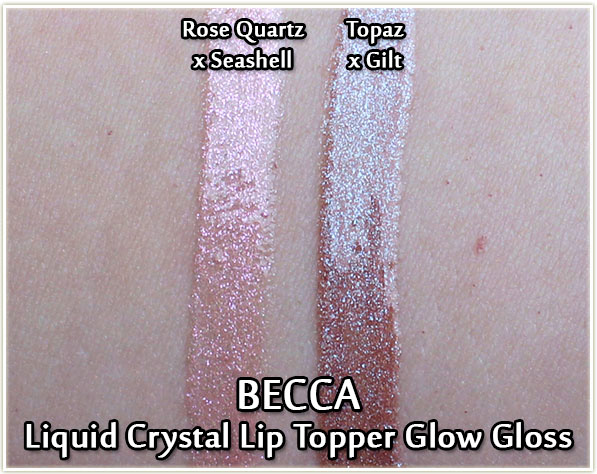
BECCA Liquid Crystal Lip Topper Glow Gloss swatched – Rose Quartz x Seashell and Topaz x Gilt
  • Rose Quartz x Seashell has a pale, translucent pink base with flecks of brighter, silvery pink.
  • Topaz x Gilt is basically MAC’s blue-brown pigment! The base is a toffee brown shade and the glitter flecks are blue, sometimes green.

These claim to have a coconut and vanilla scent… a claim that completely baffled me as I smell none of those things. To me, these are basically an unscented gloss that still retains some of that older lipstick smell. Not like the product has gone off, but more like it was never scented in the first place and still has some of that manufactured scent. It’s not intrusive for wear though!
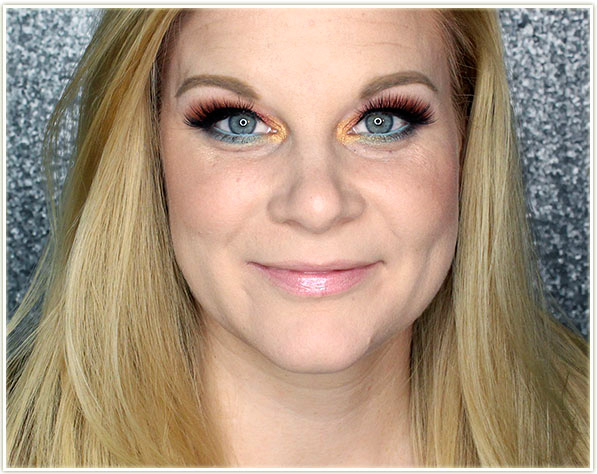
Wearing Rose Quartz x Seashell

On the lips, Rose Quartz x Seashell comes off as a more milky pink.
Wearing Topaz x Gilt

Topaz x Gilt was easily my favourite out of the two shades I tried (there are six shades total in the collection). I love the look of the soft brown colour and the blue-green sparkle is really, really gorgeous.

In both shades, the sparkle is not really apparent from a distance (and you honestly can’t see it that much in the photos I’ve posted). I think it makes for an interesting illusion… from afar it looks like you’re wearing a regular gloss, but when you get up close you can see the facets of the coloured glitter (as you can see in my swatches) and it completely changes how you perceive the lip look!

Final Thoughts

The Liquid Crystal Lip Topper Glow Glosses are fundamentally a gloss at their core, so you won’t find their longevity to be on par with a lipstick. Which is fine by me, but I often feel people have completely unrealistic expectations for a gloss so I wanted to put that out there. Reapplication was necessary around the two hour mark as the gloss would start to wear away and you’d be left with glitter particles on your lips. Although I didn’t find the glitter to feel gritty or obvious in texture on my lips, if you really smush your lips together you’ll be able to feel it.

Over the years I’ve kind of grown out of lip gloss just because it didn’t suit my every day life very well as I need something that wouldn’t move around on my lips at work. These surprised the heck out of me as the gloss stays put and doesn’t travel around my lips! Although some people may not be into these kinds of shades for the office, for me these work really well. If you’re looking for a fun gloss with a beautiful, unusual shimmer to it, then you’ve found it! Maybe even grab one of them for the holidays to add some sparkle and shine to your look!

The BECCA Liquid Crystal Lip Topper Glow Glosses are available on sephora.ca for $27 CAD each or on sephora.com for $22 USD each.

The products featured in this post were sent to me for consideration. Post contains affiliate links.
Esqido Lashes Review (Radiance & Unforgettable)

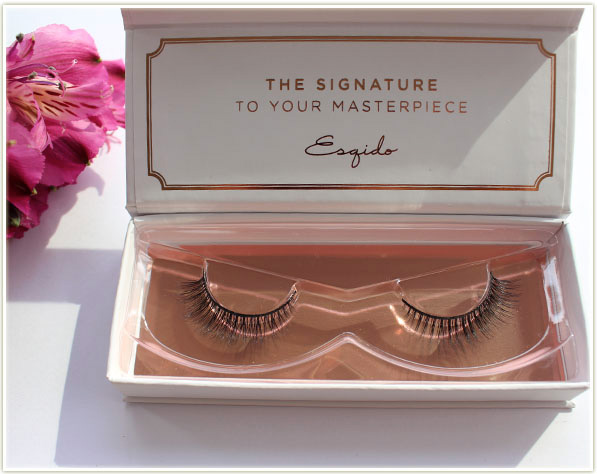
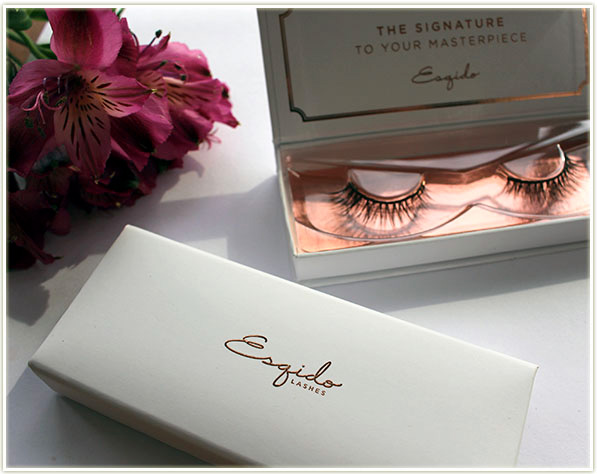
Esqido lashes

In 2016, as part of my yearly favourites video, I declared that Esqido had become my favourite fake lashes on the market. It’s a bold statement, and an expensive one at that since these are quite up there in the price tag department, but we’re a year later now and I can still confirm that Esqido still makes the most beautiful and comfortable lashes I’ve ever worn!

Esqido lashes
Esqido lashes

Esqido offered to send me some of their new styles and I was more than happy to accept them! Funnily enough, their lashes are so good that in the year or so I’ve had the other ones in my collection, I’ve only managed to burn through one pair and the other pair is still going strong. So when you look at the elevated price tag of these, just know that you’re getting really good quality with it. And since my last review of their lashes was in 2016, I thought it’d be fun to refresh my memory on why I love these so much.

The number one reason I like the Esqido lashes so much is that the cotton band that the lashes are attached to is incredibly flexible. Unlike your typical plastic band that has no dang flex, the Esqido band can conform to your eye shape every time without issue. Their lash styles are also beautiful (and they’ve added a lot of new ones recently!) so when you combine a beautiful fake lash with a comfortable band? You’ve got an absolute killer product!

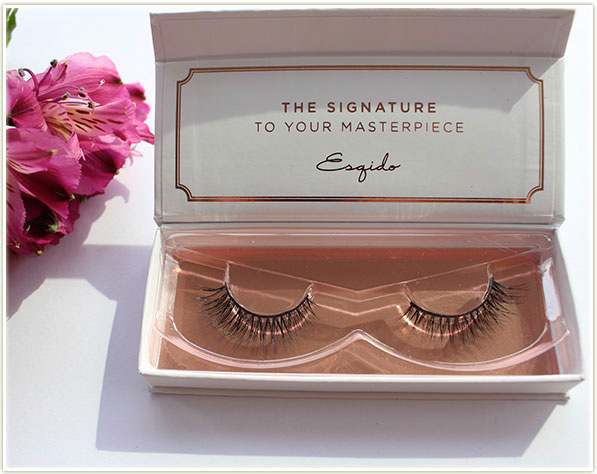
Esqido lashes - Radiance
Esqido lashes – Radiance

The Esqido Radiance lashes ($29 USD) are labelled a 2 out of 5 stars in terms of volume on their web site which makes these more on the natural side of things. The Radiance lashes have a little bit of a V-shape flare at the base of the lashes which help make your eyes look bigger.

Esqido lashes - Unforgettable
Esqido lashes – Unforgettable

The Unforgettable lashes ($28 USD) are very similar to the Radiance lashes, although these have a little bit more of a flared out effect on the edges. This is also a 2 out of 5 star volume. (I decided since my last post was focused on big lashes, I wanted this one to be centered around the more natural looking ones.) The Unforgettable lashes have less of a V flare compared to the previous one, but they are more concentrated on the outer corner which helps to elongate the eye.

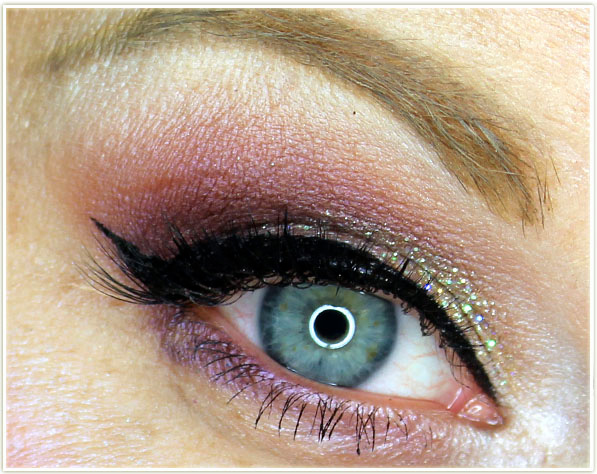
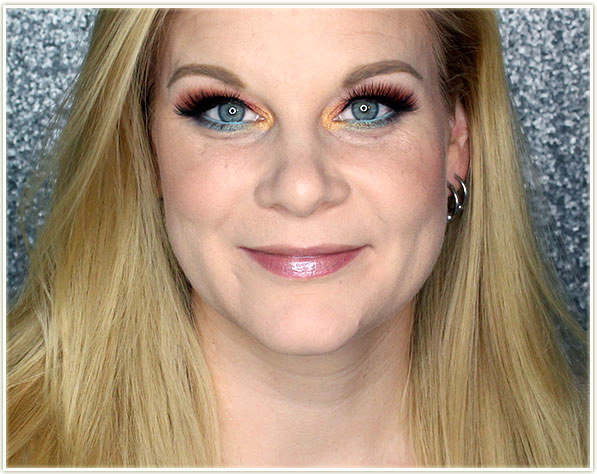
Wearing Esqido Radiance lashes

In all honesty, the difference between the Radiance and Unforgettable lashes is not a big one (although I only have Radiance pictured here), so if you like one style more than the other, go for it, but they’ll pretty much produce the same look.

Final Thoughts

It almost goes without saying, but these are just as good as ever! The band is super comfortable and flexible making this a lash I’d actually suggest for false lash newbies. I realize that dropping about $30 USD on a pair of lashes may seem daunting for a beginner, but these are hands down the easiest to apply out of all of the lashes I’ve tried. I can also easily get 20-25 uses out of these lashes which is kind of unheard of. A lot of brands claim they’ll last that long, but they often don’t! These do actually stand the test of time.

Another thing to add – Esqido‘s web site is really, REALLY good. They have side by side comparisons of no lashes vs each lash style applied to the model and it’s incredibly informative. It’s not an overly edited look either. They stick to no mascara and layer it on top of the eye so you can see how much volume it adds. I was really impressed by their attention to detail and the clarity of the pictures on their site.

In short, Esqido lashes are expensive, yes, but they are hands down my favourite lash brand out there and are worth every single penny!

The products featured in this post were sent to me consideration.

Too Faced Glitter Pop! Peel-Off Eyeliner (Review & Swatches)

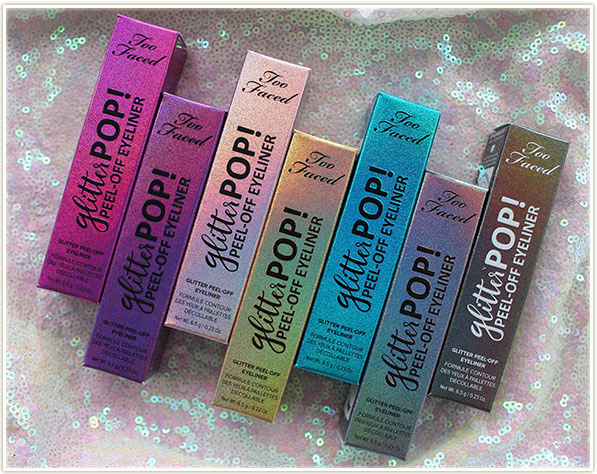
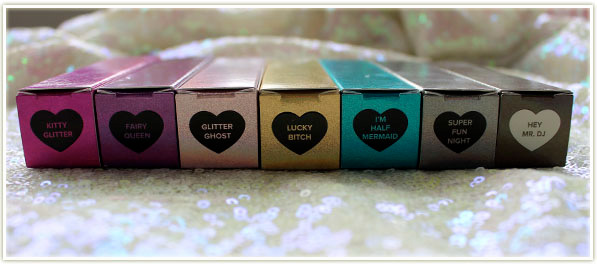
Too Faced Glitter Pop! Peel-Off Eyeliners

Too Faced *AND* glitter?? You know my interest was piqued!

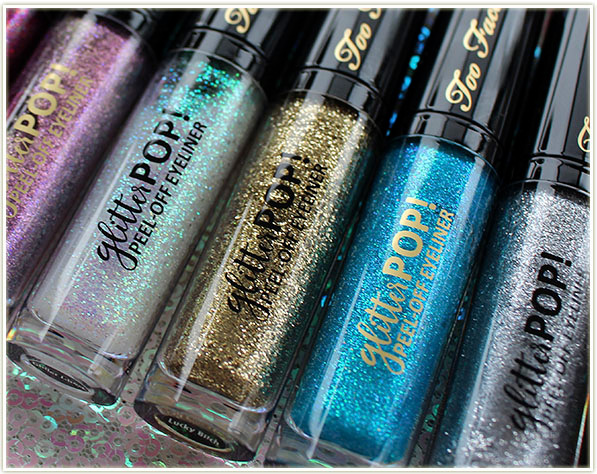
Too Faced Glitter Pop! Peel-Off Eyeliners

Just this past month Too Faced launched their Glitter Pop! Peel-Off Eyeliners and I was intrigued. I play with a lot of glitter, so I’m always interested to see new ways to apply it to my face! These Glitter Pop! liners promise to peel away without leaving glitter flecks anywhere. That’s one hell of a bold claim since glitter is infamous for getting EVERYWHERE!

Too Faced Glitter Pop! Peel-Off Eyeliners

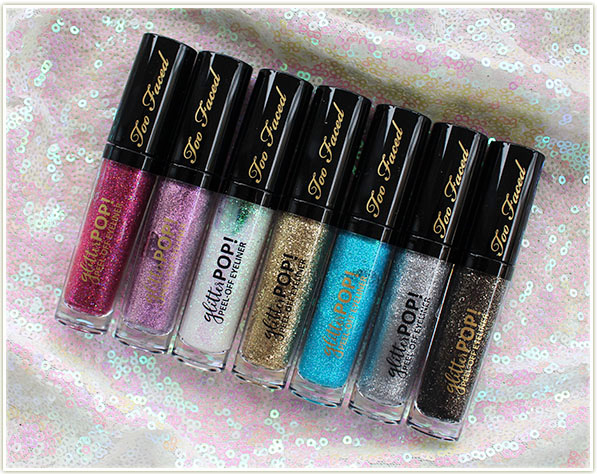
There are eight shades in the range and I have seven of them – I’m only missing the rose-gold shade (which looks more copper to be honest). They come with 6.5 grams of product, which may not sound like much, but these tubes are enormous for an eyeliner!

Too Faced Glitter Pop! Peel-Off Eyeliners

The Glitter Pop! liner is your standard brush tip applicator that you dip into the pot of glittery goodness. For the most part the glitters are suspended in a clear base, however some of them do have a coloured base which helps to amplify the colour. (Fairy Queen, I’m Half Mermaid and Hey Mr. DJ have tinted colour bases.)

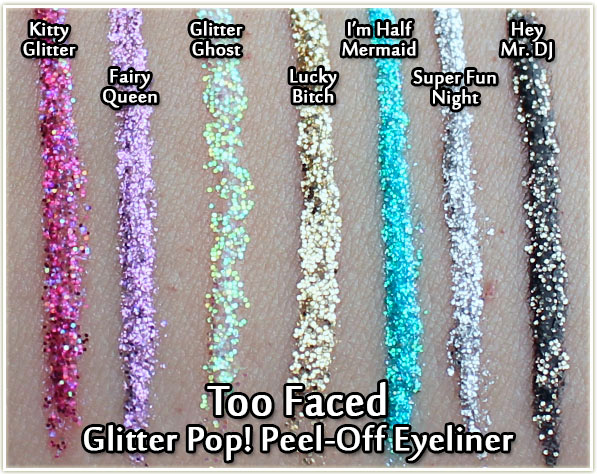
Too Faced Glitter Pop! Peel-Off Eyeliners - swatches
Too Faced Glitter Pop! Peel-Off Eyeliners – swatches

Swatched out you can see just how much glitter is jam packed into these liners. One of my problems with glitter liners over the years has been when there’s too much base and not enough glitter particles. This usually leaves you with a fairly patchy application AND means you need to apply about twenty coats to get opaque coverage. The Too Faced Glitter Pop! liners are more of a two-coat wonder. You could get away with a single coat, but two really solidifies the colour output on your eyes. The brand suggests using three coats, which I think has to do with the peel off aspect.

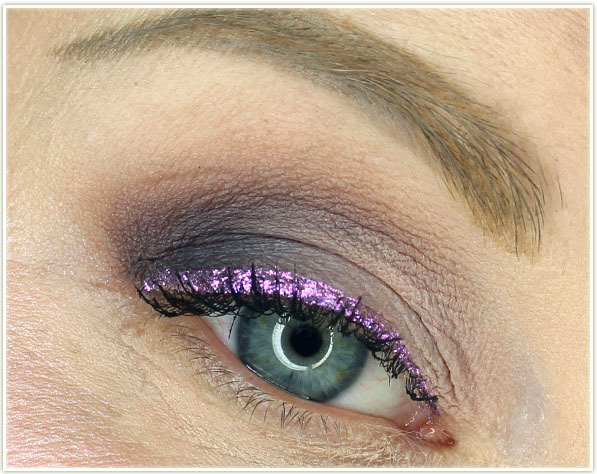
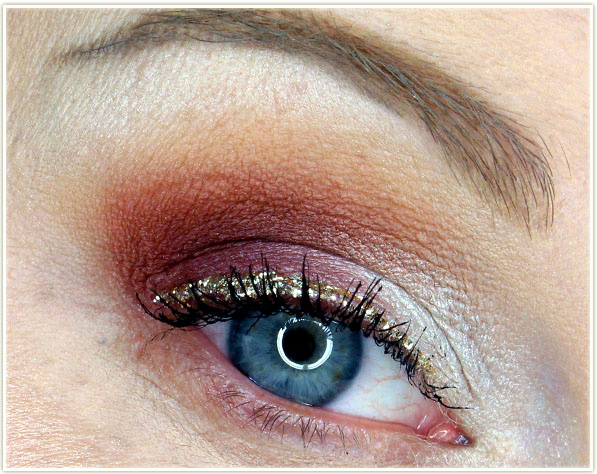
Wearing Fairy Queen
Wearing Fairy Queen

The first time I tried the Glitter Pop! liner, I went in with Fairy Queen – an absolutely beautiful purple. At Too Faced‘s recommendation, I went in with three coats. I was pleased with how fast it dried and how much glitter was jampacked into the tube. It made for really easy application that wasn’t spotty. I noticed a little bit of a tugging sensation on the inner corner of my eyelid – which I can only assume is the “glue” drying and holding the liner in place – but aside from that it was comfortable to wear! I wore this one through a movie (we went to see Blade Runner 2049) and it lasted the whole time.

Wearing Lucky Bitch
Wearing Lucky Bitch

I used Lucky Bitch on my next trial run – this time to work! I had heard a few people complaining that the liner pops off without warning, so I really wanted to put it to the test by wearing it for 9-10 hours. For me, there wasn’t a single issue! The glitter didn’t peel off prematurely and looked beautiful all day long. And, as promised, there is zero fall out!

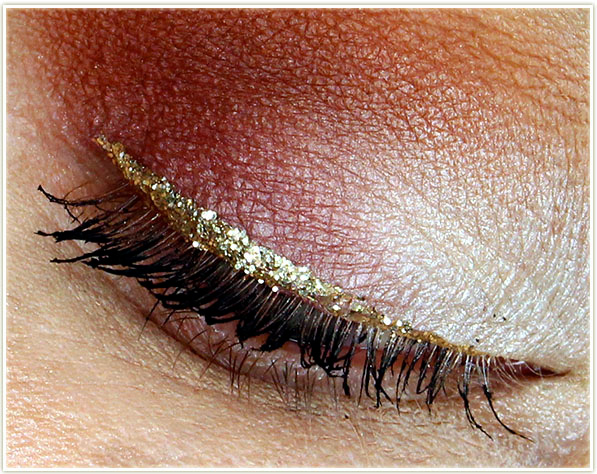
Lucky Bitch - up close
Lucky Bitch – up close

Here’s a closer up shot so you can see just how beautiful the glitter particles are. They’re layered on top of each other but still manage to retain that chunky glittery aspect.

Wearing Glitter Ghost

I opted for Glitter Ghost the third time and decided to try a different placement. I really like the look of glitter on the inner corner of my eye, so that’s where it went. Sadly, this didn’t work out for me as well as it did on the upper lash line. I feel like maybe the inner corner of your eye is too flexible, because the glitter liner started to lift up on the inner corner within about thirty minutes and I had to just pull the whole thing off for my workday because it was looking too patchy. But that’s the beauty of these liners – don’t like how it looks? Peel it right off and try again! No harm, no foul.

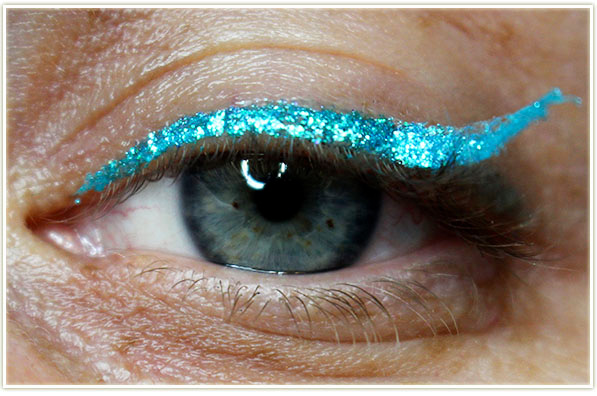
Peeling off a Glitter Pop!

And speaking of peel off – here’s how it looks. I did three coats of I’m Half Mermaid and tried to show you just how easily this liner pulls up when you want it to. I slide the edge of my fingernail (you could also use tweezers) underneath the outside edge, lift it up, and start peeling it away. It’s so simple, and so freaking easy.

Final Thoughts

If you’re looking for a glitter liner with 100% ZERO fallout, then the Too Faced Glitter Pop! Peel-Off Eyeliners are definitely for you. The base that these are suspended in acts like a glue and gels everything together so that you needn’t worry about stray glitter particles. In my past experiences, no amount of glitter glue have ever managed to hold ALL of the glitter particles in place, so this was extremely impressive to me.

As I said in the review, it didn’t really work out for me on the inner corner of my eye. If you were going to wear it that way, I’d suggest applying the lightest layer you can with as little base as you can. I think the glue aspect of the glitter base is flexible enough for your eyelid, but not so much on the inner corner – which, for me – is a very curved-in area.

The peel off aspect of these liners is absolutely unreal. They really do come off in one solid peel which is *ever* so satisfying! You don’t need to peel them off to remove them though – you can also use an oil-based remover and they come right off as well.

In short – these are great! Beautiful colours, easy to apply and jam-packed with glitter. I love that the base of the eyeliner holds the glitter in place and it doesn’t come off on my eyes before I want it to.

The Too Faced Glitter Pop! Peel-Off Eyeliners can be purchased at sephora.ca for $24 CAD each or on sephora.com for $20 USD each. These are marked as a limited edition item, so I have no idea how long they’ll be around!

The products featured in this post were sent to me for consideration. This post contains affiliate links.

essence Water Kiss Glossy Lip Colour (Review & Swatches)

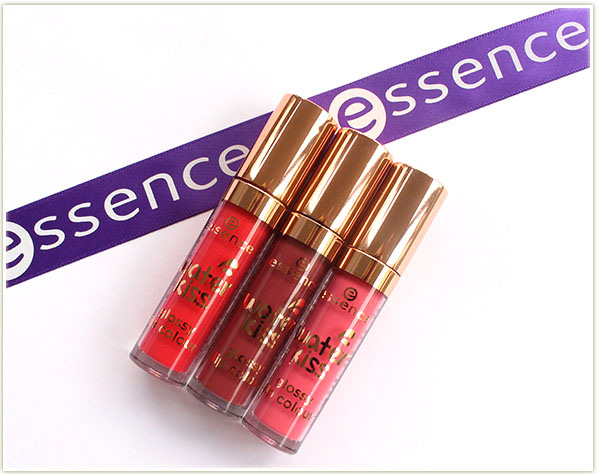
essence Water Kiss Glossy Lip Colour

New in by essence: Water Kiss Glossy Lip Colours! You may have seen me mention them in my essence Fall Winter 2017 Collection – PR Haul video from a few weeks ago – I was so interested in the texture of these lip products that I felt they warranted a full review.

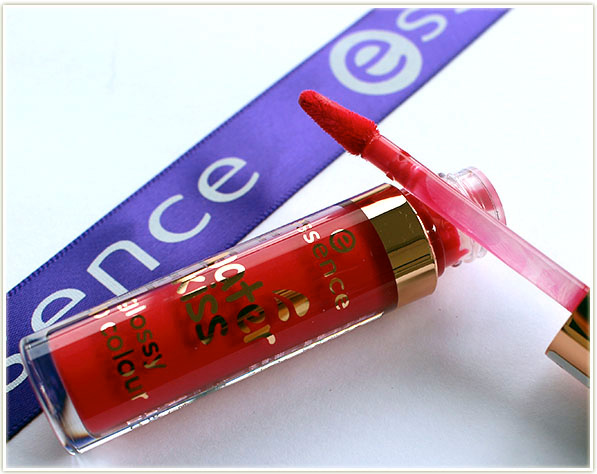
essence Water Kiss Glossy Lip Colours have a paddlefoot applicator

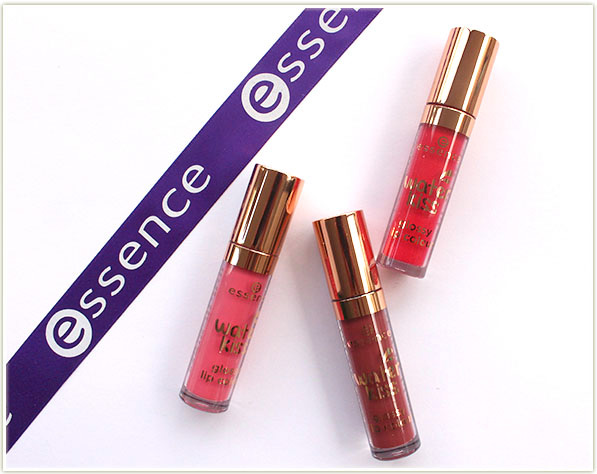
For North Americans, the essence Water Kisses seem to be an essencemakeup.com exclusive item as I haven’t seen them in stores nor on ulta.com. There are six shades in the range, although only three are depicted in this post. The Water Kiss Glossy Lip Colours have a “super-light, medium-coverage gloss [that] glides on easily, creating an aqua-like sensation on the lips without bleeding or feathering.”

essence Water Kiss Glossy Lip Colours have a paddlefoot applicator

When I first swatched them on my hand I was taken aback – they felt so, SO liquid and just… WET! And yet, they weren’t slopping around on my hand so I had some confidence that they would stay put on my lips. There is a very faint raw/frozen berry scent when you sniff the tube, but I didn’t find it had much taste on my lips.

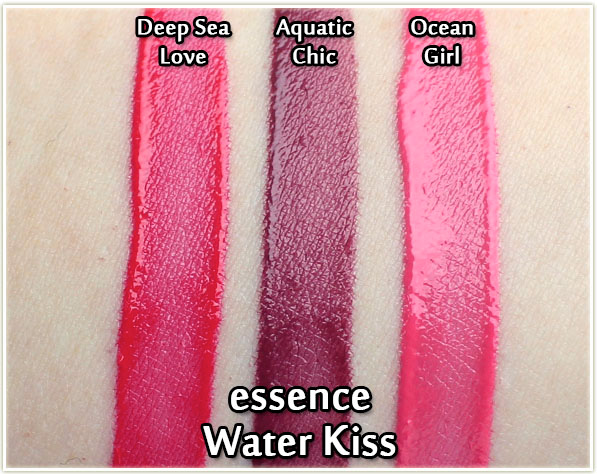
essence Water Kiss Glossy Lip Colours swatched - Deep Sea Love, Aquatic Chic & Ocean Girl
essence Water Kiss Glossy Lip Colours swatched – Deep Sea Love, Aquatic Chic & Ocean Girl

Swatched out, you can see there’s plenty of pigment in the essence Water Kisses. These are more medium to full coverage, but you will get a hint of your own lip colour peeking through at times.

Perhaps the most interesting thing about these Water Kisses is that while it goes on very fluid and and has that wet-look shine – that particular consistency eventually goes away. As you can see in the middle of each swatch shot, the formula becomes more of a satin finish once it’s had a little bit of time to dry down.

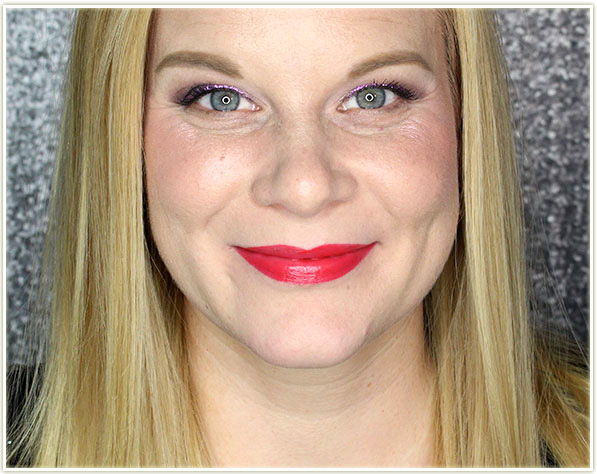
Wearing Deep Sea Love

My favourite shade out of the three I tried – this is Deep Sea Love. It’s a beautiful juicy, vibrant red.

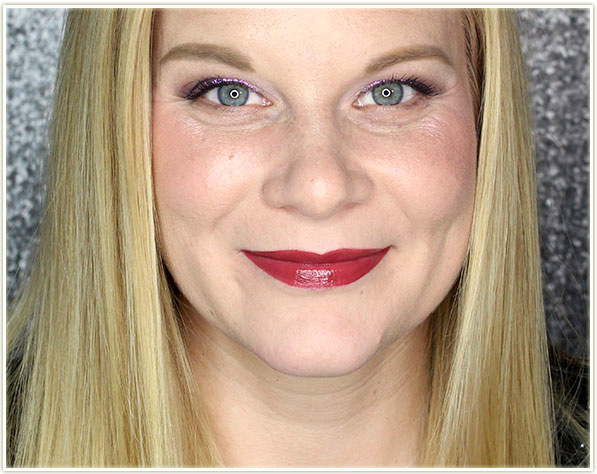
Wearing Aquatic Chic

Aquatic Chic is a deep raspberry.

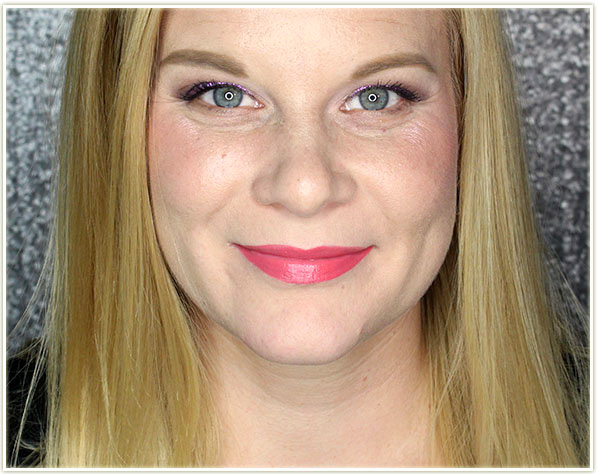
Wearing Ocean Girl
Wearing Ocean Girl

Perhaps the most surprising to me, I was impressed with just how much I liked Ocean Girl on my complexion. This is definitely not the kind of shade I gravitate towards, but I really like this one!

Final Thoughts

Although the essence Water Kisses claim to be a “glossy lip colour”, I’d have to argue and say that fundamentally, while they do go on very wet and slick, they don’t actually stay that way. Once they dry down they look far more matte/satin – which is fine by me since the finish is beautiful. However, since they’re billed as a glossy lip colour, I thought it was worth pointing out that that texture will not stick around on your lips. When they dried down, I expected them to either stain or become transferproof – they did neither of those. Which is great for easy removal, but it also means be careful where you put your lips!

Aside from the changing finish of the product, the texture is wonderful and it does stay put on the lips. As with all lip products, I did test these with a primer (I have to guys, I’m not going to work without lip primer on and watching my lipstick gravitate up my lip crevices towards my nose), and these didn’t travel outside my lip line (which I have seen some lip products do despite the primer!). In fact, the edge was very, very similar to the sharpness that you can achieve with a matte liquid lipstick. Super impressed!

Between the texture, colours, longevity and comfort… the essence Water Kisses are a good solid buy… and they’re only $4.99 USD on essencemakeup.com!

The products featured in this post were given to me for consideration. Post contains affiliate links.
Annabelle Chrome Single Eye Shadows (Review & Swatches)

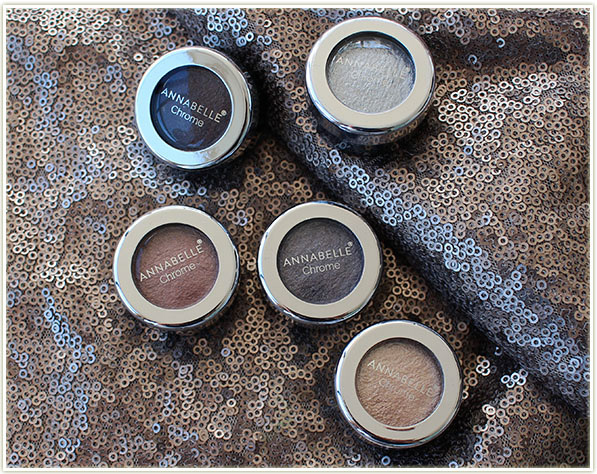
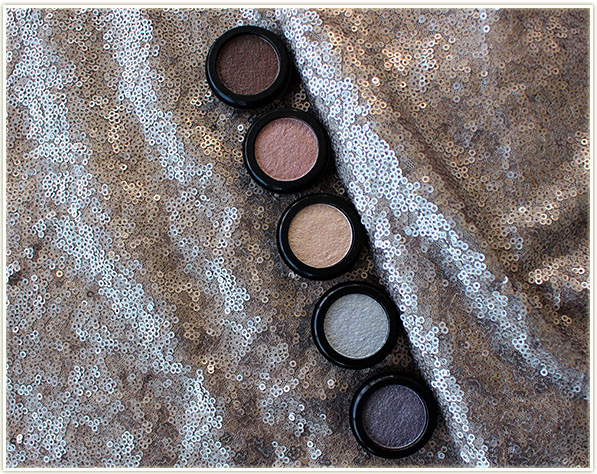
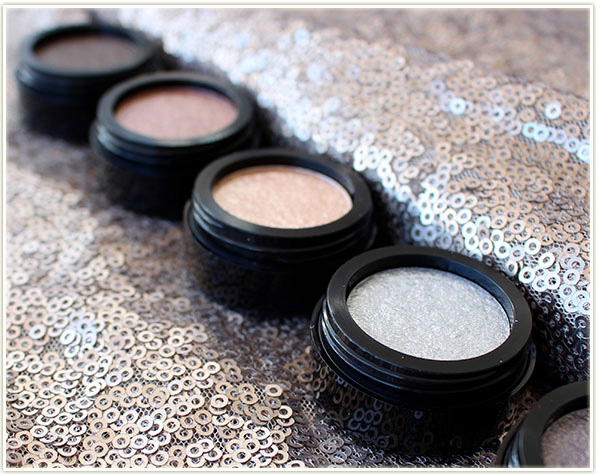
Annabelle Chrome Eye Shadows

As a Canadian, I find we often tend to overlook some of our homegrown brands. I can only assume because they’re so readily accessible, that we just think “oh I’ll get it another time”, and for whatever reason that results in us outright ignoring some of the Canadian brands at the drugstore! So let’s take a closer look at one of my favourite recent(ish) launches by Annabelle.

Annabelle Chrome Eye Shadows

The Annabelle Chrome Single Eye Shadows launched in Canada for Spring 2017 and I did a video review rounding up some of the products back in January of this year (you can see that video here). Out of that entire launch, the Chrome shadows are definitely what got me the most excited. At the time I only had the shade Rose Gold, but now I’ve got the whole range and can speak with a little bit more authority on the whole range instead of just the first impressions I gave in the video.

Annabelle Chrome Eye Shadows

The Annabelle Chrome Shadows come in a pot with a twist off top. With each shadow you’ll get two grams of product which I feel is a decent amount. Prices will vary depending on where you buy them, but they’re under $10 – more often closer to $7-8 each. They’re billed as a creamy single eyeshadow with an intense chrome finish that promises a six hour hold.

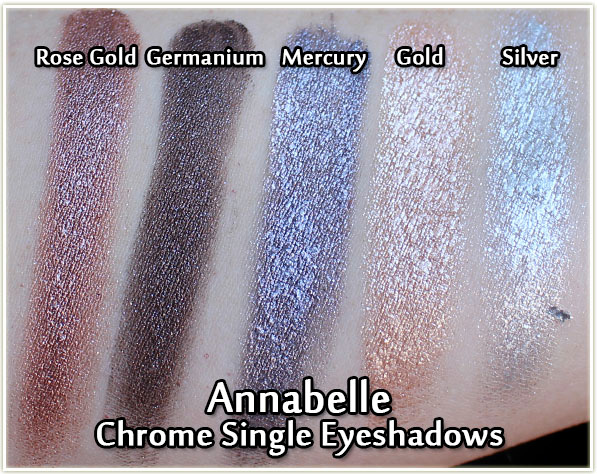
Annabelle Chrome Eye Shadows - swatches
Annabelle Chrome Eye Shadows – swatches

At this time, there are only five shades in the range, but they’re good solid staple colours. I would love to see this range get expanded to more unique bright colours!

  • Rose Gold: More of a deeper shade of rose gold since I see hints of bronze in it.
  • Germanium: The ultimate “brown smokey eye” shade.
  • Mercury: My personal favourite! It’s a tarnished platinum with hints of mauve.
  • Gold: Flakier in texture than the others, Gold is a super shiny pale gold.
  • Silver: Much like Gold, this one is flakier and super reflective. It has some hint of white to it as well.
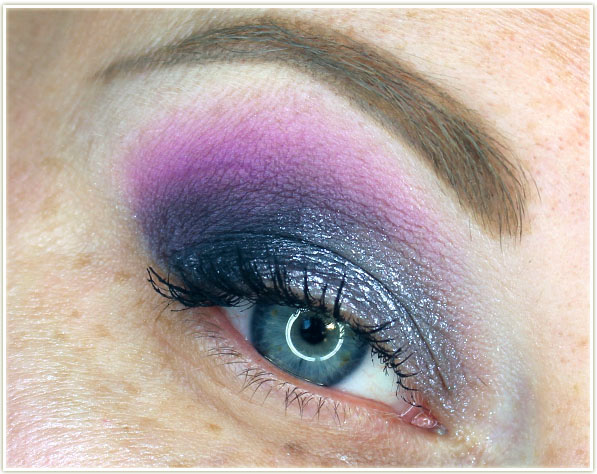
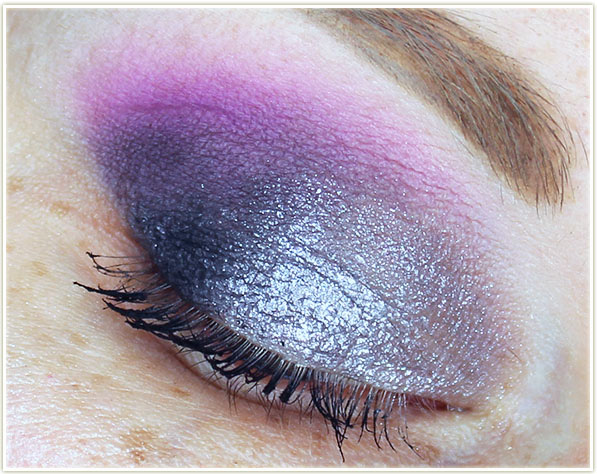
Wearing Mercury on the lid

Wearing Mercury on the lid and some powder shadows to round out the look.

Wearing Mercury on the lid

Mercury on my closed eye. This was taken right after application, and you can see a faint hint of creasing (I’ll get to that in detail down below).

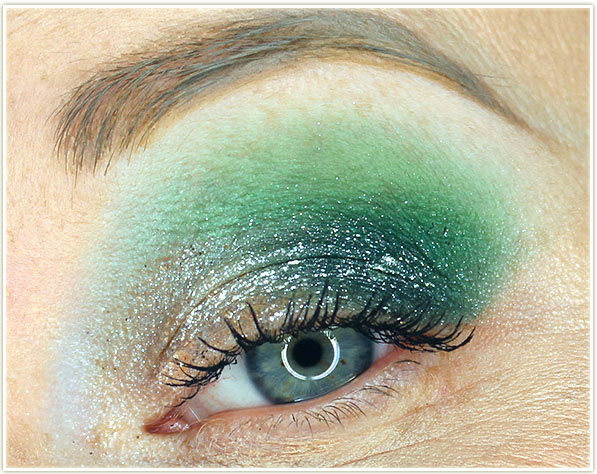
Wearing Gold on the lid

Wearing Gold on the lid with other powder shadows to finish the look.

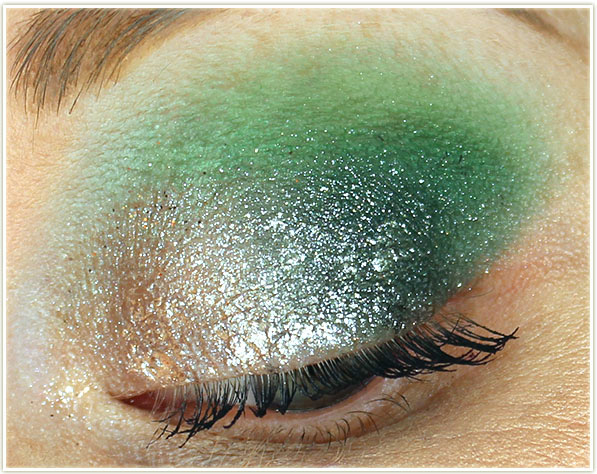
Wearing Gold on the lid

With Gold, you can see it has a flakier texture that adds a bit more shine and sparkle to the overall look in comparison to Mercury.

The number one thing that terrifies me about cream shadows is creasing. I have hooded lids that rip through even powdered eyeshadow if I don’t double prime my eyelids. However, double priming is still not enough to stand up to the likes of cream shadows, so for that reason I almost always have problems. With that in mind, I was a little bit surprised by these chrome shadows. Yes, they creased on me in that very deep ridge that I get when I open my eyes – however… the creasing that happened right after application (despite me trying to smudge it out) was how my eyeshadow stayed all day. It’s a bit bizarre to me that the cream shadow didn’t continue to crease even further over the course of the day, but hey… that does speak to the longevity of it. Generally a cream shadow will crease after application and then continue to dissolve throughout the day for me.  These didn’t do that. They creased once, left a faint whisper of a line behind and then stayed put. And for me, that’s really, REALLY good wear time.

Final Thoughts

If you’re someone who isn’t prone to creasing, the Annabelle Chrome shadows will be an absolute winner for you I believe. Even for me, someone who has ridiculous amounts of problems with creasing, these still managed to stay put for entire work days. I could easily get 9-10 hours of wear with very minimal creasing.

I will point out that the texture on these is a bit different across the board. Rose Gold, Mercury and Germanium are the smoothest of the bunch – they apply like a dream. Gold and Silver are a bit different – they kind of go on like a foiled texture with more sparkle and shine. You will notice flakier bits in the Gold and Silver which I think really make them stand out. These would work really well for a halo eye, or even just to amp up an otherwise ordinary look by putting them in the inner corner of the eye. I like the flaky aspect of those shades, but I know they may not be for everyone.

Overall, I’m quite pleased with these! The texture is quite lovely and they apply smoothly to the lid without much fiddling around.

The products featured in this post were sent to me for review.