Soooooo…. This beauty blogging world that I’ve surrounded myself with over the last two years… it’s absolutely filled with talented bloggers who are unbelievable enablers. We’re all friends, so this entire post is said with love, but goddamn it you jerks, you make me spend money because everything looks so freaking good on you! *shakes fist*
Here’s a roundup of recent products that some of my blogging buddies have forced my hand into buying!
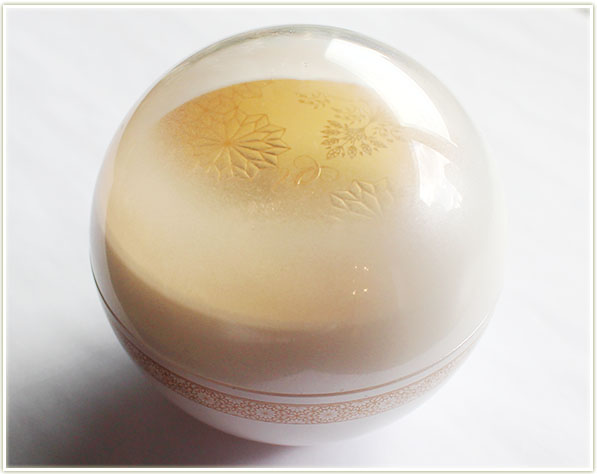
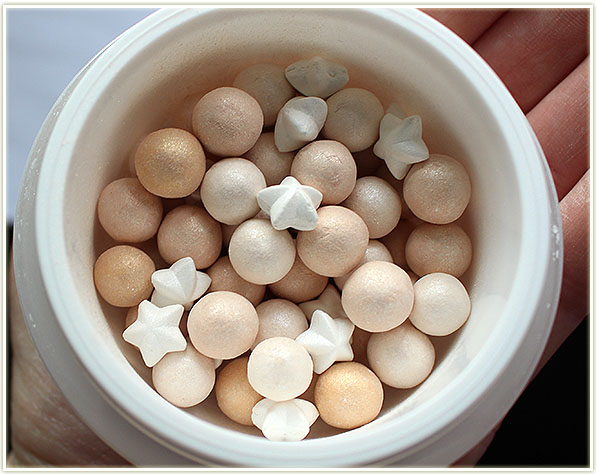
- Product: Guerlain Météorites – Flocons Enchantés
- Culprit: Steph of Fun Size Beauty
- Blog Post That Did Me In: EVENT: Guerlain Neiges et Merveilles with International Makeup Artist Maxime Poulin // Holiday 2015
- My Reasons: As if I was going to say no to little stars mixed amongst a shimmering face powder. When I saw Steph’s post on these special edition meteorites, I became absolutely obsessed with them. Even the $89 CAD price tag wasn’t going to keep me from buying them! I lucked in to getting them from The Bay since I already had a $50 gift certificate. Phew!
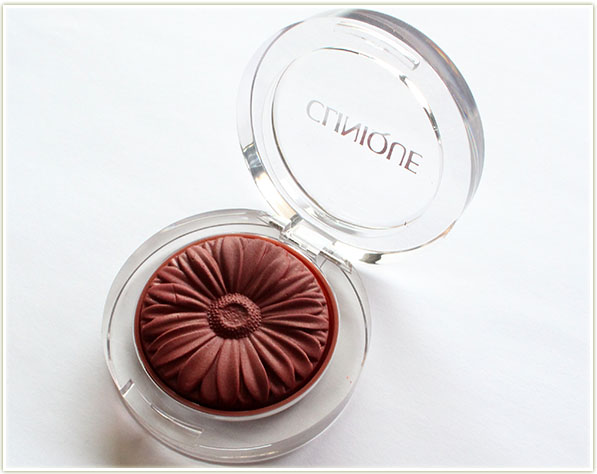
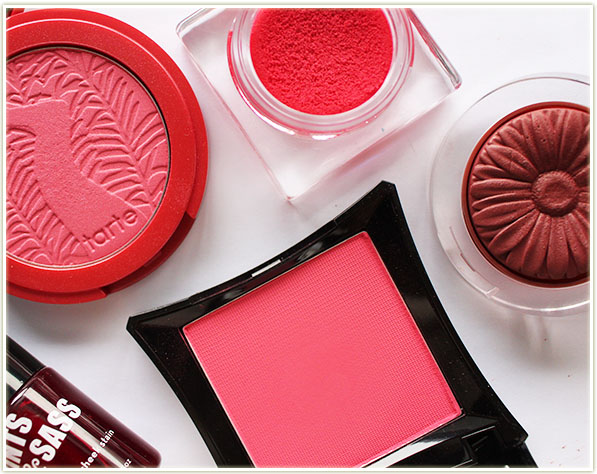
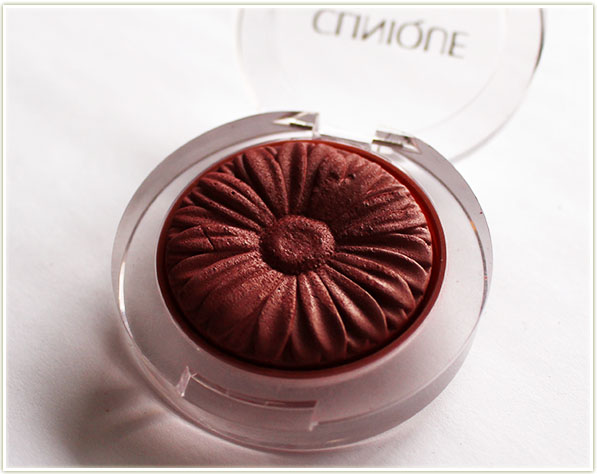
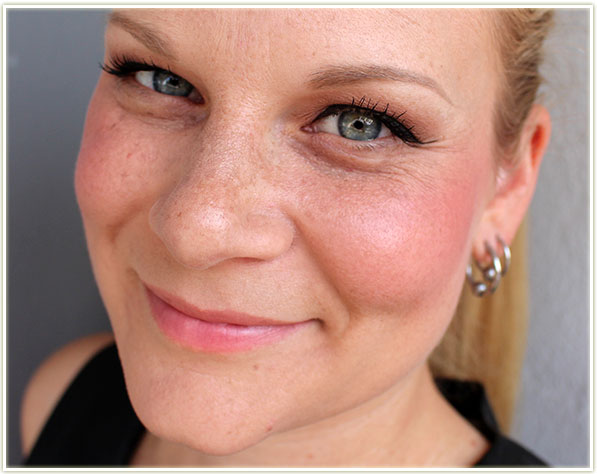
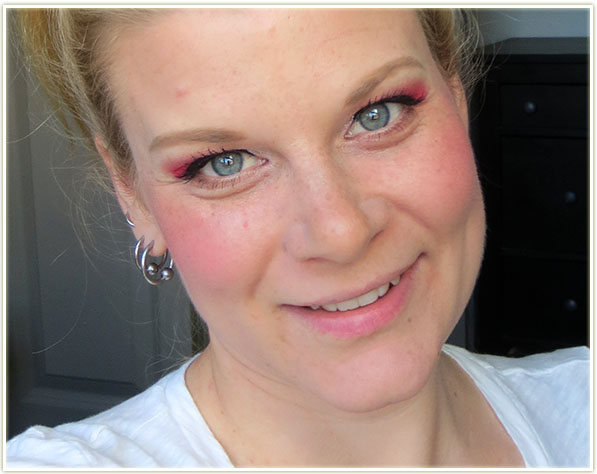
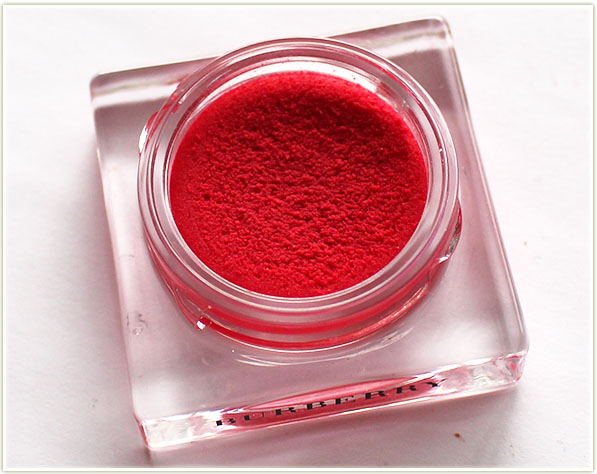
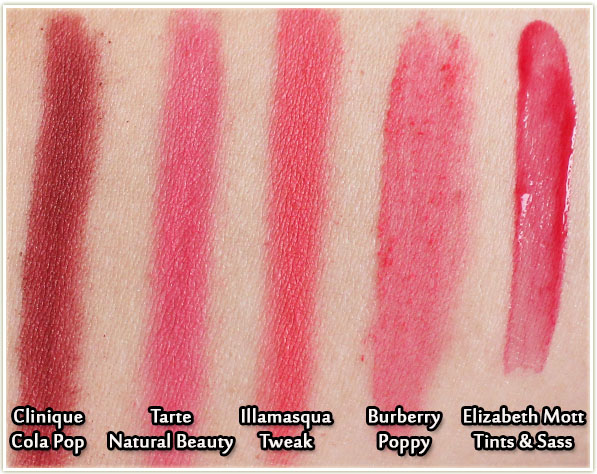
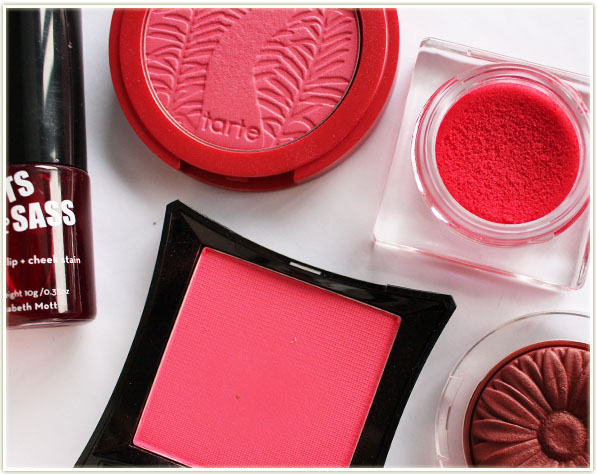
- Product: Clinique Cheek Pop in Cola Pop
- Culprit: Jen of Vibrant, Vivacious, Veracious Beauty Blog
- Blog Post That Did Me In: Currently Obsessed: Clinique Cheek Pops in Cola Pop and Heather Pop
- My Reasons: I actually get a little bit scared when I go to Jen’s blog… she has a way of putting colours together that make me want EVERYTHING she’s thrown on her face. A while back I saw her apply Clinique’s Cola Pop to her cheeks and I was blown away by just how wearable it is given how ridiculous the pan colour looks. This has quickly become one of my favourite blushes in my collction!
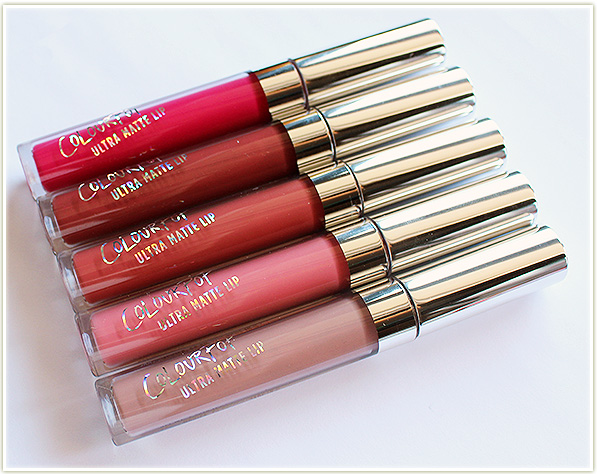
- Product: Colour Pop Ultra Matte Liquid Lipsticks
- Culprit: Kaitlyn of Kaitlyn Elizabeth Beauty
- Blog Post That Did Me In: New In: ColourPop Cosmetics Ultra Matte Lips
- My Reasons: I held off on ordering the Colour Pop Ultra Mattes when they were released but Kaitlyn was on that train so fast that it made my head spin. She not only got her order quickly but also got lip shots up within what… a day? Maybe two? Regardless, it was LIGHTNING fast. I ended up referring to her post a lot to help me decide between some shades that seemed very similar. I ended up getting Tulle and Trap based on her lip shots (*love* those colours) and although the formula isn’t quite what I love in a matte lip, I still got some awesome colours thanks to her post!
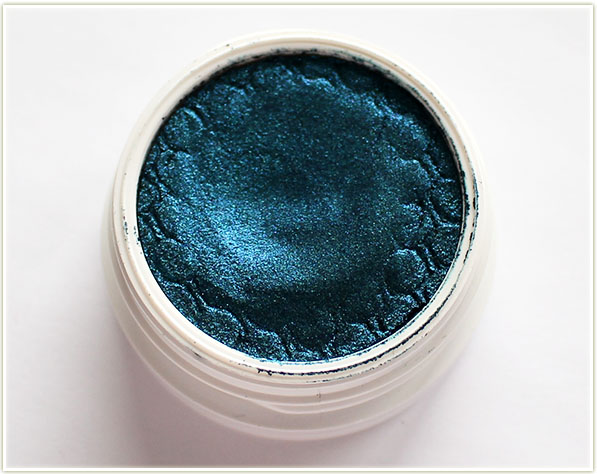
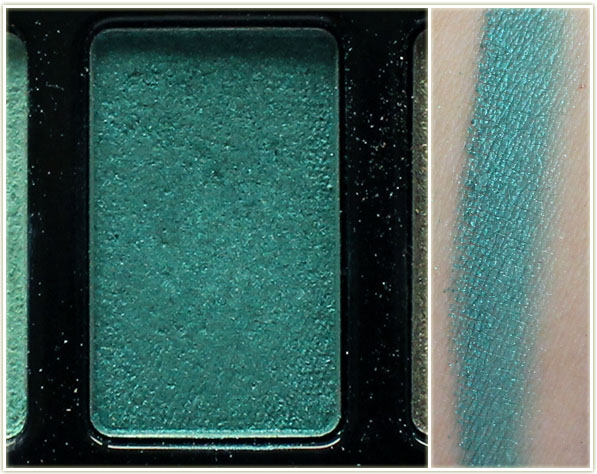
- Product: Colour Pop Super Shock Shadow in Coconut
- Culprit: Julie of Swatch and Review
- Blog Post That Did Me In: Colourpop Super Shock Shadow Coconut review
- My Reasons: Julie was wearing this when we went to the Charlotte Tilbury launch at Holt Renfrew, and it freaking BLEW ME AWAY. The colour and pigmentation were second to none… the colour just SCREAMED from her eyelids and I placed it in my next Colour Pop order immediately. Of course, like most new products, this has fallen to the back of my single eyeshadow drawer… but since I had to photograph it for this post it’s back into the front row again! I’m still not the biggest fan of the super shock formula (it’s just not brush friendly), but there’s no denying that colour!
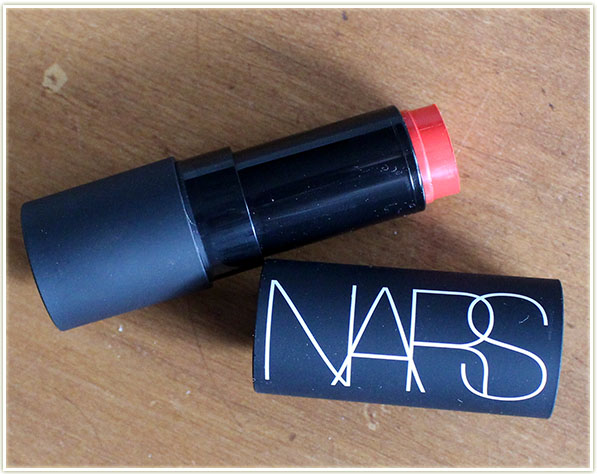
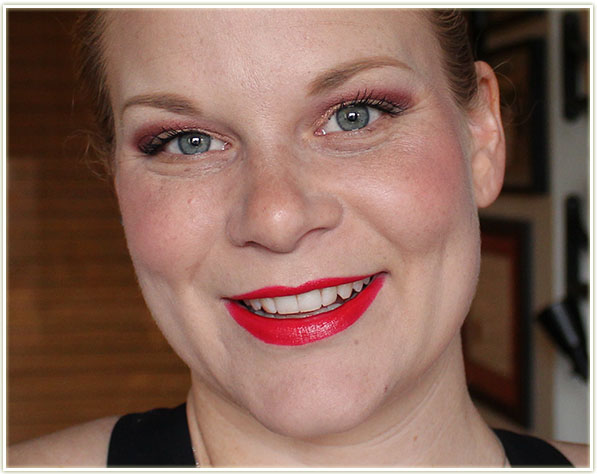
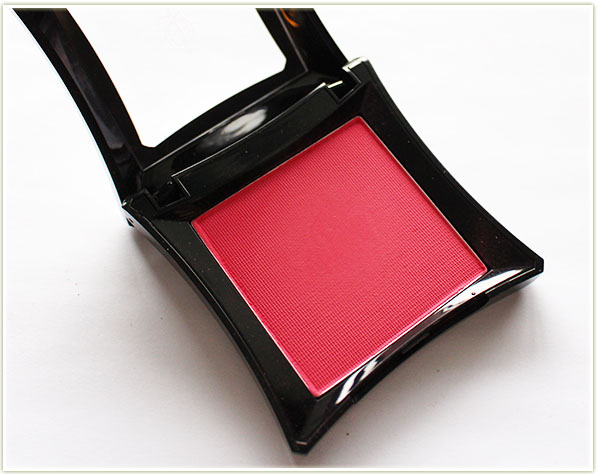
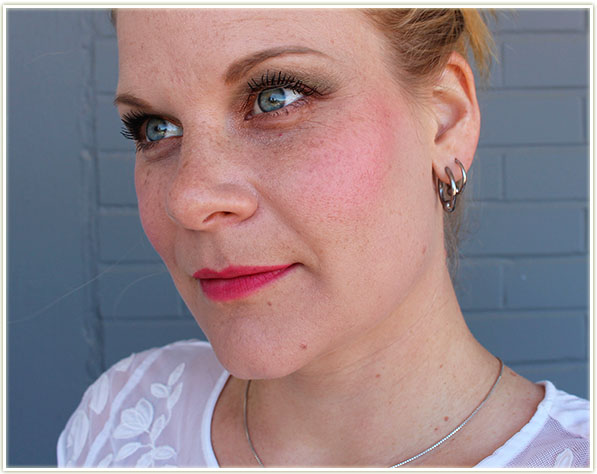
- Product: NARS Matte Multiple in Siam
- Culprit: Oh hey look… JEN AGAIN
- Blog Post That Did Me In: Vibrant Blush Week #1: NARS Matte Multiple in Siam
- My Reasons: I’m not TOTALLY positive that was the right post that got me hooked on Siam, but I know for sure it was Jen that pushed me over the edge on this one. I ended up getting it for a discounted price from a Winners near Montreal. It’s such a gorgeous vibrant red-orange shade that I just could not resist it. (And Jen makes everything look amazing!)
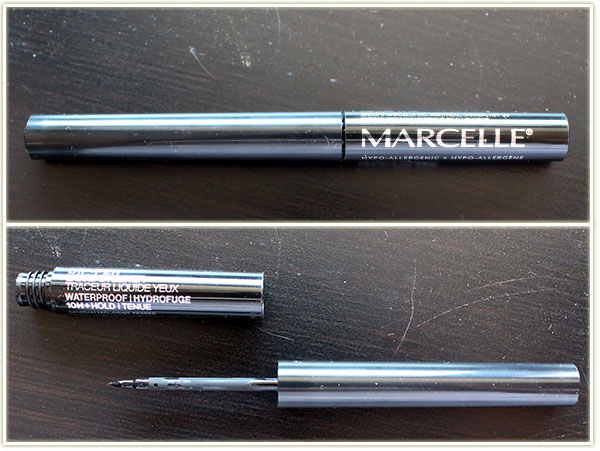
- Product: Marcelle Liquid Dip-Pen Eyeliner
- Culprit: Sarah of Workaday Beauty
- Blog Post That Did Me In: Review: Marcelle Waterproof Liquid DIP-PEN Eyeliner 10H+
- My Reasons: Sarah knew I was after a liquid eyeliner that was actually matte (and not glossy like most of them are), so she was excited to tell me about the Dip-Pens she’d discovered by Marcelle. And they’re waterproof to boot! In the end, the formula IS amazing, but I’m not in love with the brush which is a damn shame. But for those of you looking for a matte black, waterproof liner from the drugstore in Canada – you may want to look into this one!
That’s it for this roundup of people who make me spend my money! I may turn this into series every few months since I don’t doubt there’ll be even more enabling going on as time passes! I’d love to hear about who has made you buy what products and why!