The Body Shop – Vitamin C Glow Boosters

201508_thebodyshop_vitamincglowboosters1

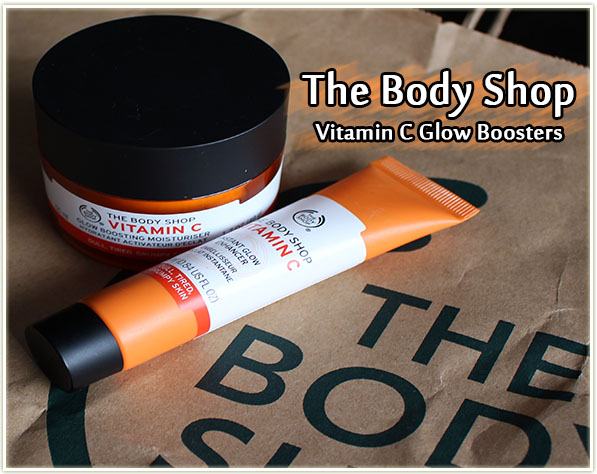
The Body Shop recently introduced two new products to their Vitamin C product range – the Glow Boosting Moisturiser and the Instant Glow Enhancer. With a pleasant orange scent and glow boosting properties, it’s easy to see why the Vitamin C lineup is so popular.

Two new additions to The Body Shop's Vitamin C line.
Two new additions to The Body Shop’s Vitamin C line.

I’m a very skeptical person when it comes to skincare – if I can’t see immediate results, then I often feel it doesn’t do anything at all (unless it breaks me out, in which case it definitely did something WRONG!). But I keep reaching for these two products, so that means that there’s something about them that I quite like.

The Body Shop Vitamin C Glow Boosting Moisturiser

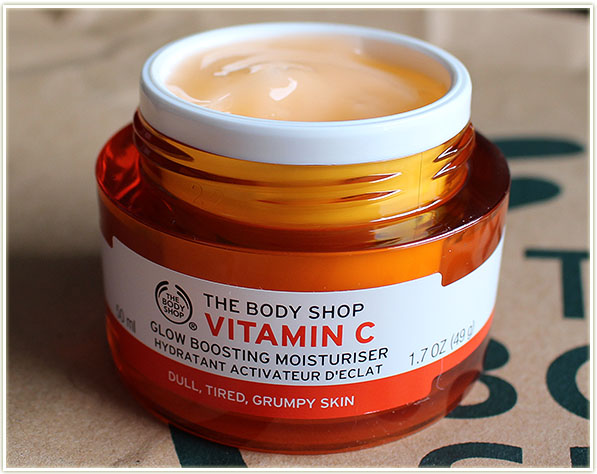
The Vitamin C Glow Boosting Moisturiser is designed to moisturize dull, tired and grumpy skin. As you’d expect from the Vitamin C line, it has a wonderful citrusy-orange scent which has certainly worked wonders to perk me up in the morning. It might be a silly booster, but that scent DOES work to refresh you in the morning after a late night of watching Netflix.

The Body Shop Vitamin C Glow Boosting Moisturiser

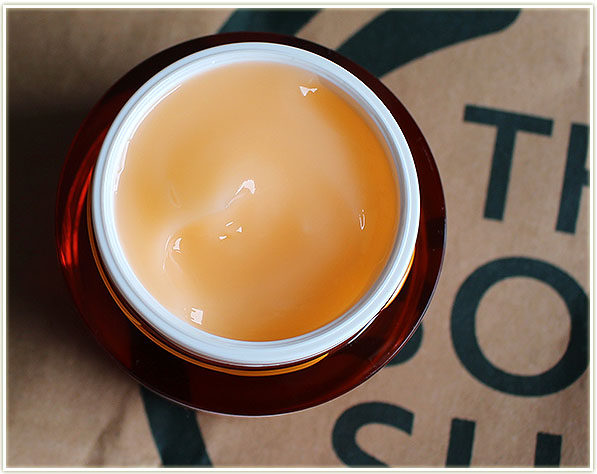
The texture of the moisturizer is similar to a gel in the sense that it doesn’t feel creamy – it’s more slippery and smooth. Thankfully, I don’t experience that weird cracking feeling like I do with a lot of gel moisturizers (anyone else? I feel tightness on my face after I wear a gel moisturizer, although it typically disappears within a few minutes.) It dries down quickly and leaves my skin feeling… plump. Saturated, maybe? Whatever the word, my skin definitely feel hydrated.

The Body Shop Vitamin C Instant Glow Enhancer

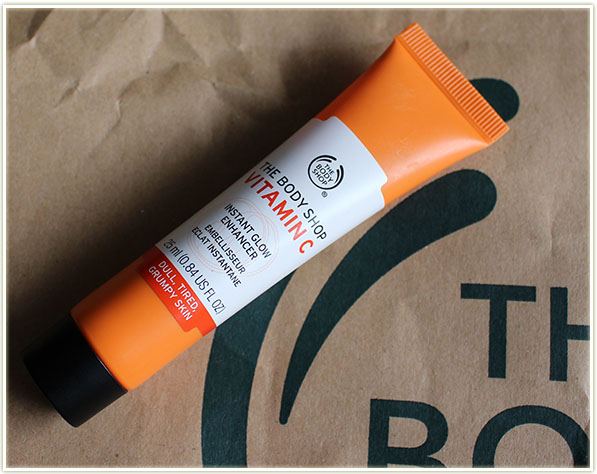
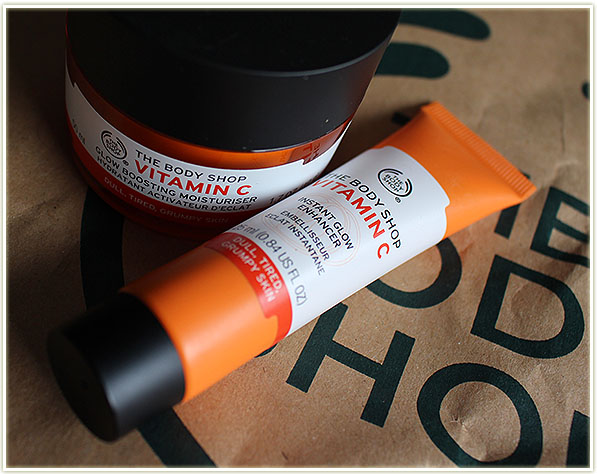
The Vitamin C Instant Glow Enhancer is intended to revitalize your skin and give it a rosy tint. (I don’t understand how orange = rosy, but anyway…) It doesn’t specifically say it’s a primer, or a self tanner, just that it’s intended to perk your skin up.

The Body Shop Vitamin C Instant Glow Enhancer

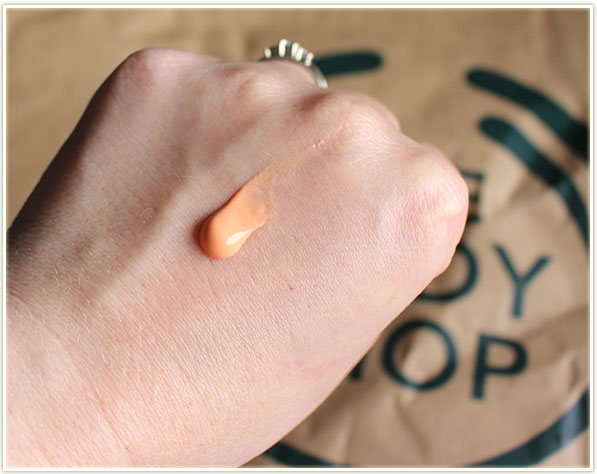
There’s no way around it, the colour of the Instant Glow Enhancer is straight up orange and I was terrified to use it. My first attempt was not a success: I made the mistake of not blending the product in enough under my makeup and ended up with an orange chunk that eventually peeled off. Delicious, right?

My second and third attempts were much better. Once blended in entirely, it feels a bit tacky, but then dries down within a minute to a very, VERY smooth finish. I found it reacted differently depending on which foundation I used. With the new Make Up For Ever UltraHD foundation I got fairly oily/shiny within about six hours. With the Boots No7 Instant Radiance foundation I had a lot less oil. But did I notice a different in my skin colour? Not at all. This disappeared completely into the skin (when blended in properly) and didn’t add any of the promised rosy-ness I was expecting.

Final Thoughts

Although the Instant Glow Enhancer doesn’t really DO anything at all on my skin, it’s still fun to use. Is it worth your money though? Probably not, but I’d still recommend getting a sample of it and trying it out for yourself.

The Glow Boosting Moisturiser is a different story though! This beautiful pot of orange goodness hydrates my skin, picks me up in the morning with the wonderful scent and is fun to use (aren’t all gelatinous moisturizers??). The smell is so pleasing that it’s actually made me reach for my Satsuma Body Butter more and more just so I can get that added bit of orange scent on my skin. Love!

This post features press samples sent for consideration.

Ombre Lips with Maybelline’s Color Blurs

201508_maybelline_colorblur1

You may have noticed the Maybelline Color Blurs have started popping up at drugstores across Canada lately. It’s a lineup of fairly awesome bright matte colours.

Bright, matte colours? Take me now!

Maybelline Color Blurs

Currently available in ten shades; the Color Blurs range from several shades of pinks to some dark reds. There’s an orange and a plum thrown into the mix as well.

Maybelline Color Blurs

So what’s the deal with the Color Blurs? Well, it’s a twist up product (twist from the BOTTOM! It’s weird, but that’s how it works!) similar to the chubby lip crayons that have been popular for quite while now. Thankfully these are on the much thinner side which means they are a lot easier to apply to the lips (for me anyway) and you can get a much more precise line.

Maybelline Color Blurs - Smudger
Maybelline Color Blurs – Smudger

On the opposite end is a soft rubbery smudger intended to help give you a blown out/blurred look.

Maybelline Color Blur in Fast & Fuchsia and Berry Misbehaved

The colours are opaque on the lips in one swipe and pack one hell of a colour punch. I mean, look at the swatches – that’s a LOT of colour!

Maybelline Color Blur Berry Misbehaved - Smudged Application
Maybelline Color Blur Berry Misbehaved – Smudged Application

In keeping with Maybelline‘s recommendation with these products, I applied a little bit of the Color Blur in Berry Misbehaved to the inside edge of my lips. I then used the smudger to blur out the edges towards the outside of my lips. It’s a bit on the high maintenance side, but it actually produces quite a beautiful effect. I looked into it a bit more and it seems to be a lip trend that started in Korea last year (2014) and it’s started to seep into North America trends recently. It’s supposed to give you that “been eating a popsicle” look. It’s a reverse ombre in my eyes, and I think that makes this trend fairly unique.

Maybelline Color Blur Berry Misbehaved - Full On Application
Maybelline Color Blur Berry Misbehaved – Full On Application

Of course, if you want full colour impact, you can absolutely achieve that with this product. And my god how it delivers.

Maybelline Color Blur Fast & Fuchsia - Smudged Application
Maybelline Color Blur Fast & Fuchsia – Smudged Application

Here’s how the second shade (Fast & Fuchsia) looks blurred out. It’s a slight bit softer than Berry Misbehaved, but I personally don’t notice much of a colour difference when it’s applied this way.

Maybelline Color Blur Fast & Fuchsia - Full On Application
Maybelline Color Blur Fast & Fuchsia – Full On Application

However, with a full application, you can definitely see the difference between the two shades.

Final Thoughts

Whether you’re looking for the blurred effect that Maybelline suggests, or are just seekingr a new vibrant matte colour for your lips, these Color Blurs absolutely deliver. They are smooth and feel soft on the lips. They don’t drag or feel chalky which is an absolute blessing in a matte lip products. They also provide full colour opacity in one swipe. The Color Blurs are scent-free, so if you’re not a fan of Maybelline‘s traditional sweet scent these will absolutely make you happy!

And the smudger? I totally scoffed at it when I first saw it thinking I could produce a better result with my fingertip. I was wrong – that smudger is golden for getting that soft blurred out line. Be sure to wipe it off between uses so you have a clean smudger every time you start blurring out your edges for that ombre look.

In case you hadn’t guessed, I give the Color Blurs two very enthusiastic thumbs up!

This post features press samples sent for consideration.

Swatch Sunday: Too Faced – A few of my Favorite Things

201508_toofaced_afewofmyfavoritethings1

The Too Faced A few of my Favorite Things palette was released during the 2013 holiday season and it is one I hold near and dear to me. The variety of colours within the palette make for multiple fantastic looks and being that it has two blushes and two bronzers, it’s also a fantastic travel palette (I took it Prague and Vienna with me last year). Should you ever discover this palette in a blog sale or something – definitely snatch it up! If you need inspiration to use this palette, I did Challenge Week over a year ago using it.

Too Faced - A few of my Favorite Things
Too Faced – A few of my Favorite Things
Too Faced - Snowflakes
Too Faced – Snowflakes
Too Faced - Whiskers on Kittens
Too Faced – Whiskers on Kittens
Too Faced - Chocolate Milk
Too Faced – Chocolate Milk
Too Faced - Moon on Their Wings
Too Faced – Moon on Their Wings
Too Faced - Dark Chocolate
Too Faced – Dark Chocolate
Too Faced - Cream Colored Ponies
Too Faced – Cream Colored Ponies
Too Faced - Honey Honey
Too Faced – Honey Honey
Too Faced - Buche de Noel
Too Faced – Buche de Noel
Too Faced - Evergreen
Too Faced – Evergreen
Too Faced - Blue Satin Sashes
Too Faced – Blue Satin Sashes
Too Faced - Coquet
Too Faced – Coquet
Too Faced - Taffy
Too Faced – Taffy
Too Faced - Crisp Apple Strudel
Too Faced – Crisp Apple Strudel
Too Faced - Woolen Mittens
Too Faced – Woolen Mittens
Too Faced - Soiree
Too Faced – Soiree
Too Faced - Tinsel
Too Faced – Tinsel
Too Faced - Bluff
Too Faced – Bluff
Too Faced - Ooh La Orchid
Too Faced – Ooh La Orchid
Too Faced - Party Time
Too Faced – Party Time
Too Faced - Pure Glam
Too Faced – Pure Glam
Too Faced - Raindrops on Roses
Too Faced – Raindrops on Roses
Too Faced - Melt into Spring
Too Faced – Melt into Spring
Too Faced - Chocolate Soleil
Too Faced – Chocolate Soleil
Too Faced - Sun Bunny
Too Faced – Sun Bunny

Wedding Anniversary – Hair & Makeup

201508_weddinganniversary

My fifth wedding anniversary was in July, and we had a lovely dinner out in Toronto. I kept it fairly simple: I curled hair (my husband’s favourite style on me) and did some makeup that semi-matched what I was wearing (because really, I have no idea how to do this contrasting business).

So I took it from this:

No makeup, freshly washed and dried hair

To this:

Tada!
Tada!

And here’s how I did it:

Urban Decay Vice 3 palette eye look

I always start out with doing my makeup first- it’s the most time consuming portion and the one I have the most fun doing. I also hate having my hair in my face when I’m trying to blend foundation (although, in hindsight, I didn’t apply any for this night out) because it’ll inevitably end up in my hair!

Urban Decay Vice 3 palette eye look

I didn’t really have anything planned out for our anniversary, so I opted to use a palette I don’t get around to using as much as I wish I did! Using the Urban Decay Vice 3 palette (the 2014 holiday release), here’s what I did:

Urban Decay Vice 3 palette eye look

Eyes

  1. Undone through the crease to make blending easier.
  2. Bobby Dazzle and Last Sin mixed together and packed all over the lid.
  3. Heroine in the outer corner and dragged through the crease.
  4. I used the Hourglass Ambient Lighting powder in Ethereal Light to highlight the brow bone.

I then created the wing with Kat Von D‘s Tattoo Liner in Trooper and applied Make Up For Ever Smoky Stretch mascara to my lashes.

Rest of the Face

  • Bronzer: Hard Candy Hula Hula
  • Blush: Hourglass Diffused Heat
  • Highlighter: Becca Champagne Pop
  • Lips: Bite Beauty Fig
Using the Kiss InstaWave hair curling tool for the first time
Using the KISS InstaWave hair curling tool for the first time

With my makeup done, now was the time to tackle my hair. I had never tried the KISS InstaWave hair curling tool before and was really curious to see how it would compare to my normal technique of using a flat iron to create my curls.

Using the Kiss InstaWave hair curling tool for the first time
Using the KISS InstaWave hair curling tool for the first time

The tool has a button that spins the barrel either clockwise or counter clockwise. The spokes you see at the base of the wand help to corkscrew your hair onto the barrel and keep it in position. To get your hair to spin into place on the barrel, all you need to do is hold a section of hair perpendicular to the barrel, hit the button to rotate the wand, and it’ll automatically suck your hair on the barrel and curl it whichever direction you chose. I let the hair sit for a little bit on the barrel before I release it.

Beautiful curls!
Beautiful curls!

Et voila! Ringlet curls! I don’t brush them out because I prefer them tighter and they’ll relax over time anyway. My first impression is that I think the  KISS InstaWave is pretty decent for people who aren’t great at curling their hair – it a foolproof product since it does the whole wrapping motion for you. It also heats up lighting fast.

It's even pretty easy to get everything at the back of your head too!
It’s even pretty easy to get everything at the back of your head too!

I think it’s awesome that it rotates both ways so you can choose what style you’re going for without having to crane your arms and neck. It also doesn’t clamp your hair like a flat iron or a true curling iron does so keep that in mind. For those of you who want a much tighter curl at the root, this won’t get you that. However, because it’s not as tight at the root, nor does it clamp your hair, you may actually save yourself a little bit of heat damage there (although that’s not something I’m personally that fussed about).

End result!
End result!

I sprayed my hair with a bunch of hairspray to make sure my hair stayed in place (it was a pretty humid night) and there we go! All done!

The KISS InstaWave hair curling tool was sent to me for consideration.

essence cosmetics Paint Nite – Fall/Winter 2015 Preview + Giveaway

201508_essencepaintnite1

A few weeks ago I was invited to check out essence‘s upcoming Fall and Winter 2015 products. It was a preview of sorts, along with a Paint Nite! This is the second essence event I’ve been to (the first being princess themed) but so far each of them has had a fairly impressive theme. Not only do the decorations, candy, food and drink all fit the theme, but they even go all out with activities. It’s a lot of fun going into an event knowing there’s a plan to do something, not just a product show and tell!

essence Paint Nite!
essence Paint Nite!

While we stuffed us ourselves with candy, we took a peek at some of the upcoming products essence is featuring through the next two seasons.

I *loved* this splattered zebra so much!

There are some shade updates to essence‘s regular line (eyeshadows, lip liners and lipsticks), but there are also a bunch of new products to look out for as well. The ones I’m most looking forward to trying out are their Sun Club Shimmering Bronzing Powders (because I love me some bronzer), the Lash Princess False Lash Effect mascara (because I really liked the original Lash Princess mascara quite a bit) and the Eyebrow Fixing Pencil (it’s a wax stick in pencil format!).

Shawna of Spill The Beauty boasting some pretty awesome painting skills at Paint Nite!

Just a bunch of Canadian Beauty Bloggers hanging out!

The biggest thing out of the Fall/Winter 2015 preview was the news that essence has completely redone their nail polish line. While the bottles and brushes (yay!) are thankfully the same, the formula has been updated. The entire line now sports a gel finish but is easy to remove with normal nail polish remover. As a complete amateur when it comes to nail polish, the only thing I can really say is that you get a shiny finish without having to cure it under some kind of lamp.

Manicure courtesy of the essence event

What I experienced with this new gel polish is a gorgeous finish that lasted longer than any nail polish I have experienced in recent memory. The polish job above was done on me by a nail technician at the event using all essence products and the manicure lasted EIGHT WHOLE DAYS. And even then, there was only one chip (because I picked at my nail) and very minor tip wear. I was beyond incredulous – that’s amazing longevity!

201508_essencepaintnite6

Giveaway Time!

One of my Canadian readers is going to be very lucky because I am giving 21 polishes from essence‘s new line up. We were gifted these at the event, but I’m not enough of a regular nail polish wearer to justify keeping these for myself. I want someone to win these who will actually use them! This giveaway is open exclusively to Canadians because shipping nail polish outside of the country is not on my list of favourite things I like to do. (The long story there is that some countries do not accept mail that has nail polish because it has alcohol in it and I’m afraid there’s no worldwide listing as to which countries do, or do not accept it.)

Details

  • Open to Canadians only!
  • Giveaway starts on August 5, 2015 and runs for two weeks.
  • One winner will receive the following 21 shades of nail polish by essence:
    • 01 absolute pure
    • 06 space queen
    • 07 party princess
    • 09 # lucky
    • 16 fame fatal
    • 18 fly firefly fly
    • 24 indian summer
    • 27 don’t be shy!
    • 33 wild white ways
    • 40 play with my mint
    • 46 black is back
    • 47 va-va-voom
    • 49 turn the lights on!
    • 52 amazed by you
    • 146 that’s what i mint!
    • I <3 trends
    • 02 i nude it
    • 03 i’m lost in you
    • 10 nude sweet nude
    • gel nail polish base coat
    • gel polish top coat
  • Please be aware that all entries will be double checked to ensure fairness.
  • Once the winner has been contacted, they will have 48 hours to provide me with their Canadian mailing address. If the winner fails to respond within that time frame, I will pick another winner. (And so on.)

Good luck!

a Rafflecopter giveaway