Tarte Tarteist Pro Glow Highlight & Blush (Review & Swatches)
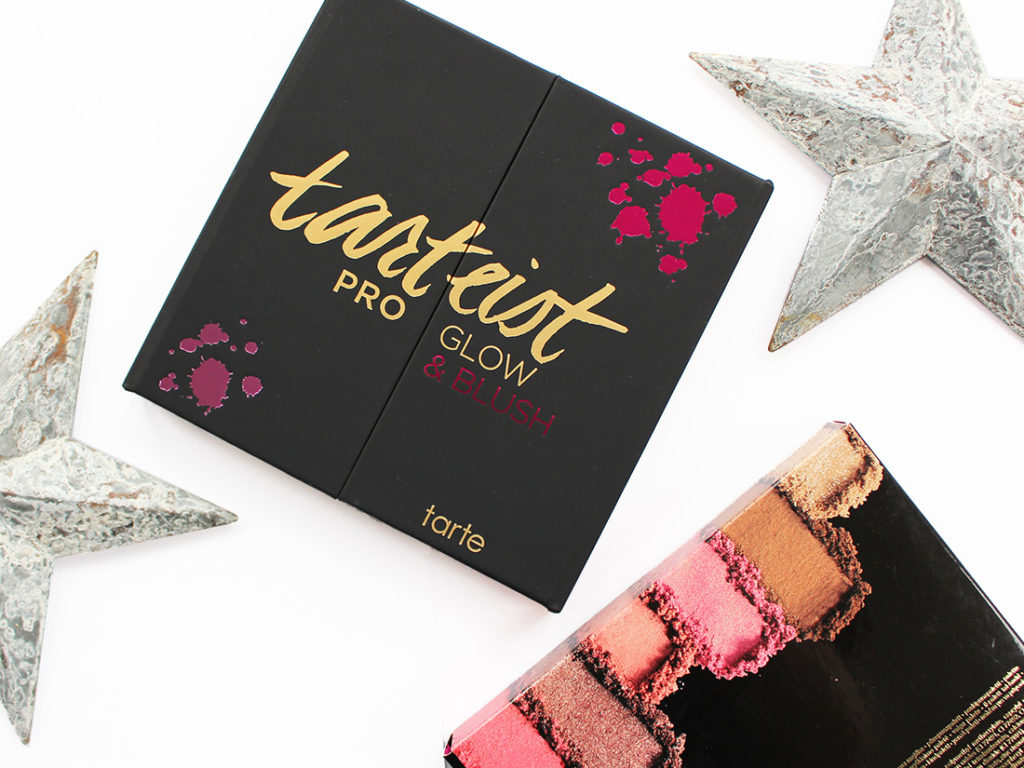
I’ve always been super keen to try out Tarte‘s face palettes – their 2013 Off The Cuff holiday launch is still one of my favourites to date, so I’m always eager to see what else they’ll put out in the face department.
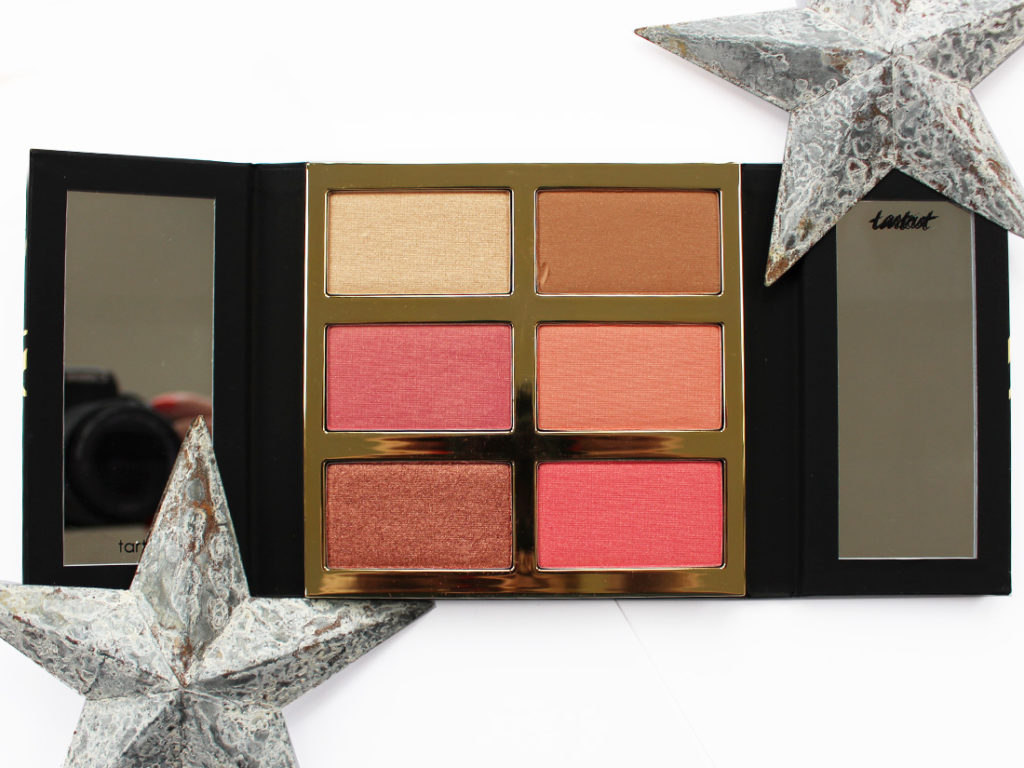
New out in the face palette department for the brand is their Tarteist Pro Glow + Blush palette. It features four shades of blush, a highlighter and a bronzer. There is a definite emphasis on glow in this palette – all the blushes have a shimmery edge, and the bronzer does have specs of glitter throughout the formula that are readily apparent on the skin.
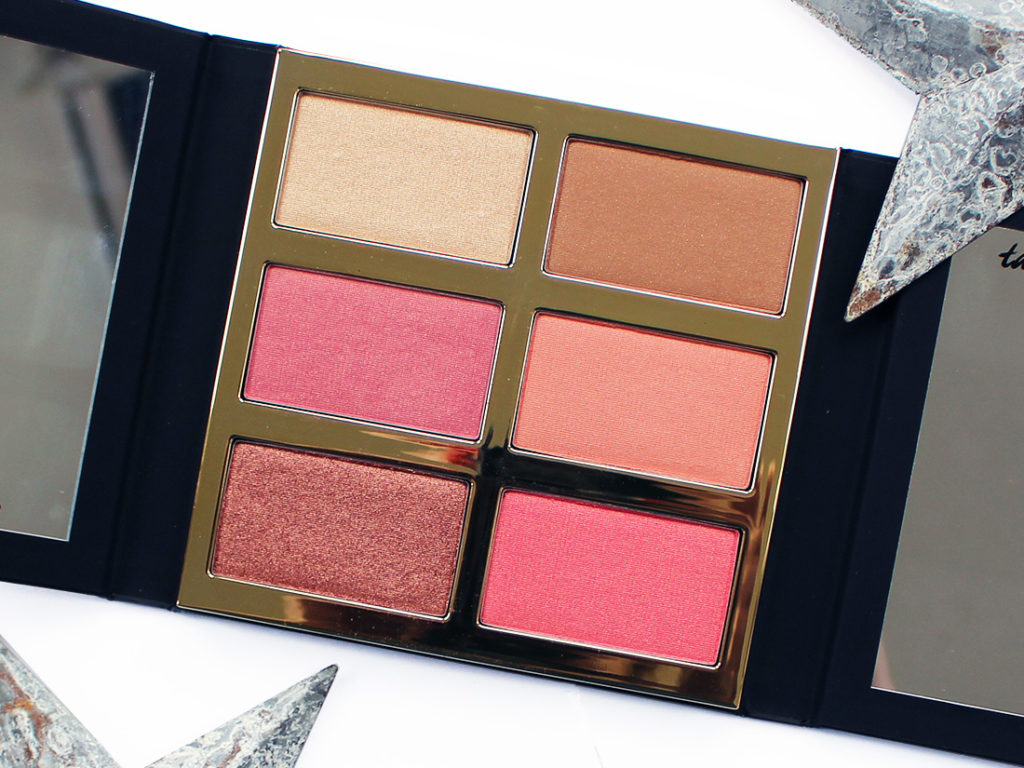
The palette retails for $59 CAD/$45 USD and each pan contains 5.6 grams of product. They say the product is their traditional Amazonian Clay formula, although I found the formula on these to be not as stiff as their regular Amazonian Clay blush singles. I usually use a duo fiber stippling brush for those singles, but with these I found a normal powder blush brush worked the best.
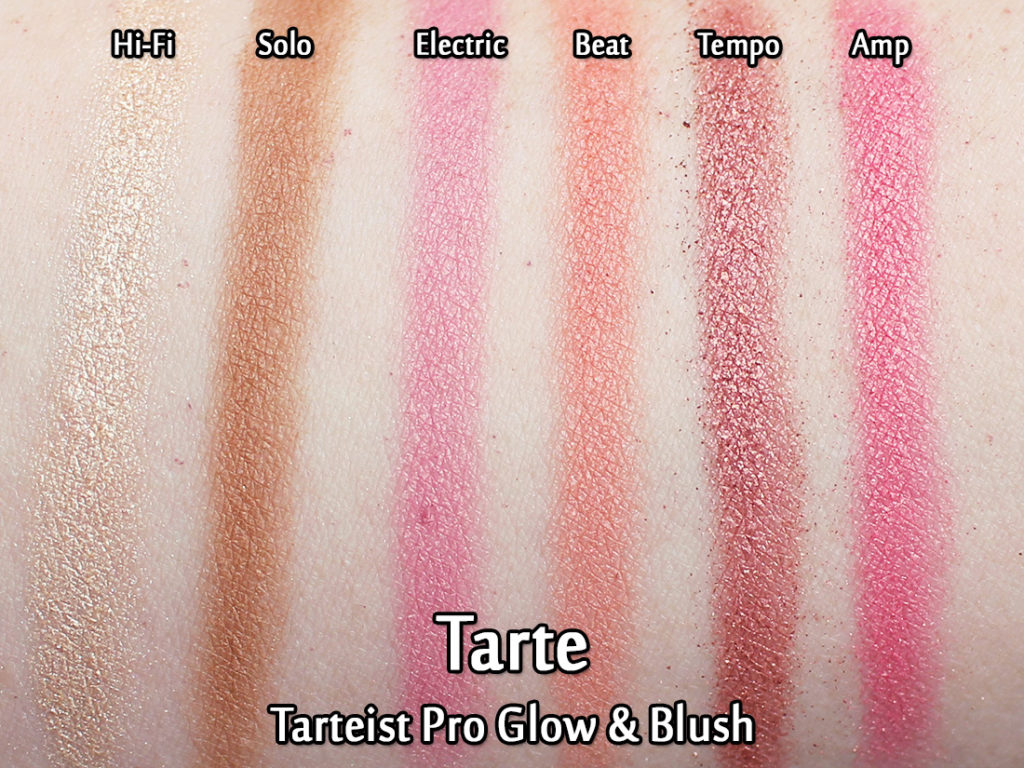
Swatched out, you can see the varying levels of shimmer inherent in each powder. The highlighter is very reflective, whereas I’d say only two of the blushes have a LOT of shimmer – the others are more on the subtle/softer side.
In all of the shots below I’m wearing the bronzer in Solo and highlighter in Hi-Fi. Only the blush colour changes.
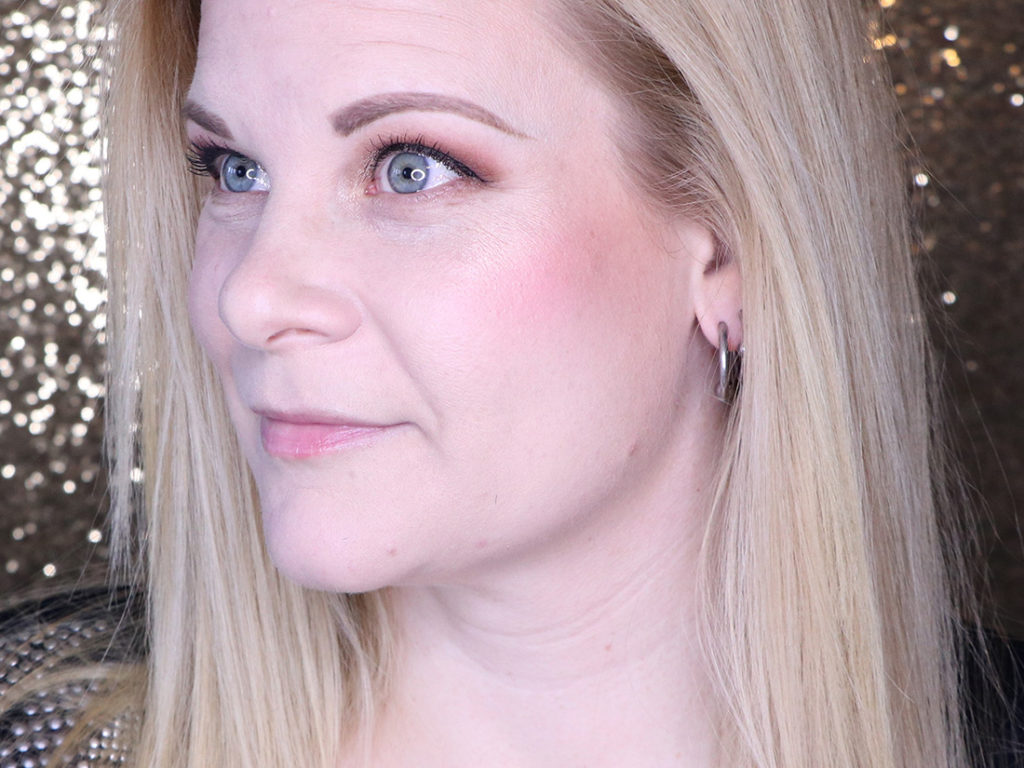
Electric is an easy-to-wear pink with gold shimmer.
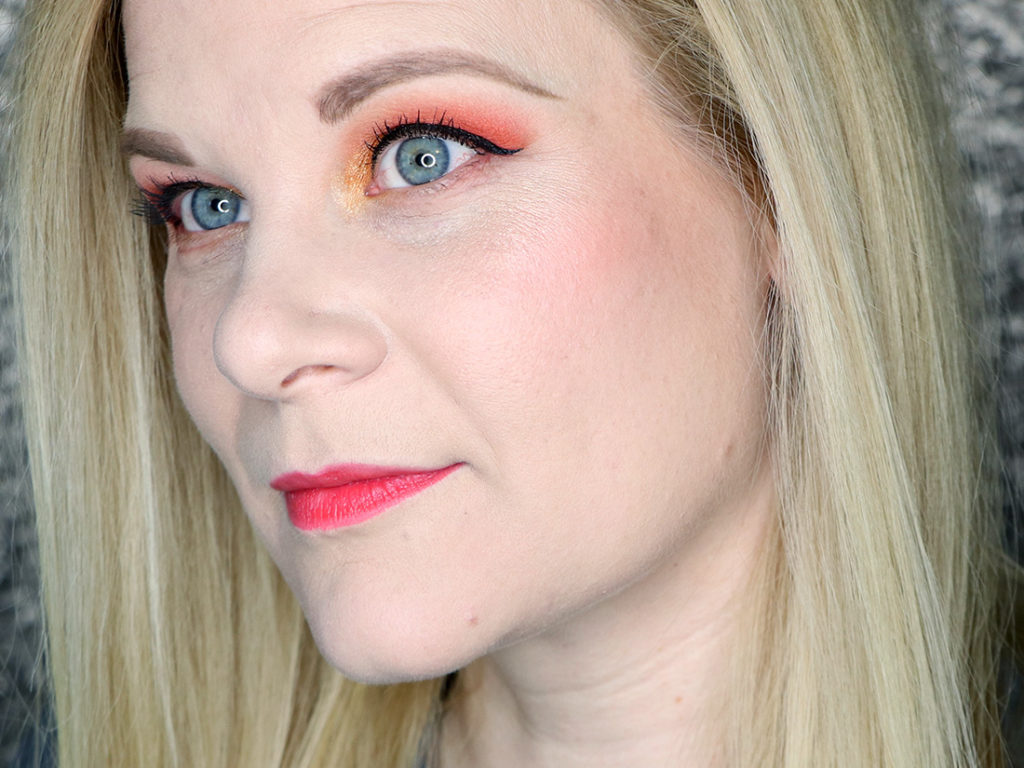
Beat is a peach with gold shimmer.
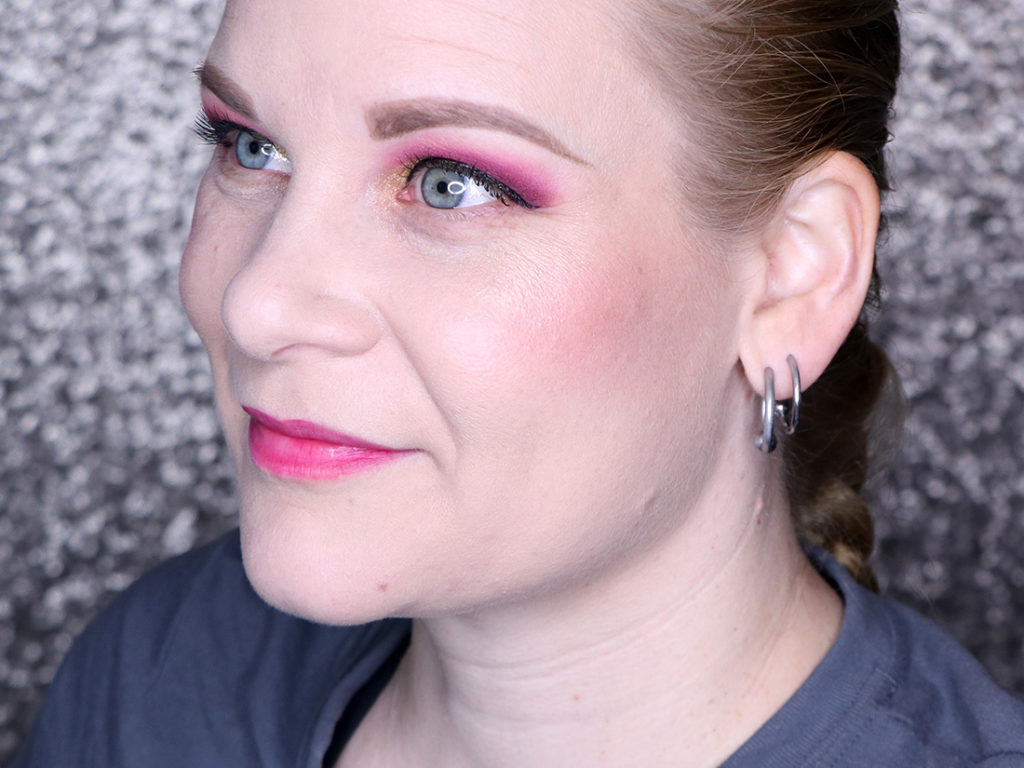
Tempo is a golden mauve with high shimmer. I was surprised by this one! Given the shade in the pan I thought this might be a touch dark, but it actually worked out well when I used a light hand.
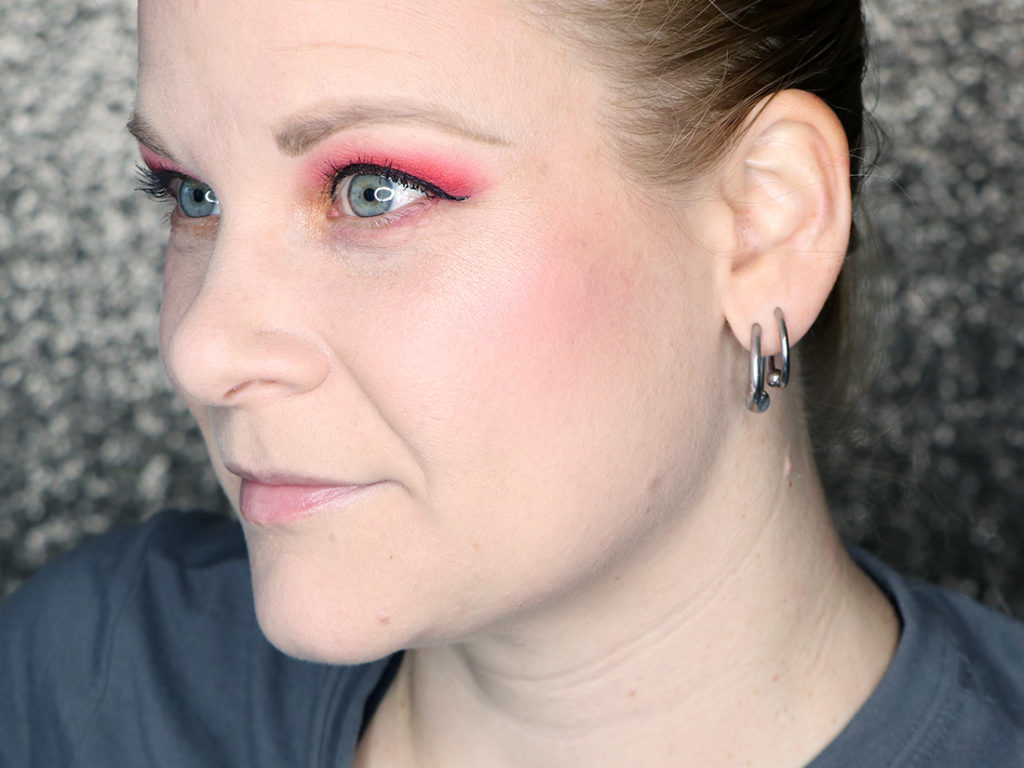
Amp was my favourite of the bunch because it’s a coral with gold shimmer.
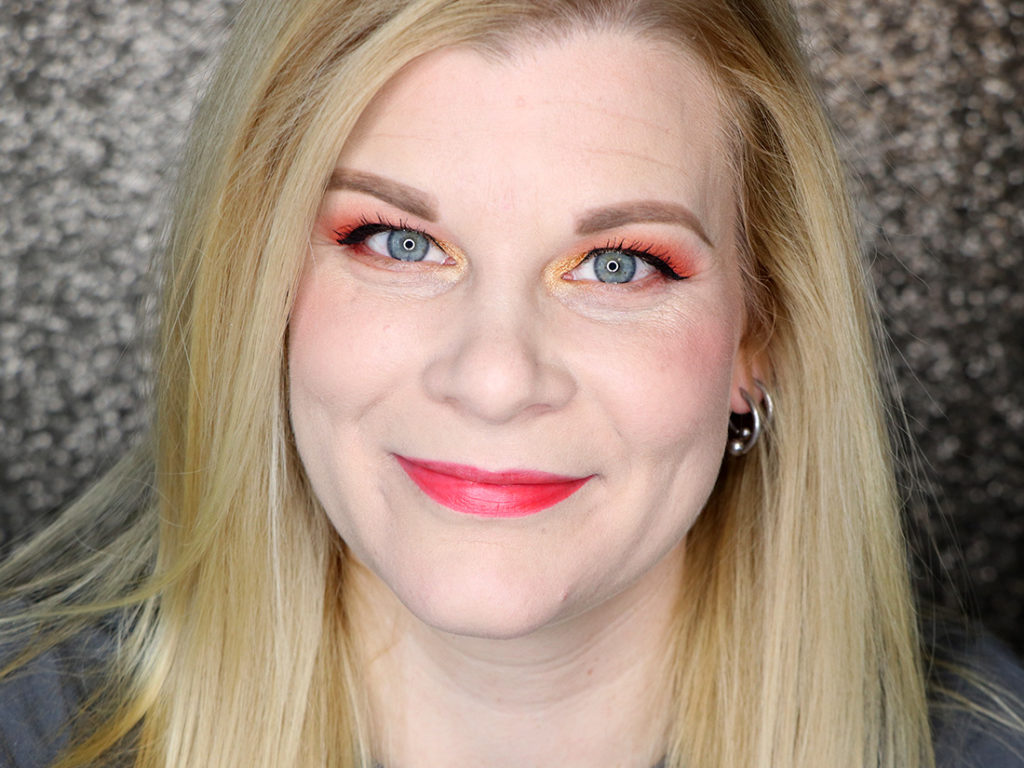
Here’s a more direct face shot so you can see how it plays out on a full face. I feel like the bronzer is quite seamless on my skintone, but I have to point out that the shimmer specs in it are actually tiny particles of glitter and I was surprised as heck when I noticed the random glitter on my face at one point while I was doing my makeup. I thought I’d accidentally used glitter without realizing it. That being said, it took me a long time to actually notice it (third time I was using the palette), so I wouldn’t say it’s something overtly obvious.
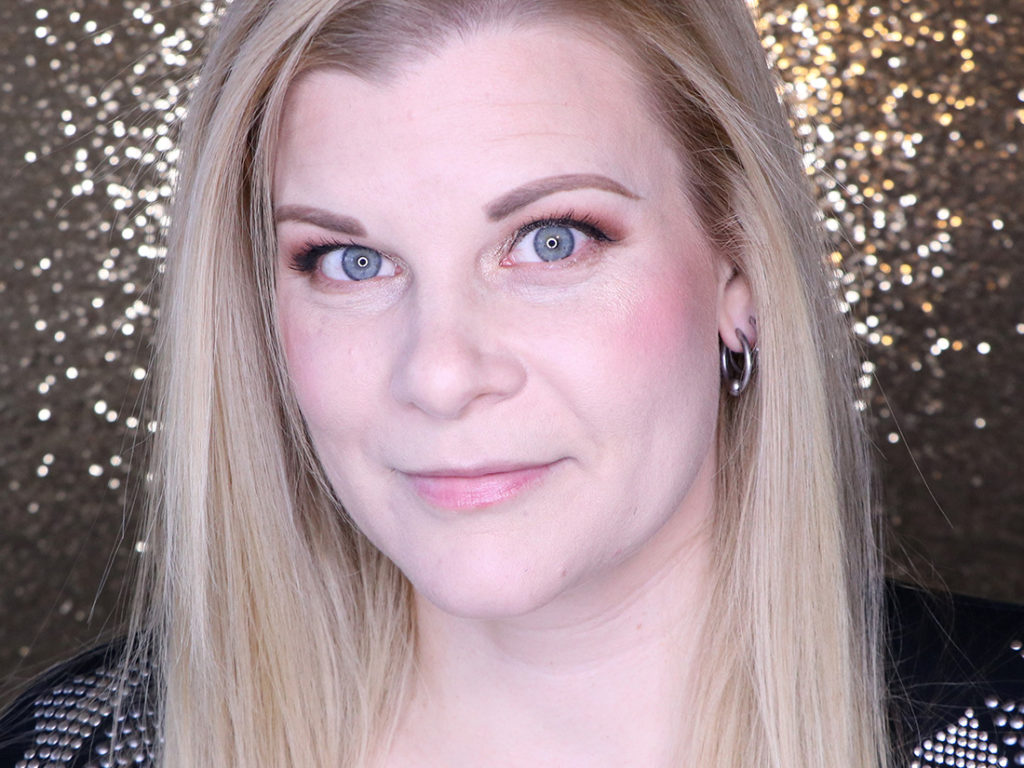
The previous face shot was in warm-toned lighting, whereas this one is more cool-toned, and I feel like the bronzer still looks good despite the tone change.
Final Thoughts
Although I was surprised that the Tarte Tarteist Pro Glow & Blush palette was all shimmery, I can see how it works considering that “glow” is in the name of the actual product! If you’re someone who prefers a matte blush and bronzer, then this is most definitely not the palette for you. If you’re up for all the glow, then this is definitely worth looking into. If you’re a deeper skintone than me I feel like the blush and highlight shades will work for you since they’re quite pigmented and veer on the golden side of things. The bronzer may work for skintones a bit deeper than mine, but if you’re deeper than a medium I don’t think it’ll look like much.
I found myself pleasantly surprised that I liked the shimmery blushes so much. There are varying depths of shimmer (the deeper tones definitely have more of it) which I think make it more interesting since I don’t necessarily want all shimmer all the time. The highlighter works really well with all of the blush shades since all the shades do have quite a golden edge to them. The bronzer blended in seamlessly despite the tiny glitter specks too, which made me really happy.
The Tarte Tarteist Pro Glow & Blush can be purchased on sephora.ca for $59 CAD or on sephora.com for $45 USD.
The product featured in this post was sent to me for consideration. Post contains affiliate links.
VIDEO: March 2019 Beauty Haul
Fitness Friday: 2019 Achilles St. Patrick’s Day 5K
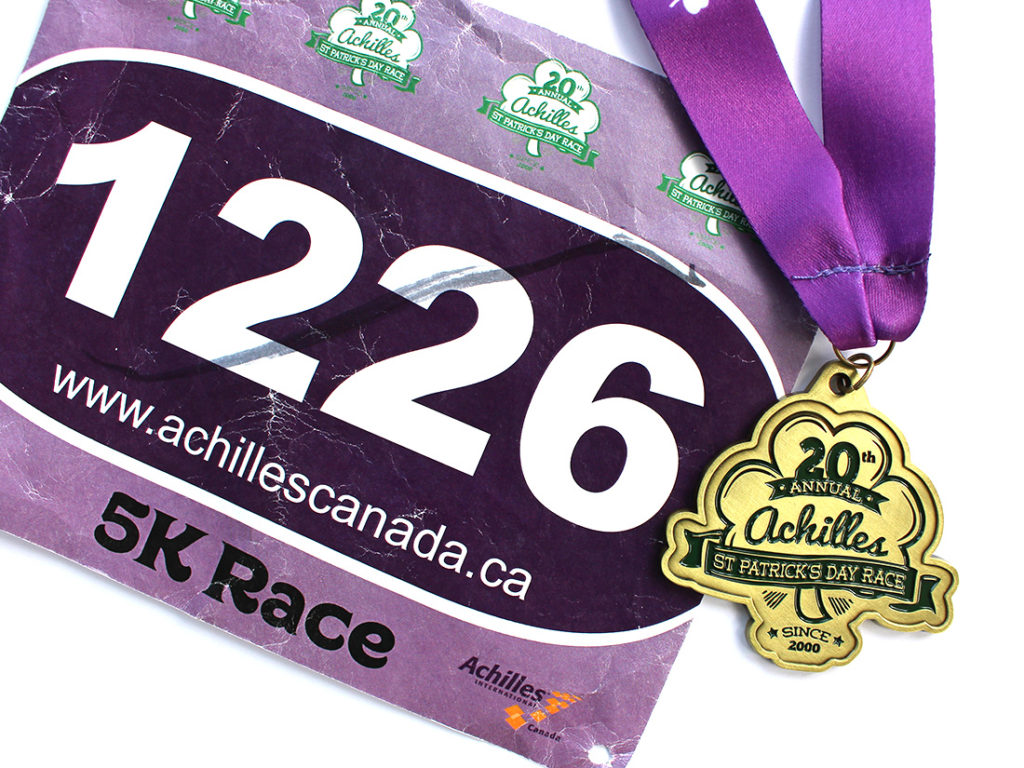
While I love St. Patrick’s Day, and this Achilles 5K race in particular… sadly, this was not to be one of my better races.
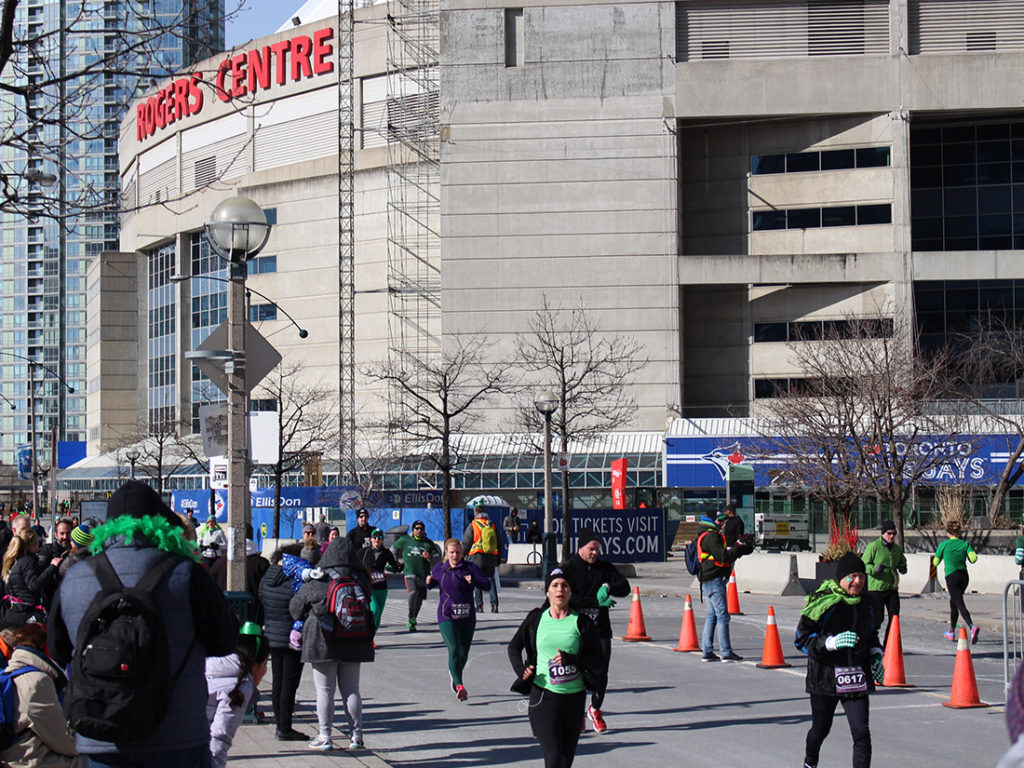
I think this is my 5th or 6th time running the Achilles St. Patrick’s Day 5K. It’s a nice, easy course that is fairly flat (except for that one damn bridge you have to run over twice). It’s a straight shot through Toronto’s financial district for most of it. which makes it a very easy course. I’ve put out some of my best times ever for a 5K on this course (my 5K PR is 26:06 on this course in 2017) so I know it well, and I usually expect to do pretty good on it. Last year I was injured, and yet despite that, I still put out a decent time. But this year… something just felt off. I had trained… sorta. But as it seems to happen EVERY year before this race – I got sick and had to take an entire week off training. Couple that with a 10-day visit to Ottawa after I was sick, where I was unable to run outside since it was so snowy, and the wine consumption was a aplenty with my parents… I knew I was going to be in trouble for this race.
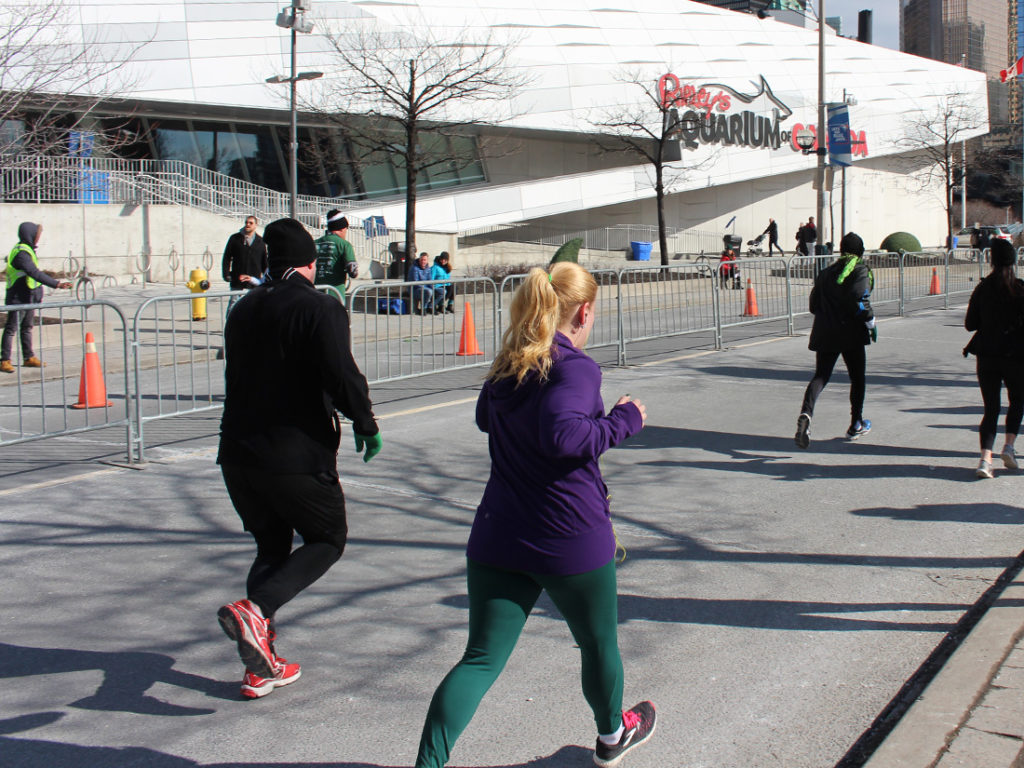
The morning of the race I felt fine-ish? I’d slept better than I normally do before a race but I just didn’t feel… great. I felt like my body was sluggish and not in shape (which isn’t the case overall, but I just had an overwhelming sense of “I’m bloated”).
They’ve expanded the race to also include a 10K course (it’s a double loop of the 5K route) which means there were even more people at the start line. And sadly… the starting zone was only about one lane (maybe 2?) of traffic and it took a long damn time of shuffling slowly after we’d started the race to even start running just because there were so many people. I’m sure that slowed me down a bit, but overall it was just me feeling not so hot throughout the entire race. It’s a rare occurrence for me where I’ll actually feel like I need to go to the bathroom during a race… but I basically felt that way the whole time throughout this one. Which is a very uncomfortable feeling!
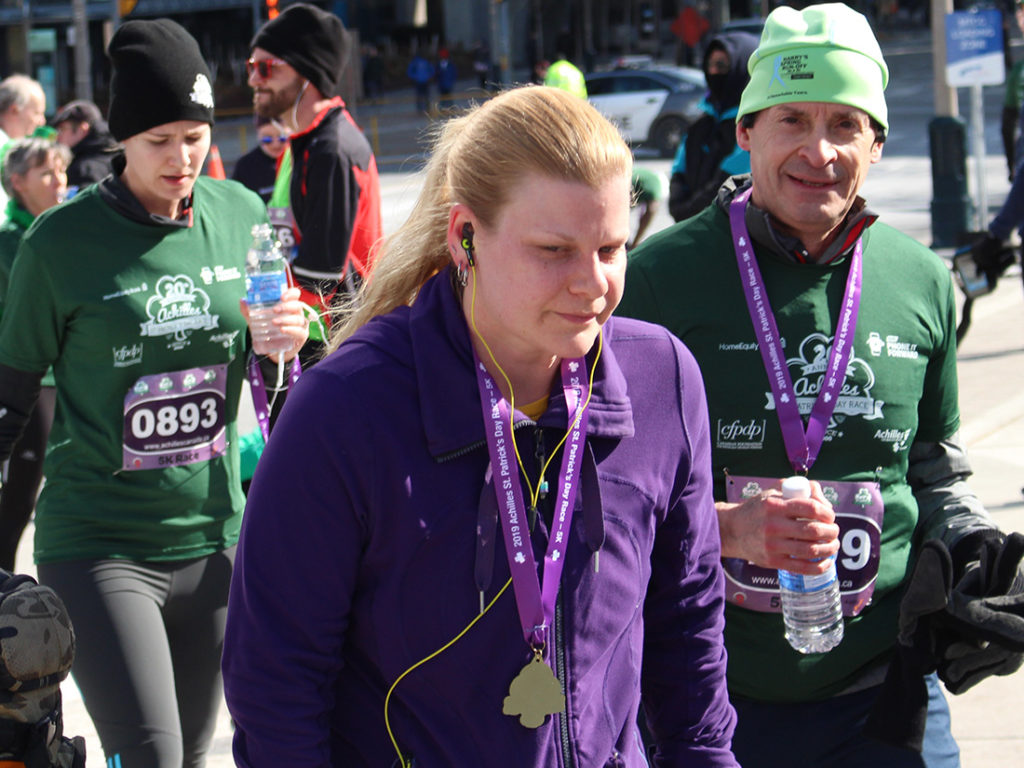
So my race time ended up being 27:03… which is disappointing. I haven’t fallen into the 27 minute range in a while, so it felt like a massive let down to myself. And truly, it wasn’t an atrocious race – I didn’t get injured and nothing bad happened… it was just a bad race. Races like that are super disappointing… but sometimes they just happen.
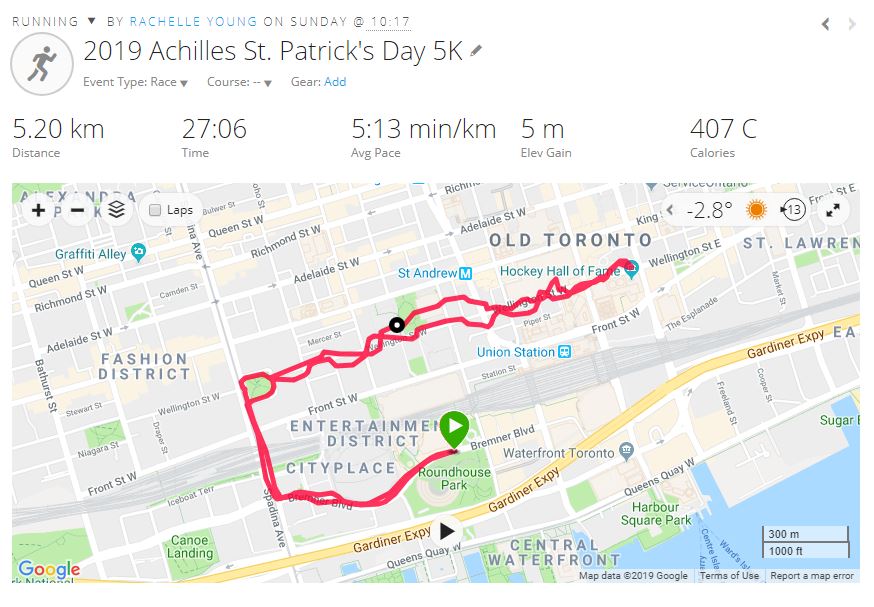
Race Results
- Finish Time: 27:03
- Pace: 5:24 per kilometer
- Overall placement: 314/1374
- Age group placement (Female 30-39 years): 43/245
- Gender placement (F): 106/781